

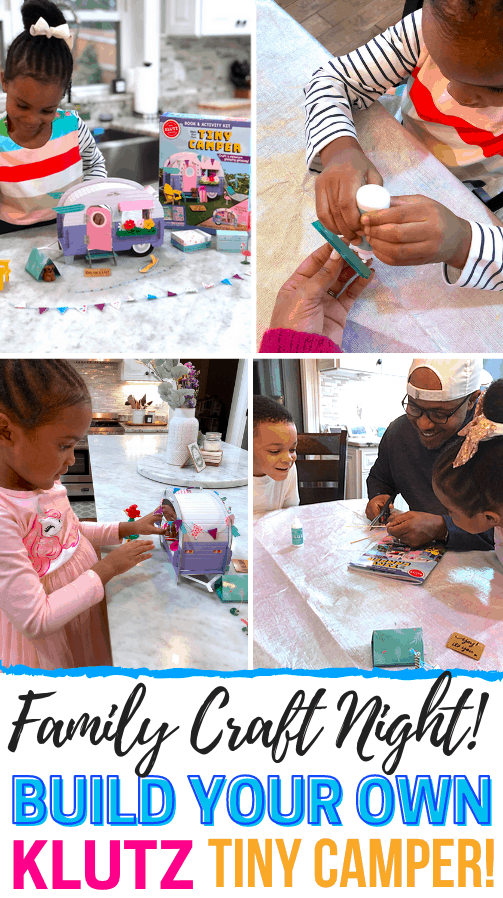
A Super Fun Way to Enjoy Your Next Family Craft Night!
Thank you Scholastic and Klutz for sponsoring this post. Hands on learning and a healthy-dose of fun!
March is Craft Month so it’s time to enjoy a fun family craft night at home with the kids building the cutest mini vintage camper!
You may or may not know this by now, but I love getting the entire family together to do something fun and unique on Friday nights.
Don’t get me wrong, I love just relaxing on the couch for good movie night just like anybody else, but sometimes we want to do something a little different! Plus, I think most of us have watched every movie known to man by now 🙂
So I was happy to grab the kids and head to the nearest dining room table to build this super cute DIY camper kit.
The kids and I get to do lots of learning crafts together during the day, but there is something special about building a project that is both great for younger kids, and includes just enough detail to get mom, dad, or the older kids involved too.
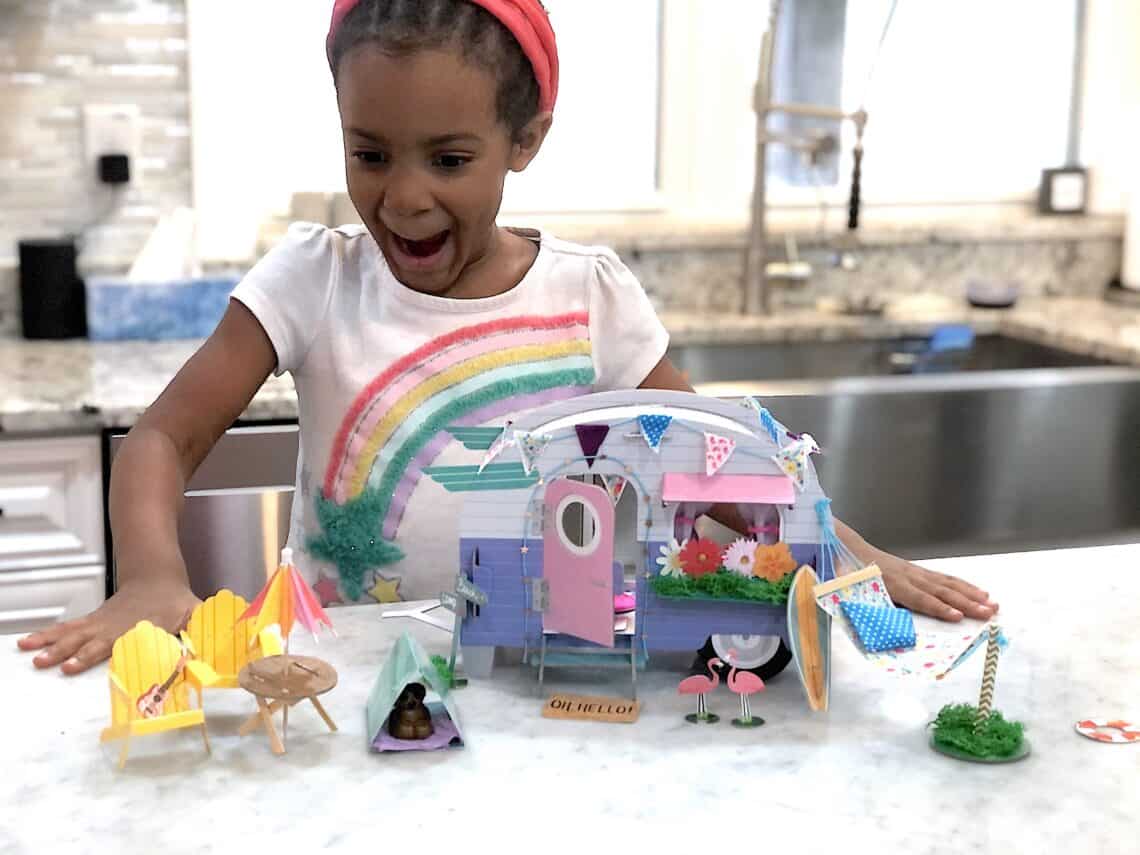
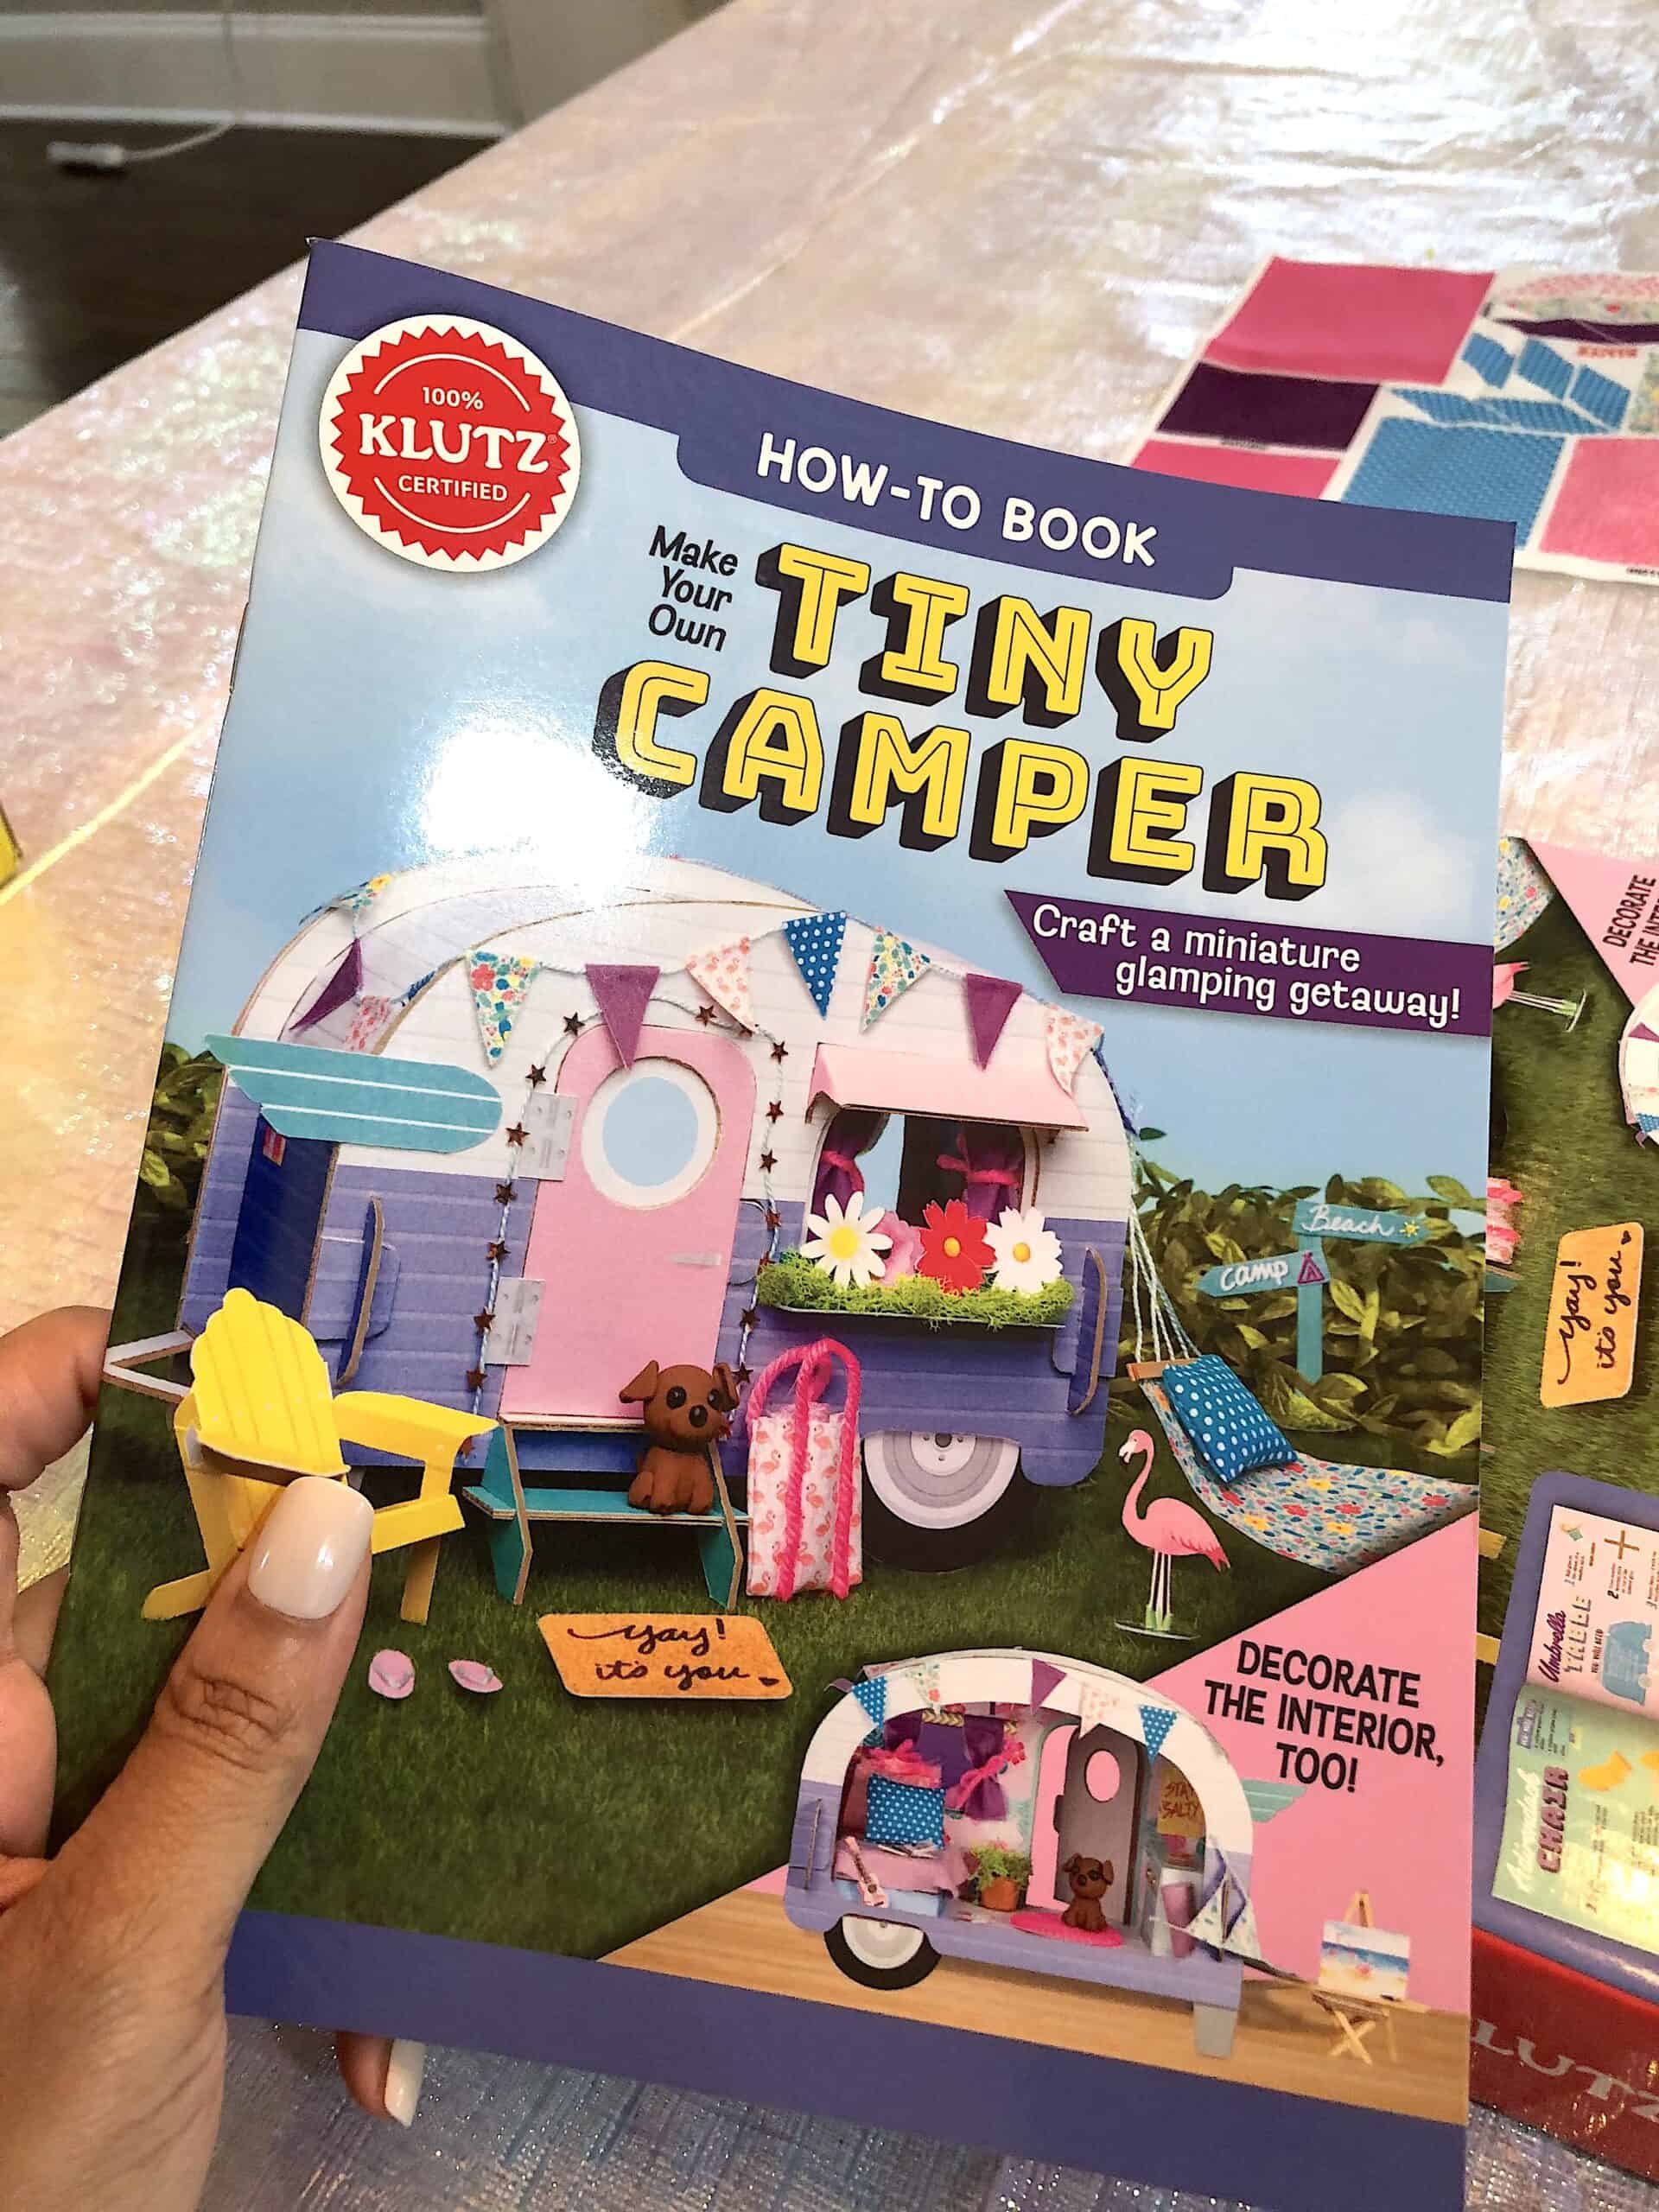
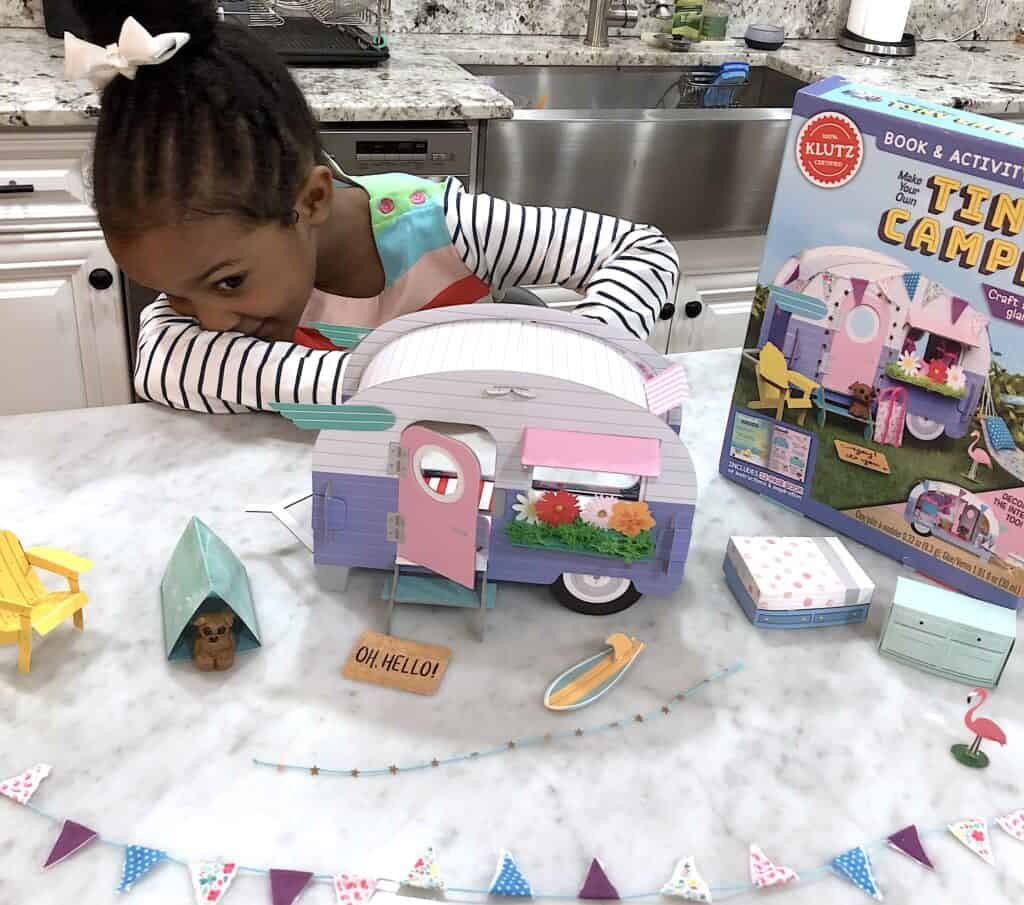
So long story short, my four-year-old daughter literally FLIPPED OUT when she saw the Scholastic and Klutz Make Your Own Tiny Camper Craft Kit! (Klutz is a subsidiary of Scholastic if you didn’t know). I mean it was love at first sight.
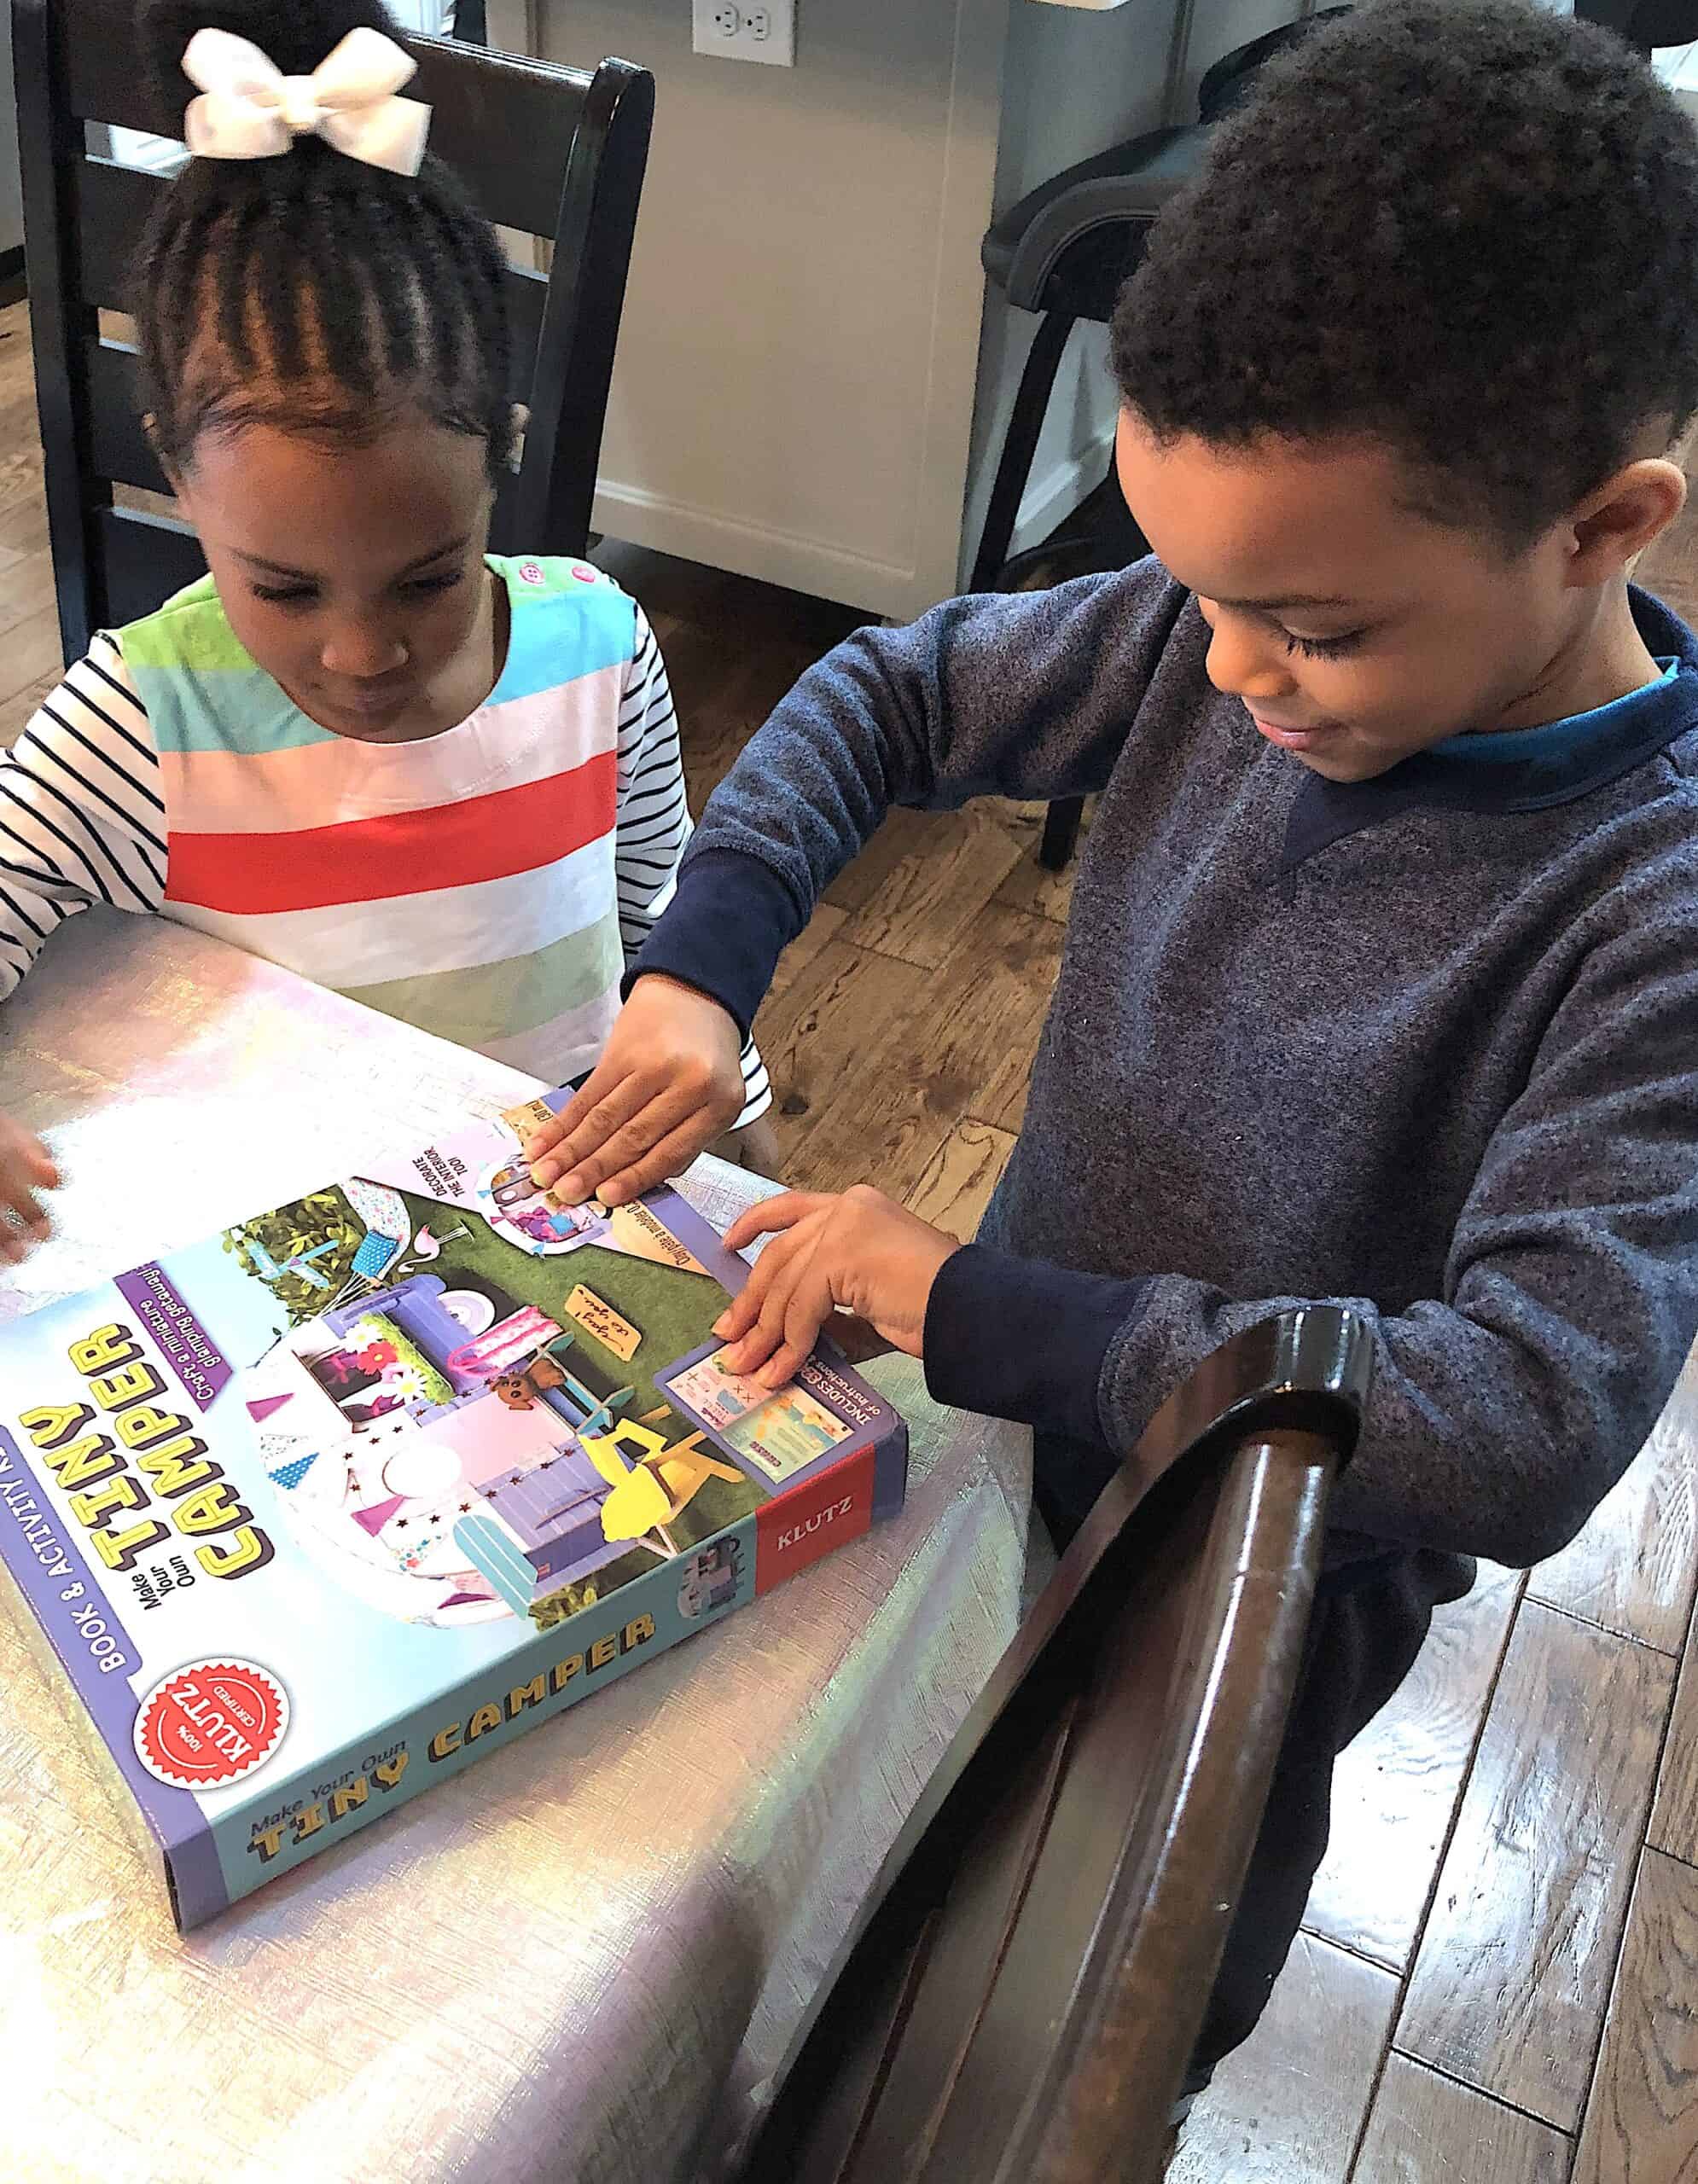
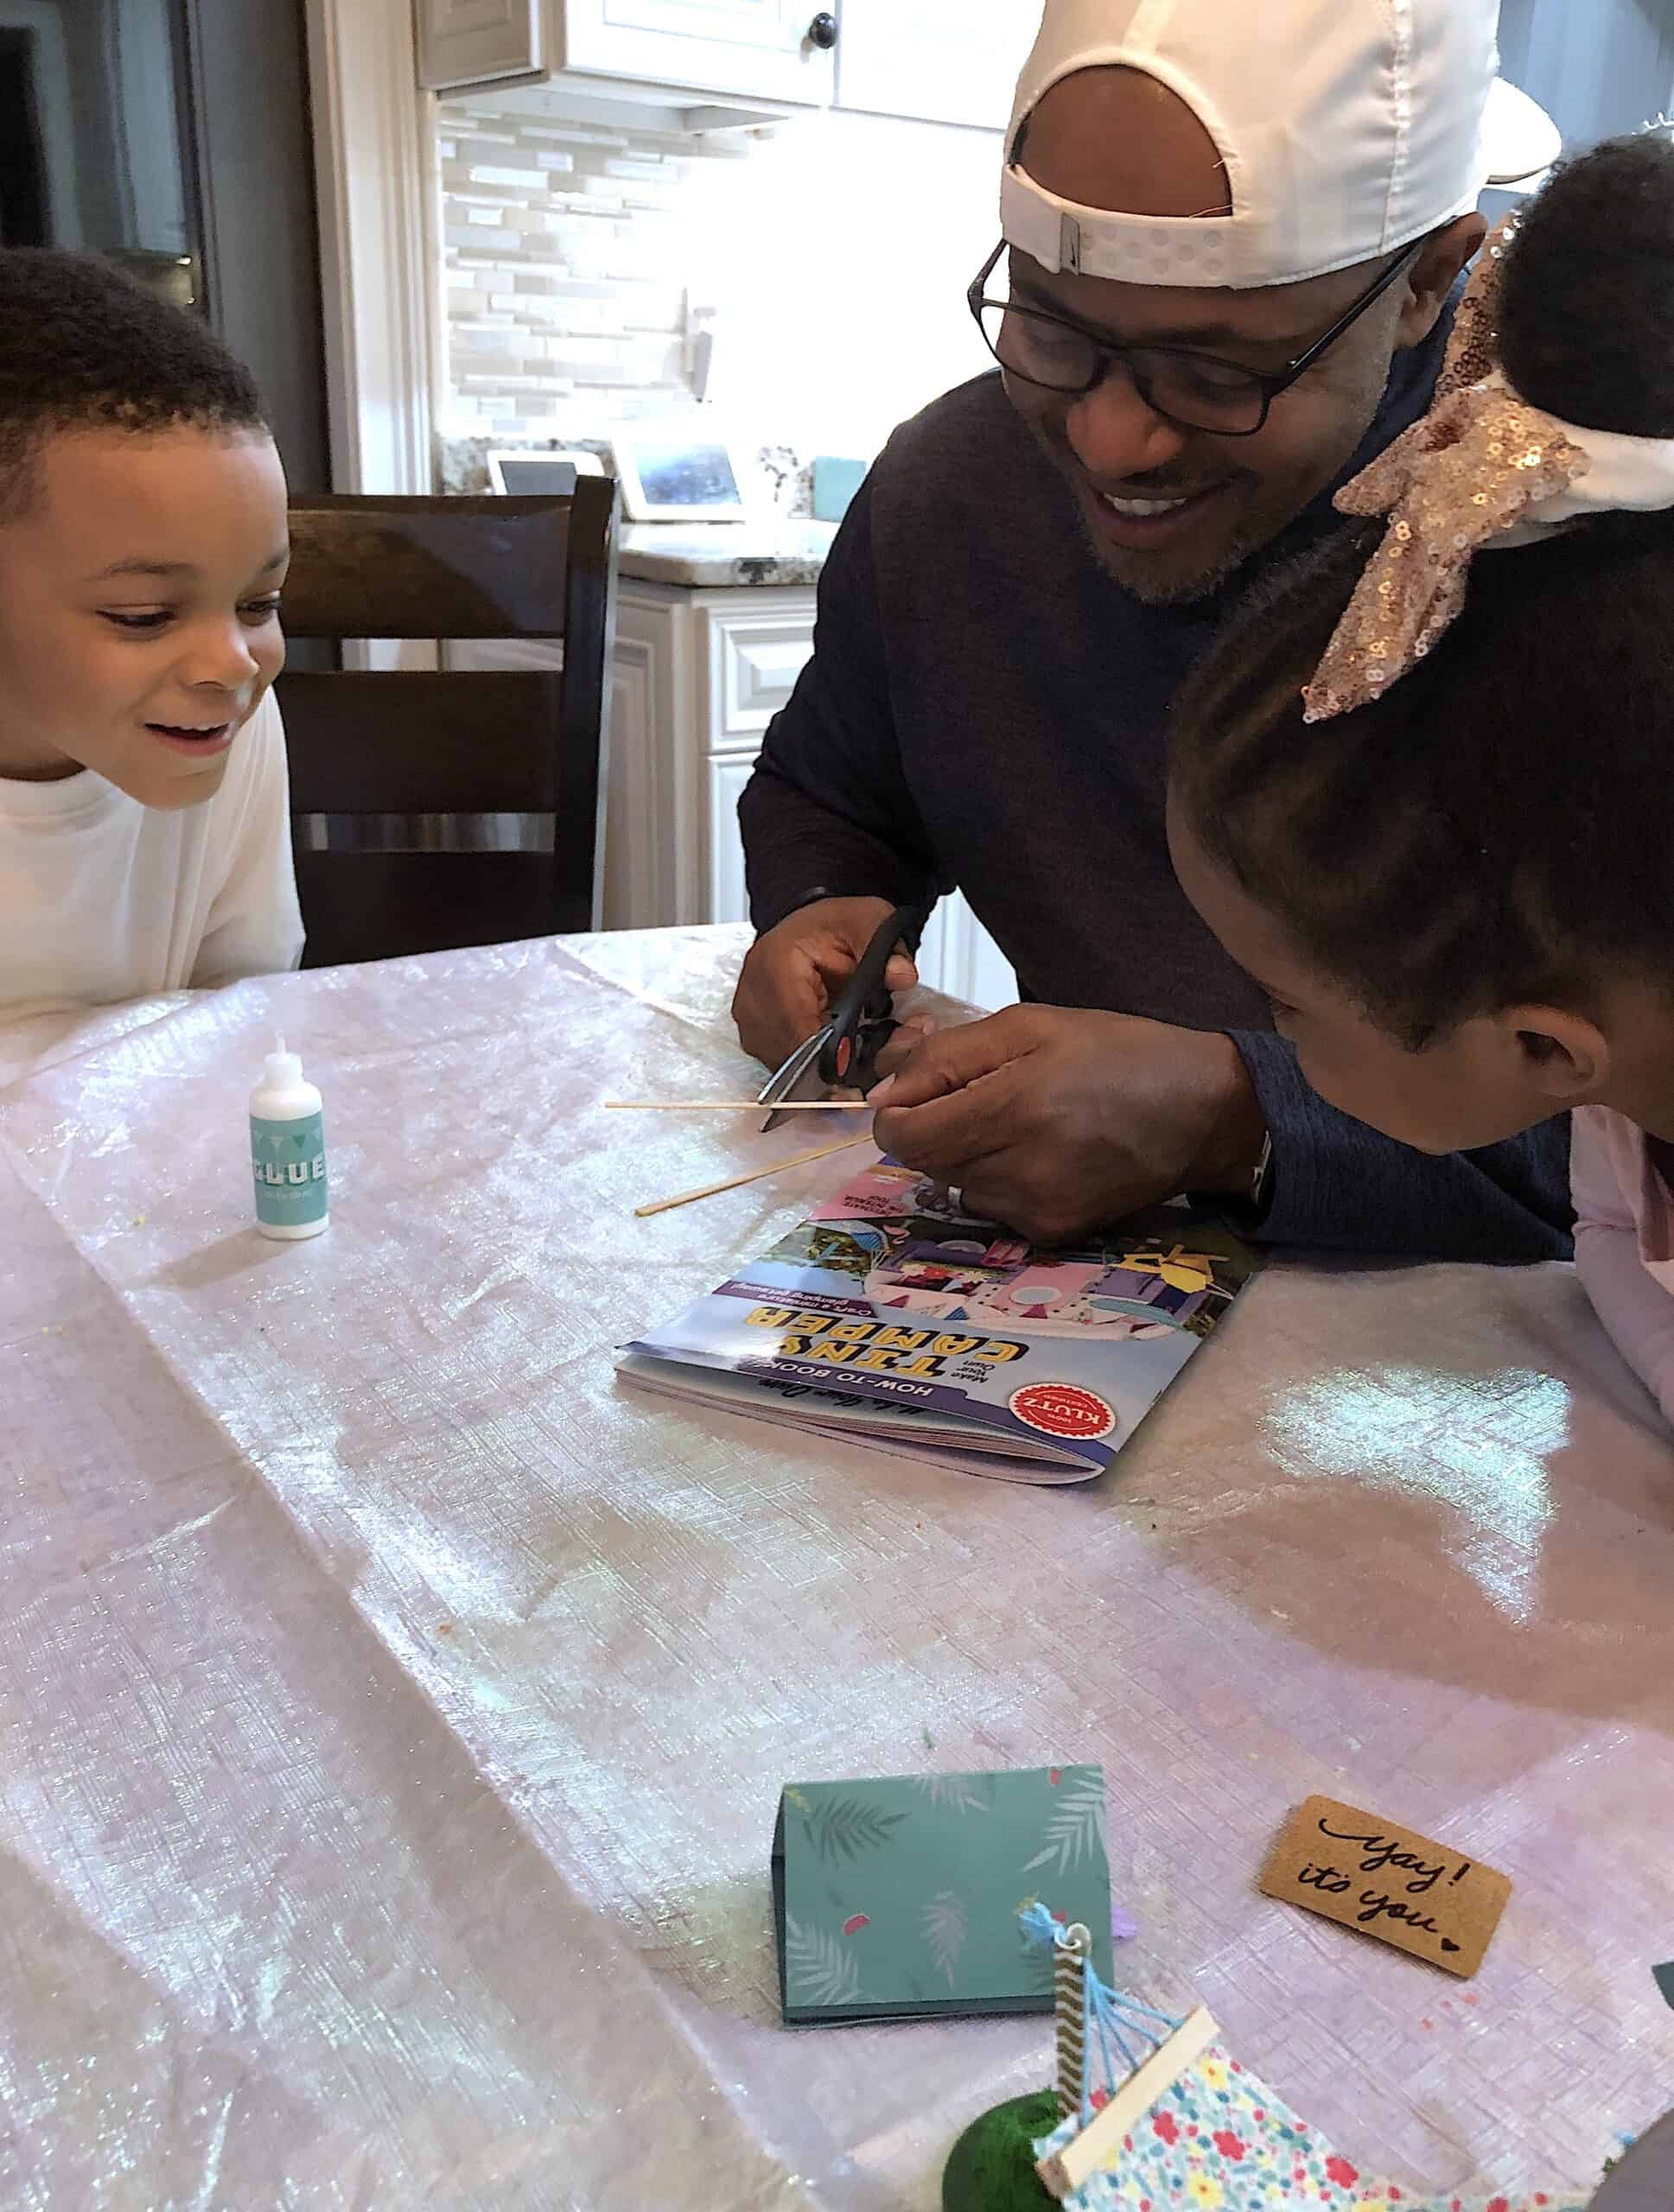
That literally made my day, but what made it even better was that we all chipped in! Even my baby boy, who’s not such a baby anymore, got in on the action and we really enjoyed a fun night that led into the rainy day weekend.
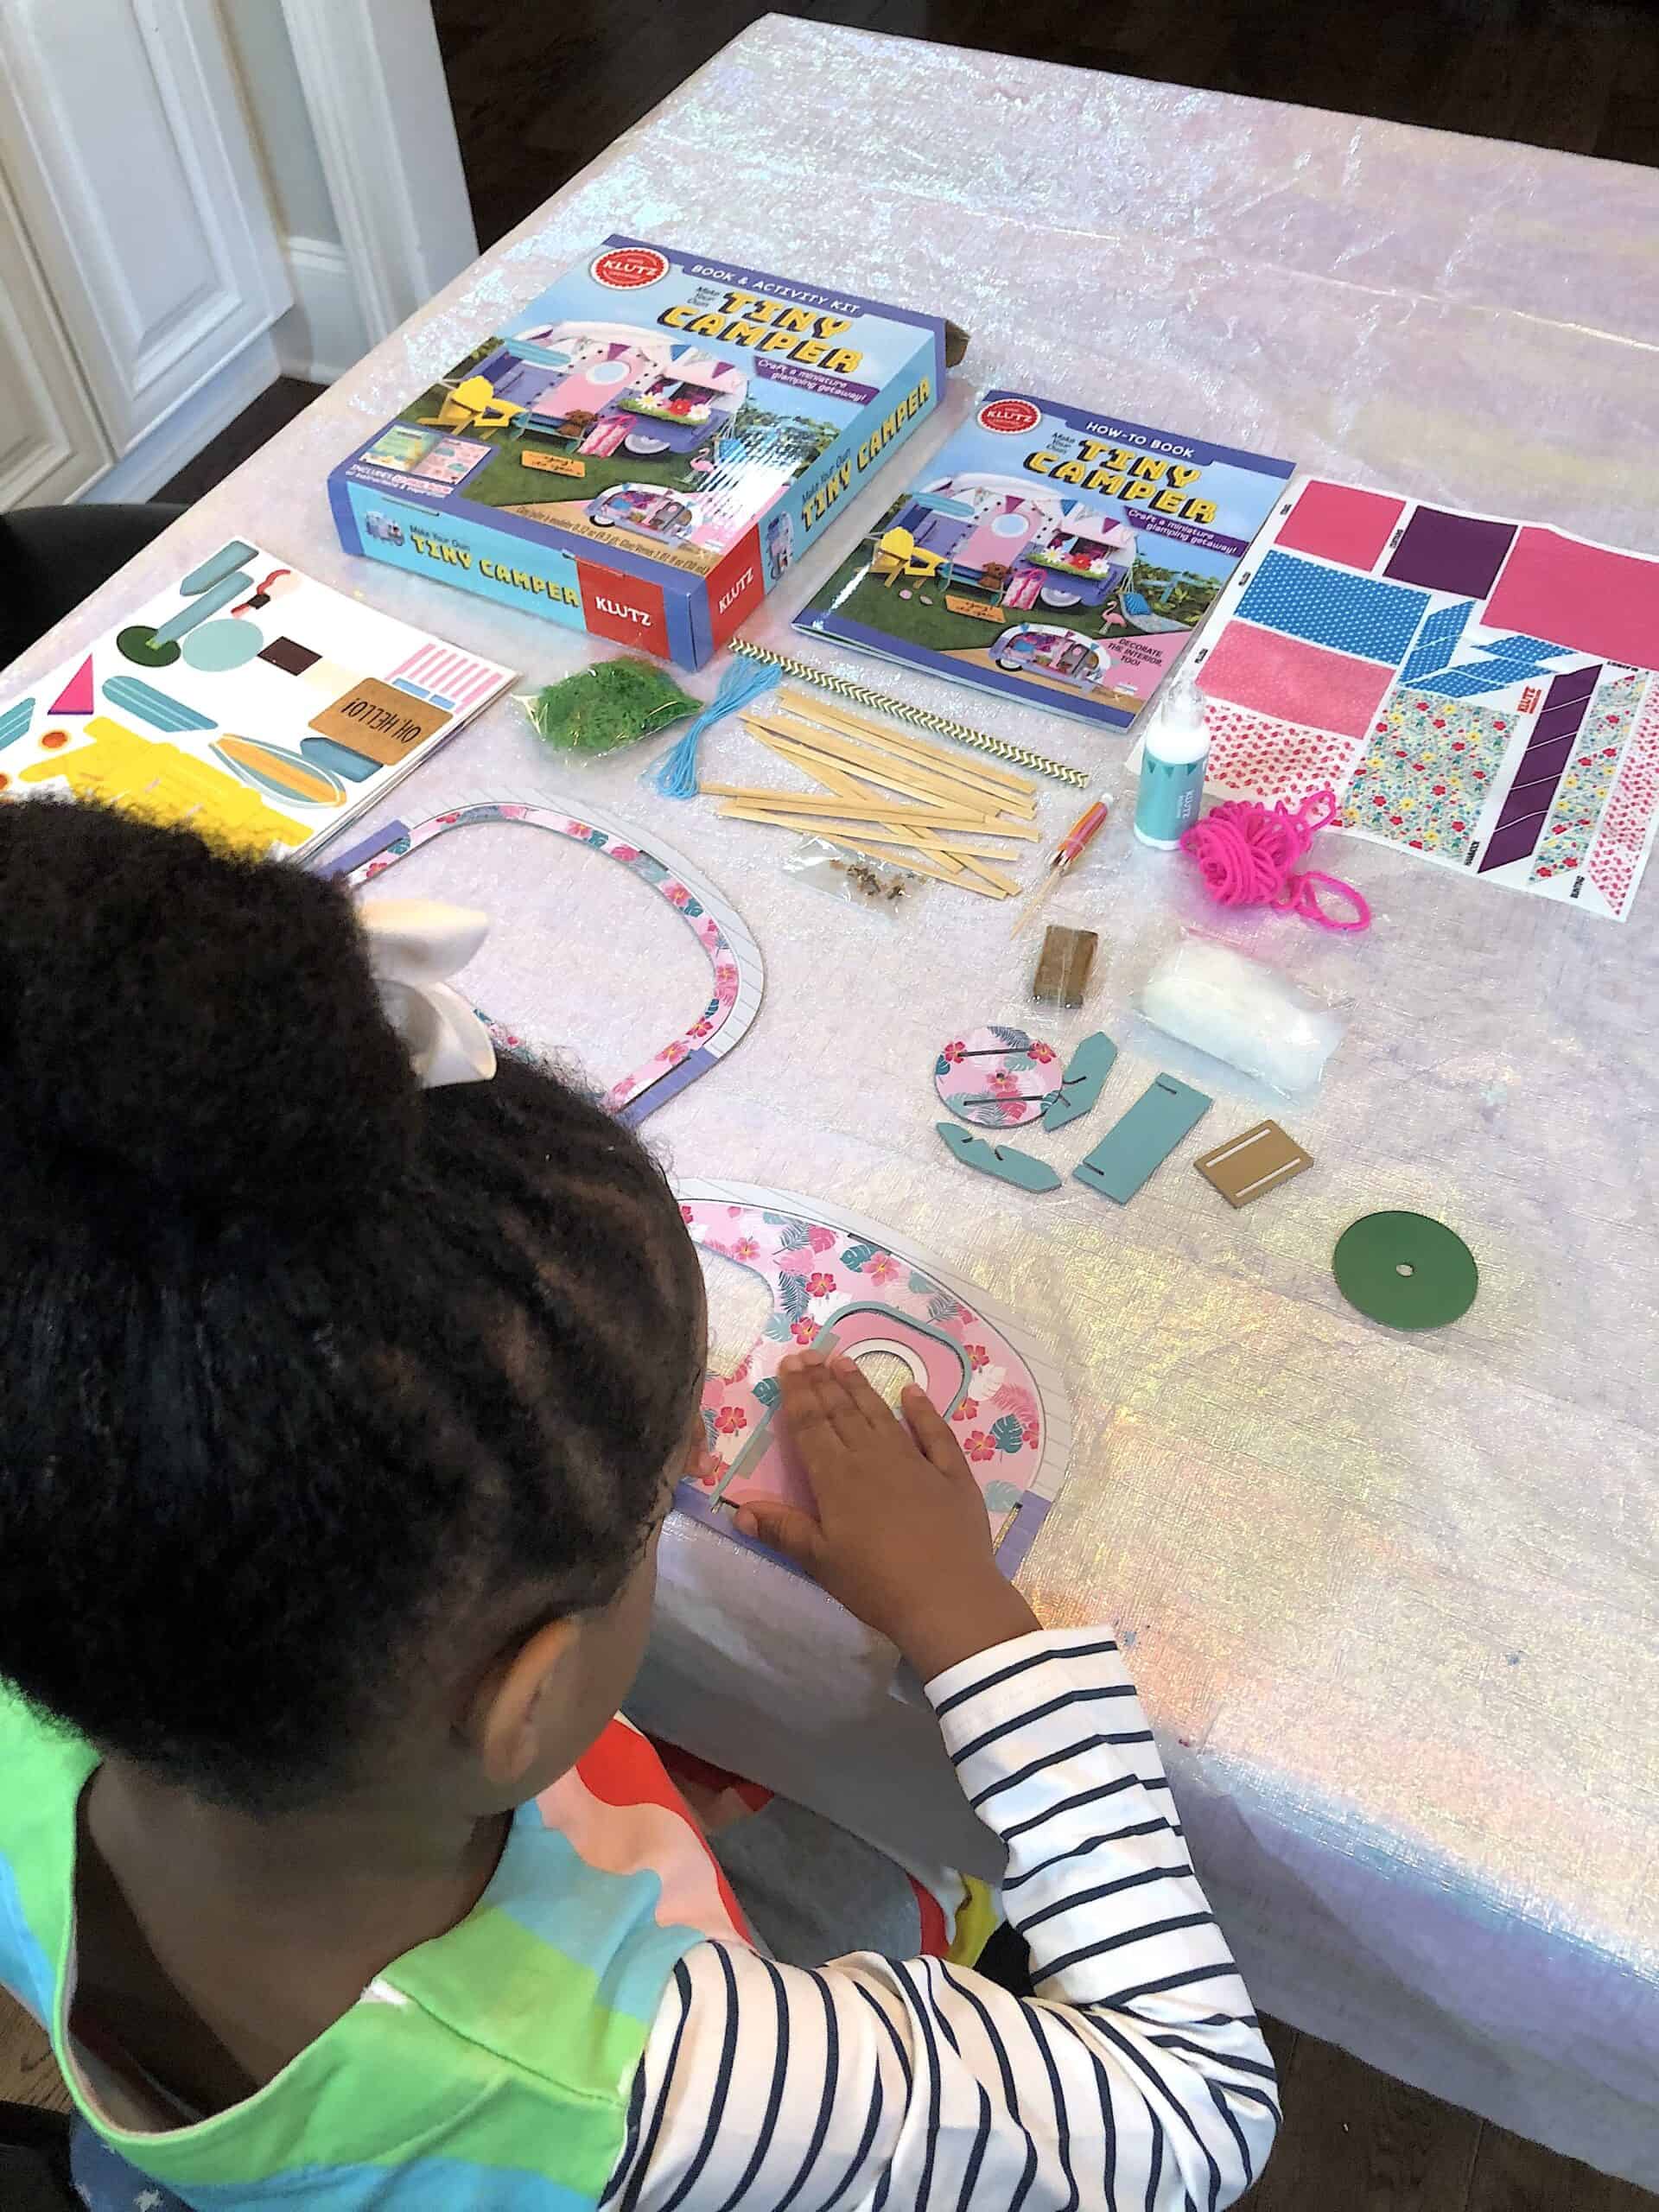
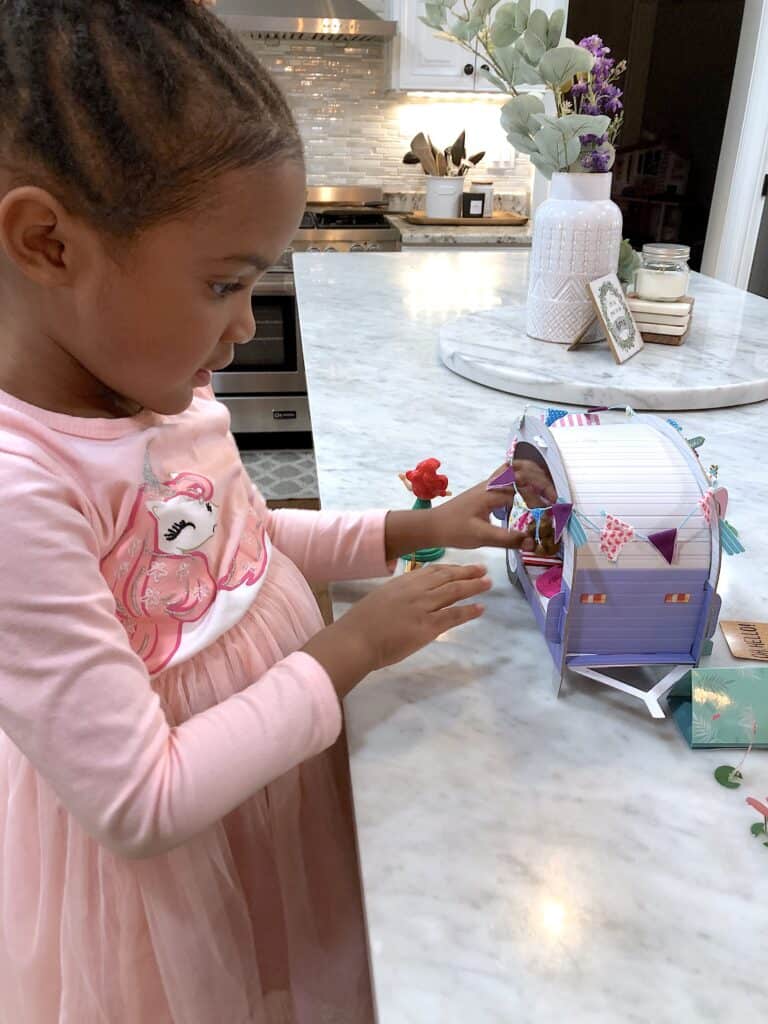
The great thing about this project is that the instructions allowed for some flexibility. We put together the camper first, but then we were able to be creative and choose what props we would like for decorating.
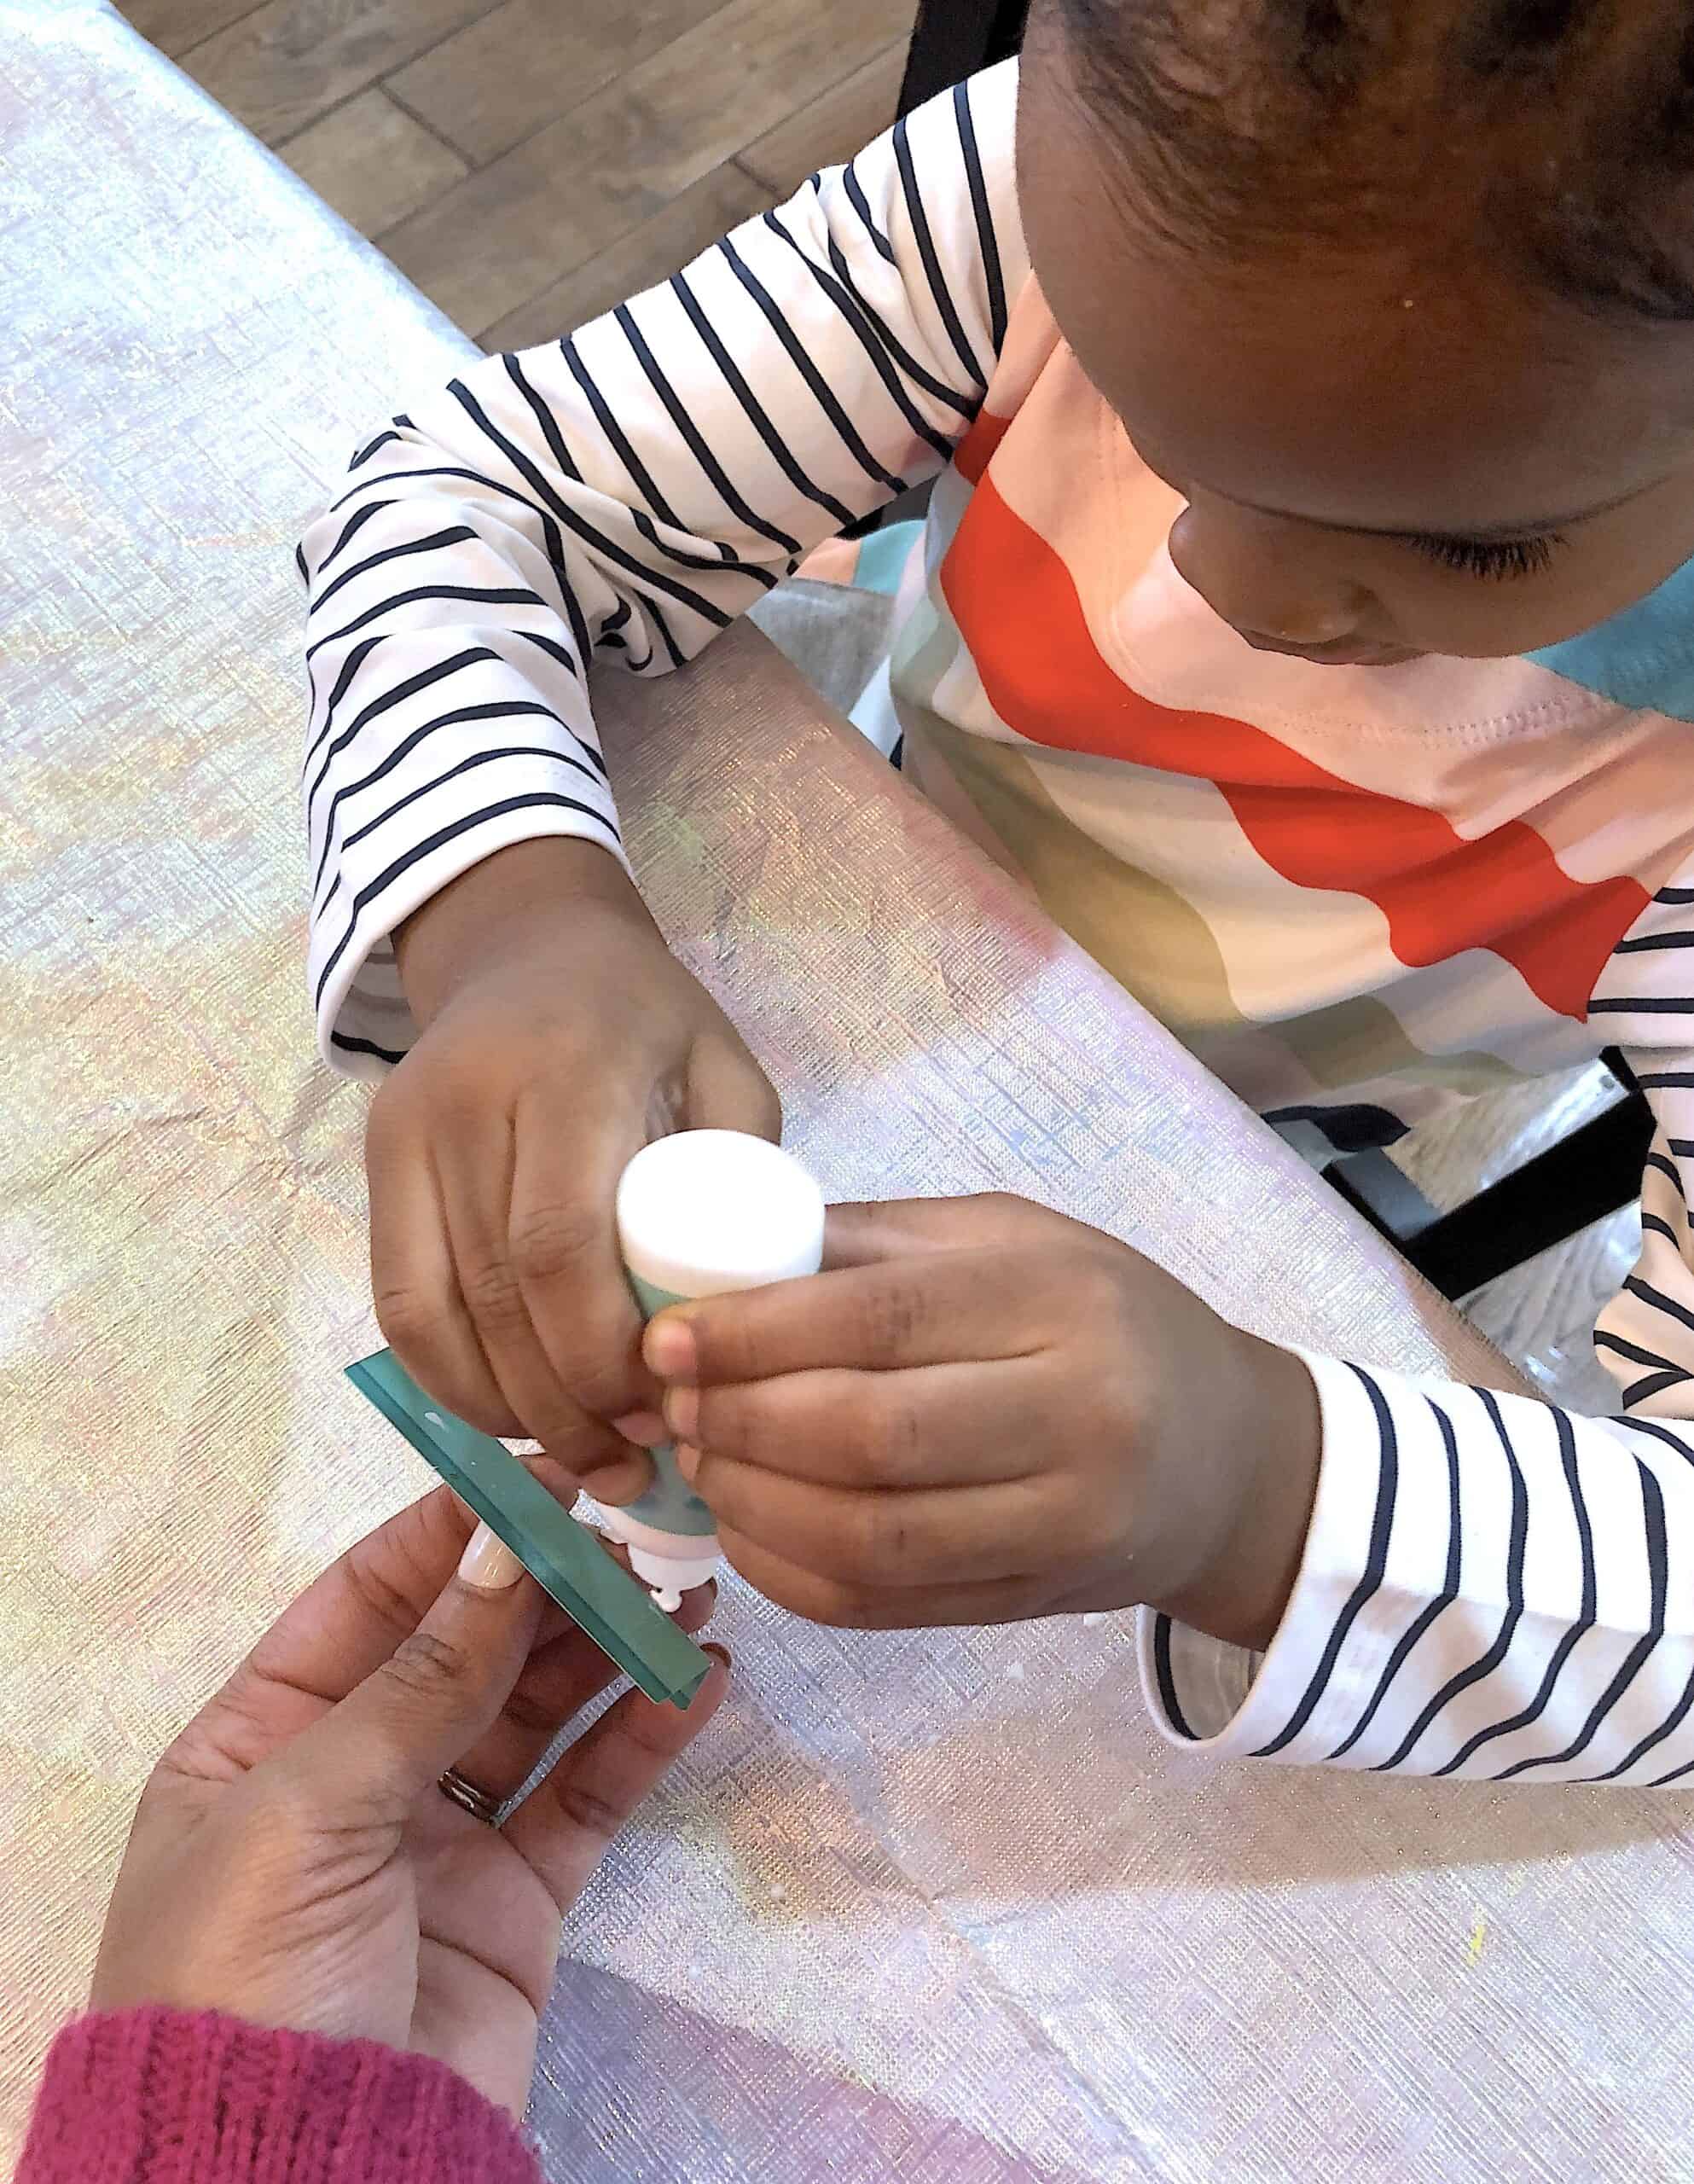
I helped my daughter with her chosen props and my husband helped my son with a few others. I think it was a great set up for the family. We decided to let my daughter start with some of the easier props first.
All in all, the craft project took us about two days to complete altogether and the kids really learned some lessons about patience and following instructions. It was awesome!
Below, I share some of my best tips and takeaways to get the most out of your next family craft night!
Fun Tiny Camper Family Craft
Craft Materials
We were super excited to see all of the quality materials that were included in the tiny camper kit. I love in general and often allow the kids to work on their decorating skills as well.
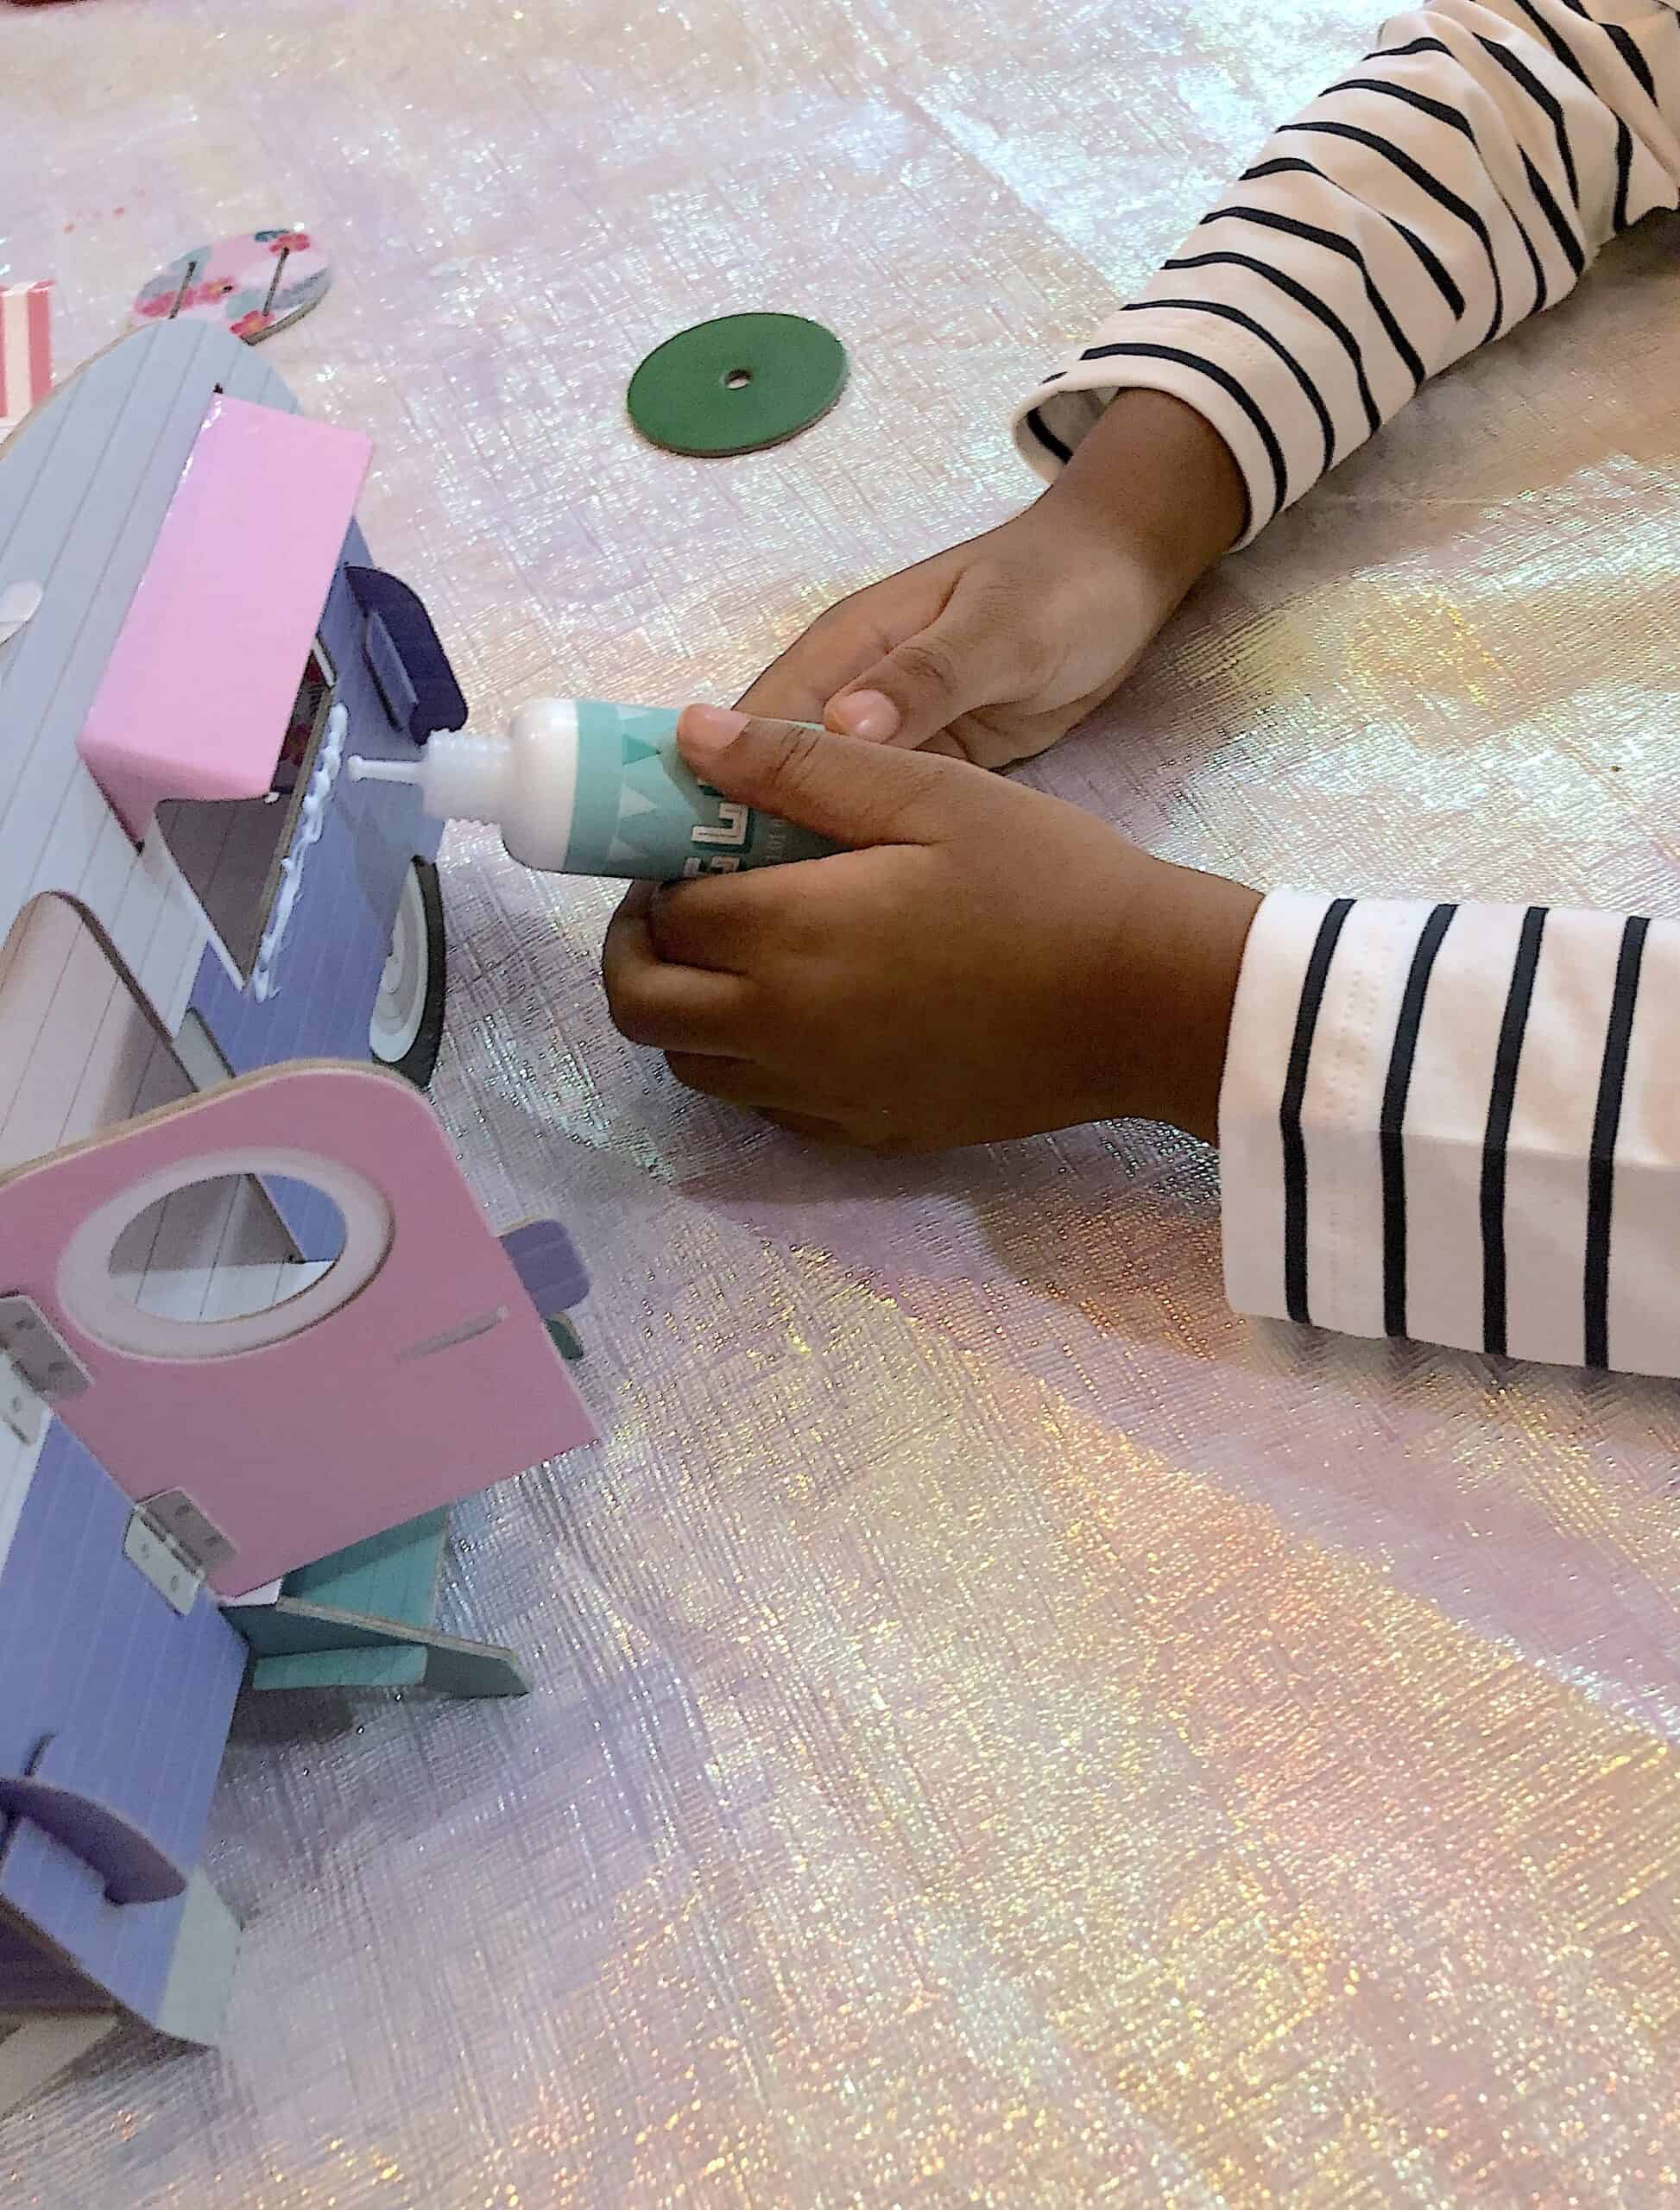
For my daughter, anything that includes sequins is worth her time. For my son, all he needs is sticky glue (lol).
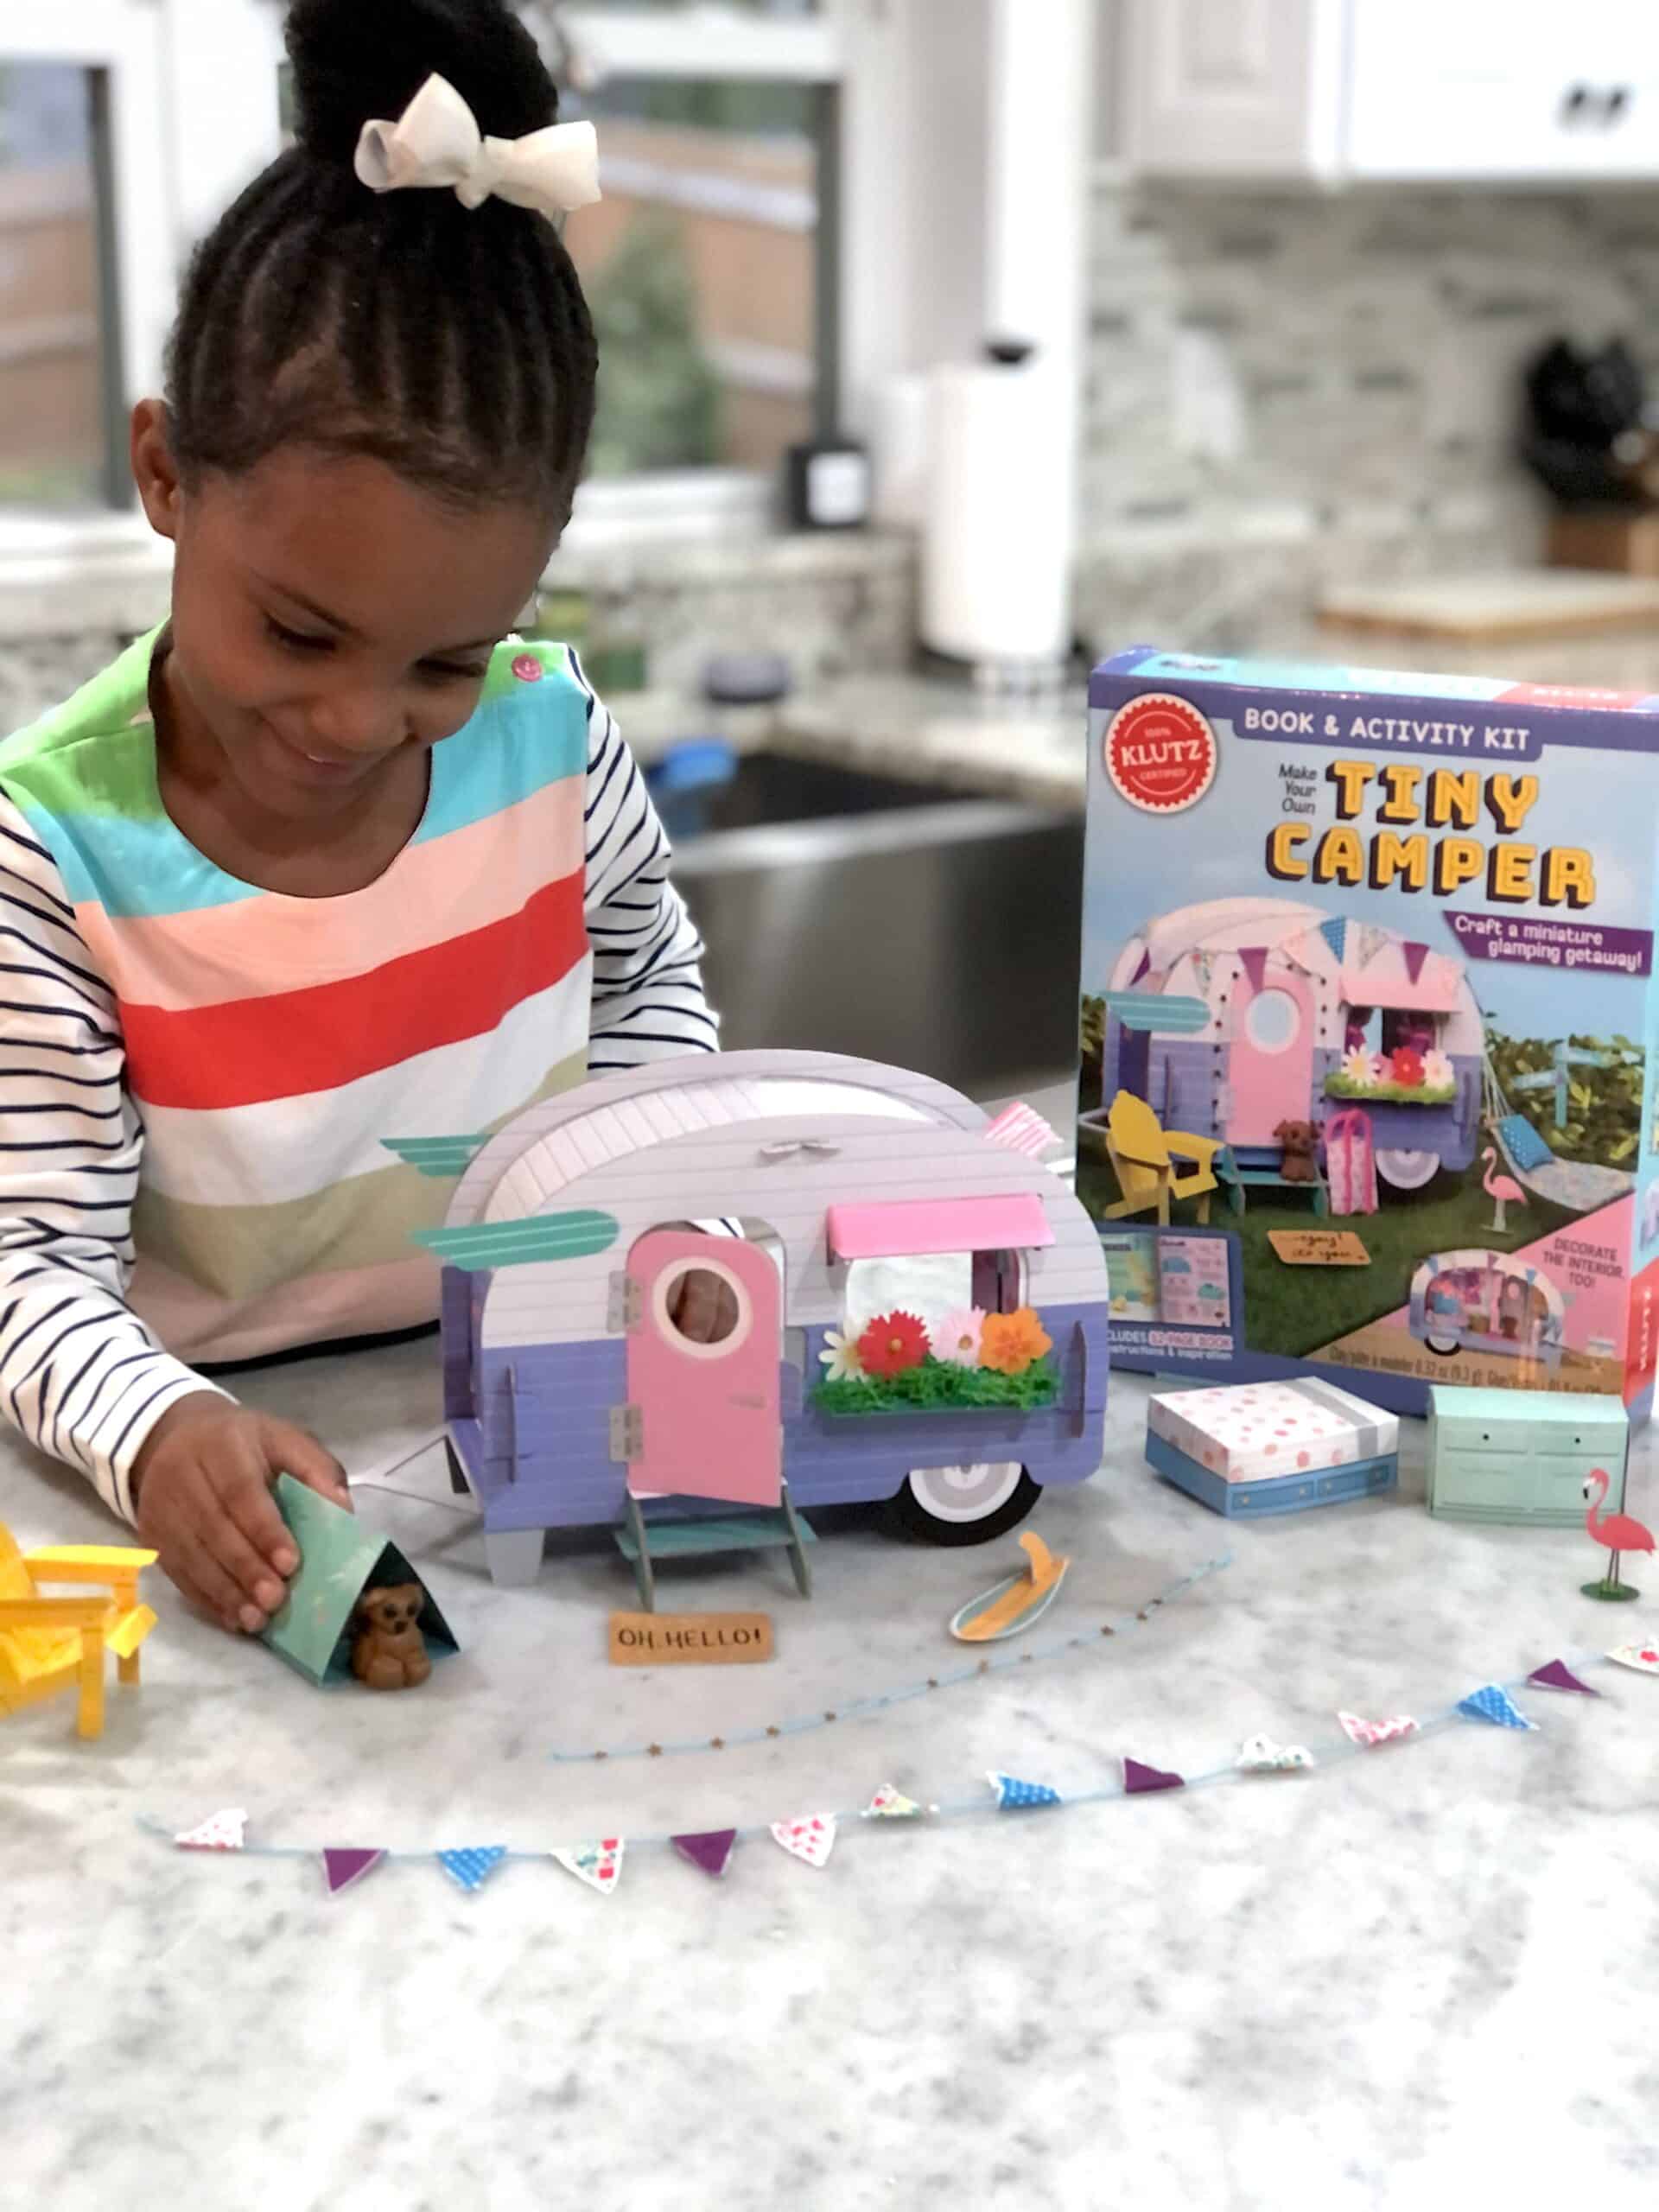
This craft kit literally had more than 20 DIY accessories. Take a look at the list below:
- Chipboard camper pieces
- 3 punch-out sheets (chalked full of adorable props!)
- Glue (the glue dries quickly enough to stick things together if you hold it for 10 seconds, then you can be careful and let it dry completely overnight or for a few hours.)
- 1 fabric sheet with various props
- Stuffing
- Yarn
- Thread
- Oven-bake clay
- Faux fur
- Gold straw
- Wooden sticks
- Star sequins 🙂
- Rads
- Faux moss
- And a tiny umbrella 🙂
Here’s what you should provide:
- A good, sharp pair of scissors
- A ruler- measuring out cut pieces using the directions for a life saver
I suggest taking out all of the materials and taking a look at what you want to build with the kids first.
Then put the rest back in the box for safe keeping. I have a little problem at home. Namely the kids grab things they are interested in and then it disappears somehow.
So if yours are like mine, don’t skip that step! 🙂

Camper Kit Setup and Tips
So let’s talk about setup. There are a few key things that are really important to remember when picking DIY projects for the kids in general.
- Are the kids able to complete it by themselves?
- If the answer to number one is no, then is the craft something creative that the family can have fun with and do together?
I felt like the Scholastic and Klutz Camper Kit provided instructions that were perfect for school aged children and up, but also provided a family project that allowed our daughter to learn how to complete a little project step by step.
The instructions were very clear and easy to follow and all the materials needed were supplied.
We decided to start early in the day to get the main camper set up and save the rest for the evening.
We finished up the final touches the next morning. So that’s about a day and a half, off and on, to complete the project.
Here are a few additional tips for a smooth DIY experience:
- Take everything out and get it ready to follow the instructions.
- You will need paper clips or binder clips to hold different parts together while they dry.
- Make sure you have some good scissors for clean, straight lines! You will be cutting some fabric.
- Once you have finished building one of the props, put it out of reach for drying!

My Takeaways
Again, I believe this craft is perfect for families because there is plenty of fun to go around. My kids particularly loved all the gluing lol.
If you happen to have an older child who can follow simple instructions, this is also a great rainy day weekend project to complete independently.
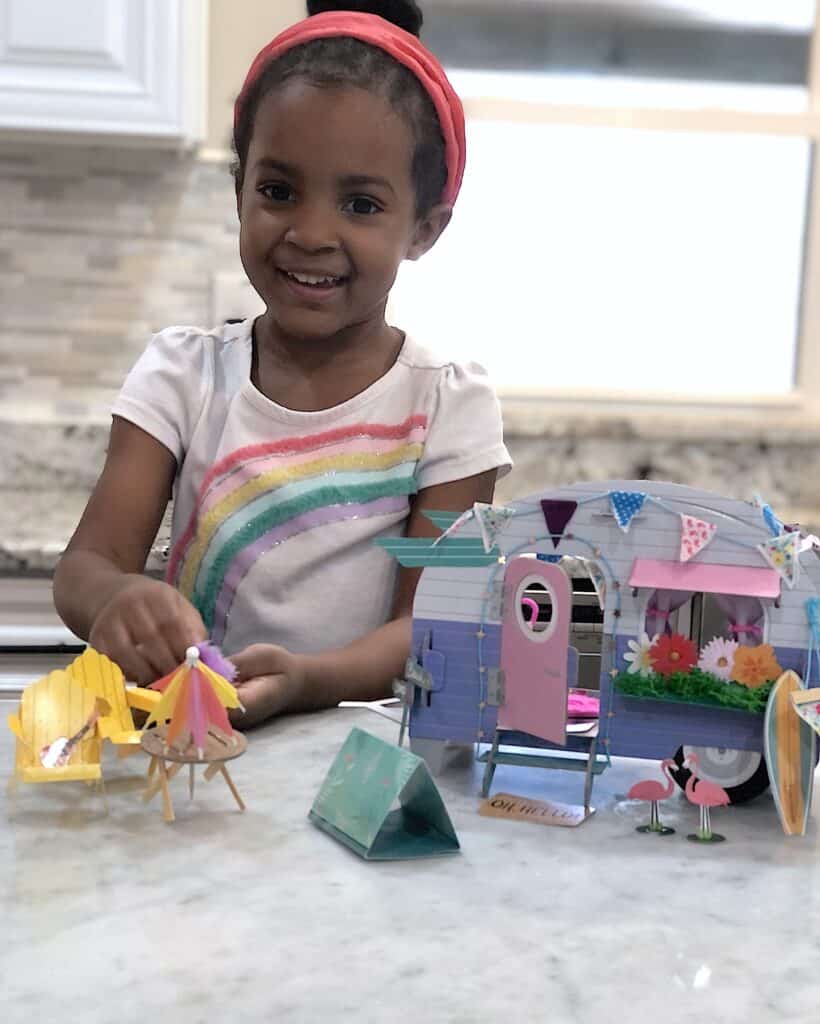
And last but not least, keep in mind that crafts that double as toys are the absolute best! Take your time and make it special! Skyla now has a nice getaway home for her mini dolls now and she gets in lots of pretend play 🙂
Take a look at the fun we had in the video below!
I hope you enjoyed this fun tiny camper craft kit post! Please comment below and let me know if you have had a chance to enjoy any of the Scholastic and Klutz DIY craft kits!
I would love to see some fun family craft night stories! We had such a great time completing this activity and hope you do too.
Welcome to my blog! I am an activity mom of three and I have over 15 years of experience crafting, writing, designing and creating. My mission is to bring fun, balance and learning to your busy homes with activities, tips, inspiration, and organization!


You May Also Like
Fish Crafts For Kids: Brown Paper Fish Tank

10 Awesome Diversity Activities For Kids To Teach Awareness
