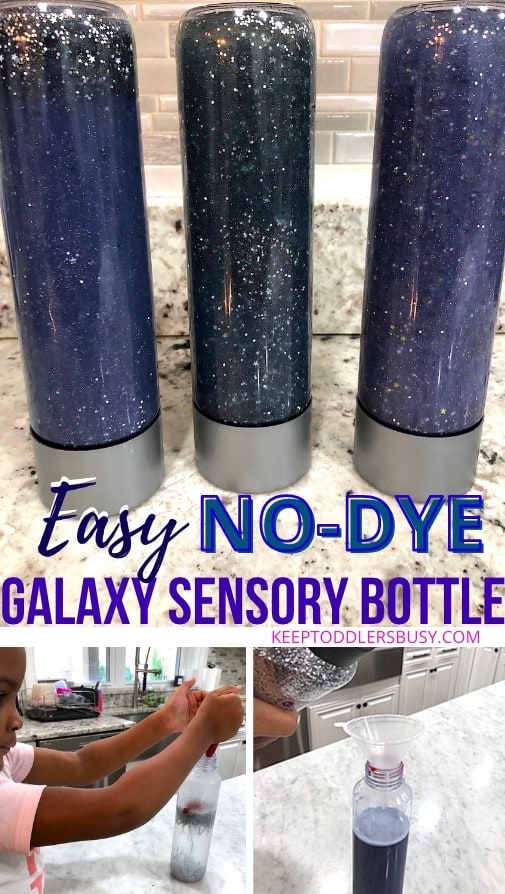
How To Make An Easy No-Dye Galaxy Sensory Bottle For Kids
Make the absolute best galaxy sensory bottle with no permanent dye so the kids can participate!
For the last couple of weeks I have been hooked on sensory bottles, and the kids absolutely love them too. So I thought I would share a recently completed galaxy sensory bottle project I did with the kids and their friends on a zoom call!
Now since this is fairly new for me, I went through some trial and error bottles to find the right recipe to give me what I was looking for, but also maintain some simplicity in terms of materials and process.
I have to say I think we finally found the perfect recipe and again, I’m excited to share it!
This is a fairly low prep activity but it depends on how comfortable you are with mixing the ingredients ?
The great thing is that the kiddies can practice multiple times b mixing different materials if they want to, or just do one and call it a day! Then periodically during the day you will literally have to fight the urge to grab the bottle and shake it!
Then periodically during the day you will literally have to fight the urge to grab the bottle and shake it!
If you are looking for learning activities, visit my post on 15 learning activities or a cute planet paper mache activity I wrote about as well! Also, head on over to Pinterest and follow me for daily update craft ideas!
Enjoy!
Galaxy Sensory Bottle Activity
Keep Toddlers Busy is a participant in the Amazon Services LLC Associates Program, an affiliate advertising program. As an Amazon Associate, I earn from qualifying purchases. Read more about these links in my disclosure policy.
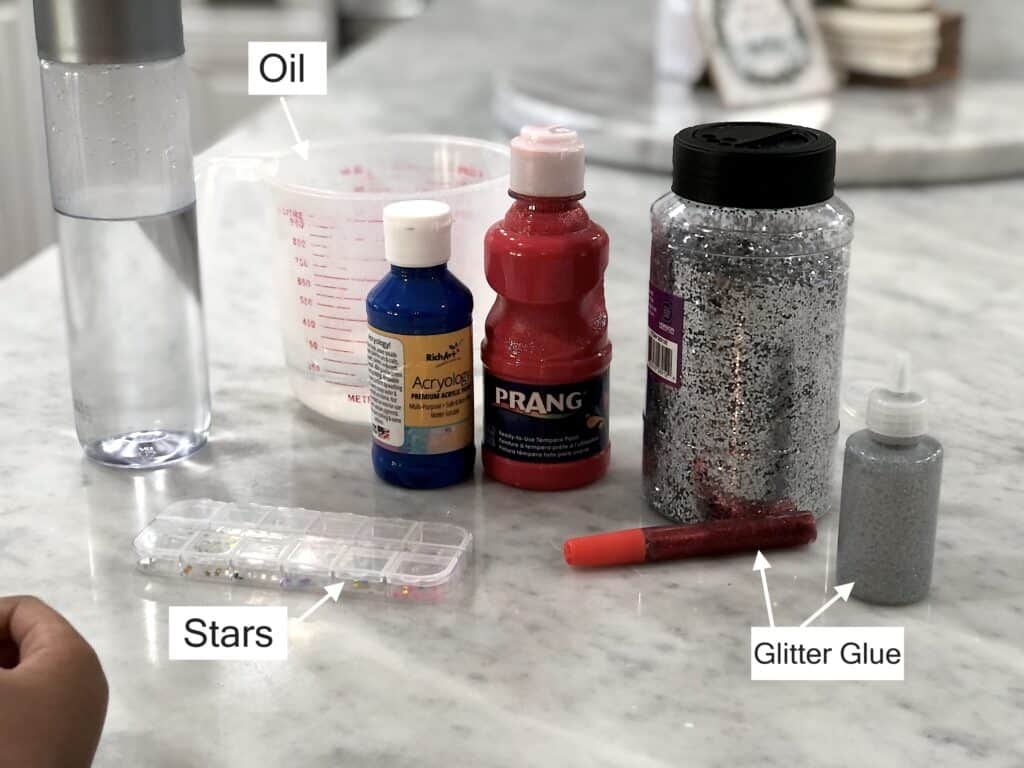
Materials
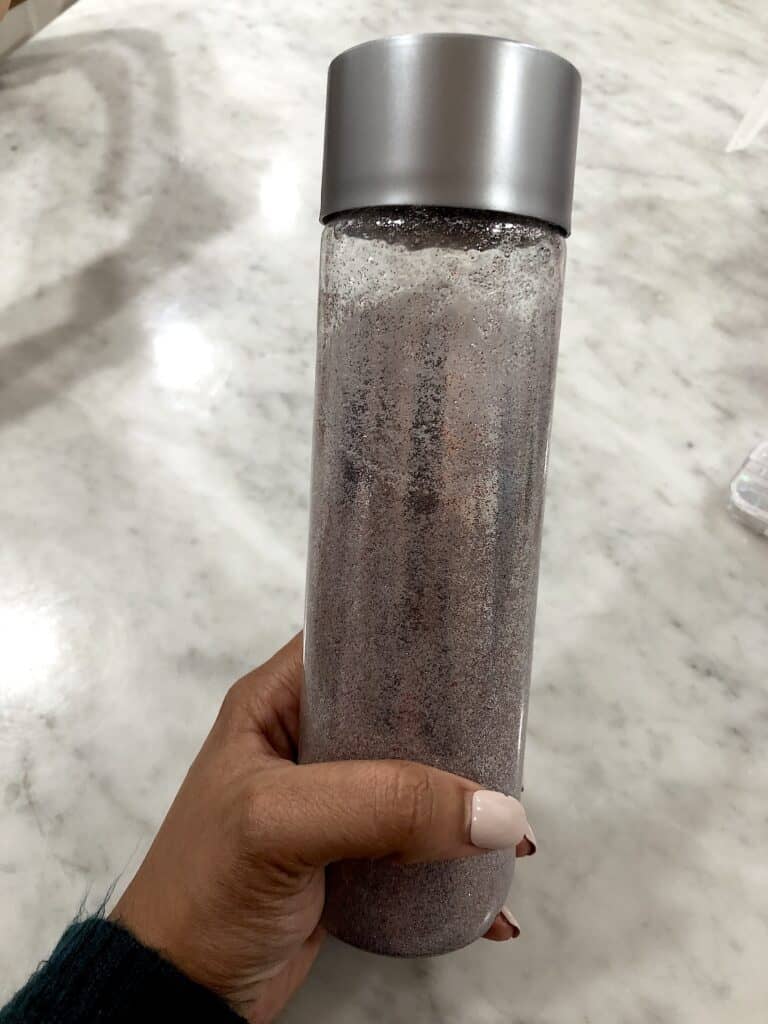
- I used a VOSS bottle (yes we just drank the water) because I just love the way it looks as a sensory bottle. You can find similar bottles online or just use a water bottle with a sturdy cap.
2. Crayola Washable Paint
3. Both Glitter Glue and fine glitter from the dollar store. The glue in the glitter helps slow down the movement of said glitter 🙂
4. Medium Craft Glitter (don’t skip this step! The bigger glitter looks awesome)
5. Baby oil (or any type of clear oil, a light yellow tint is fine)
7. It’s not completely necessary, but a funnel was helpful
8. Gorilla glue for the bottle top!
Instructions
- Start with using warm or even hot water in your bottle to help everything dissolve and mix better. Fill the bottle about 2/3 of the way, but no more than that amount! Sometimes I do a little less to make sure I have room for the other materials.
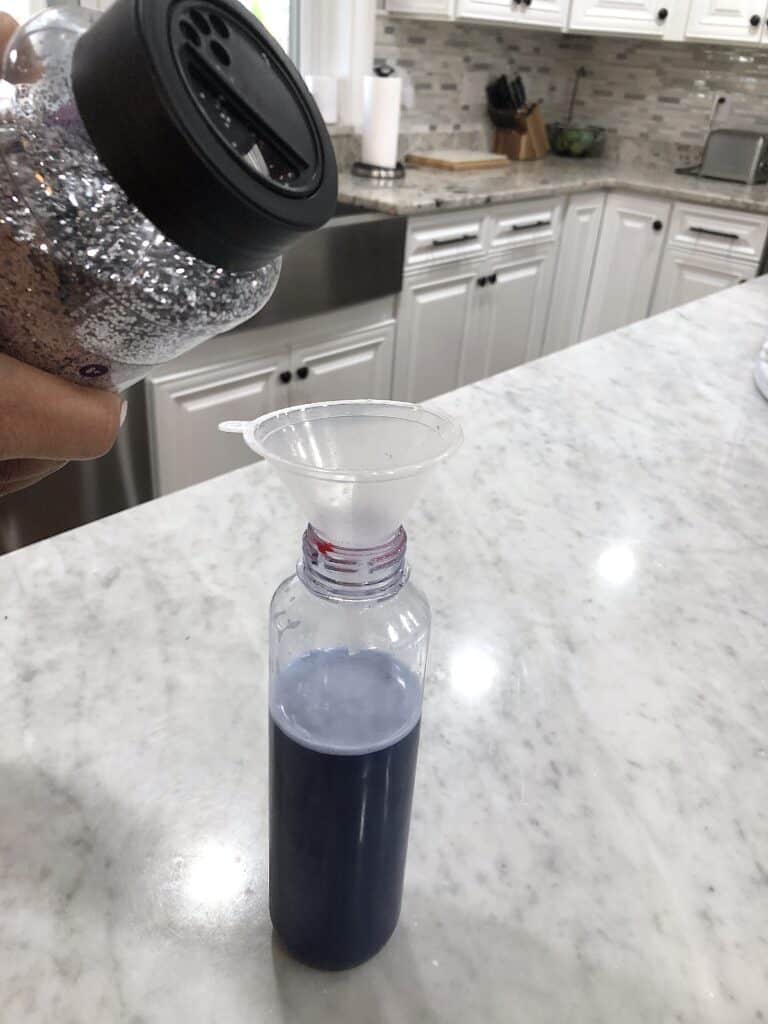
- Next, squirt all of the glitter glue into the bottle. We used a skinny skinny tube of glitter glue along with a bigger bottle of glitter glue in another color. Shake the bottle until the glitter glue is completely mixed.
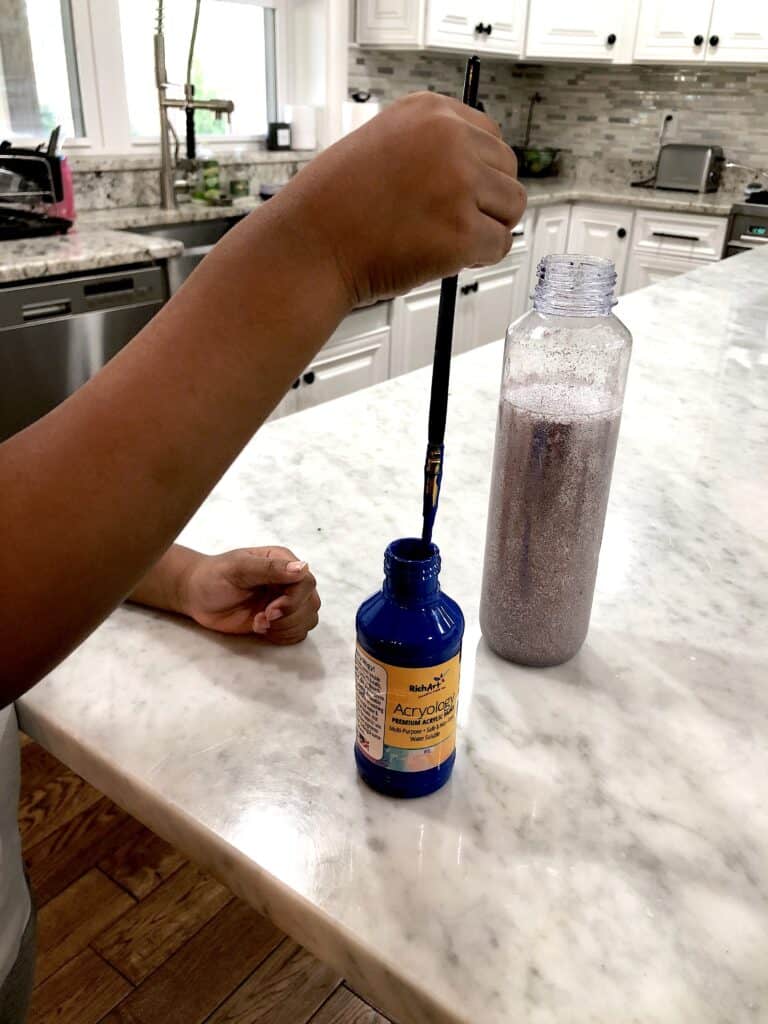
- Then you will add the color!
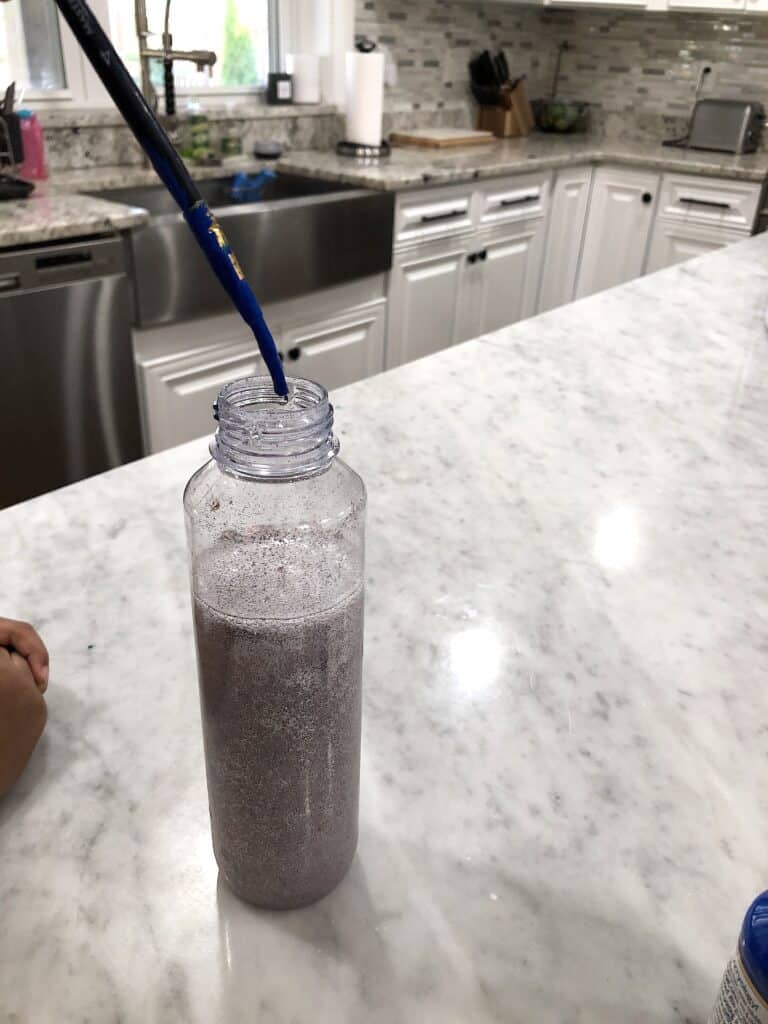
- I decided to use blue paint and red paint to make a bluish-purple midnight’s sky color. You do not need a lot of paint! Just dip the brush in the paint bottle and then mix it in the water!
- If you get a color that is too purple, you can go back and add more blue. Or you can use a completely different color. Your choice!
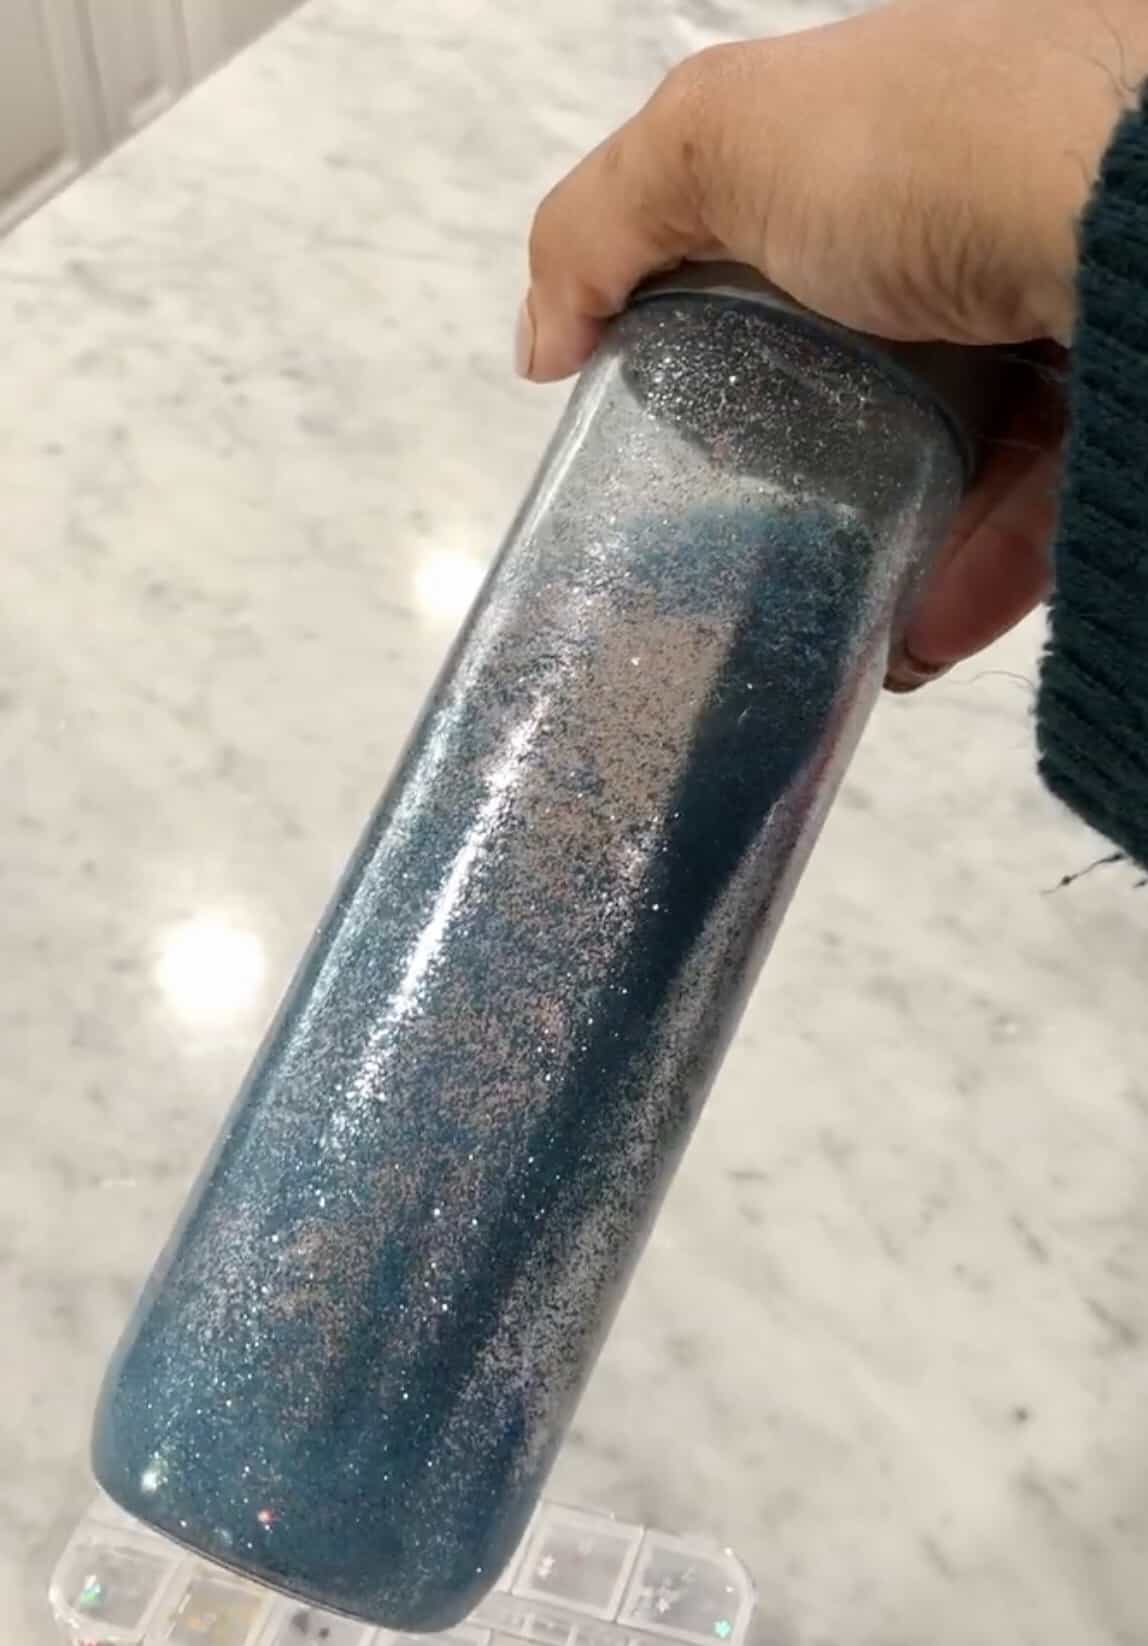
- Next you will notice that after a few minutes, and adding the color, the water is more loose. You can go ahead and add the larger silver glitter and the stars!
- If you choose to add more fine glitter, just be aware that it can change the hue of the galaxy bottle. I like to add my glitter colors in the beginning using the glitter glue.
- Next you can add the baby oil! This step is not necessary, but I love the way that the oil adds a bubble effect that reminds me of galaxy clouds. It also shows a cool lesson in the reaction of oil and water 🙂 Fill most of the remaining space in the bottle with oil.
- Finally, add a little more water. (leave a very small amount of space at the top so the liquid can move)
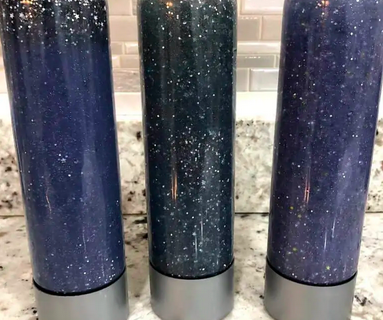
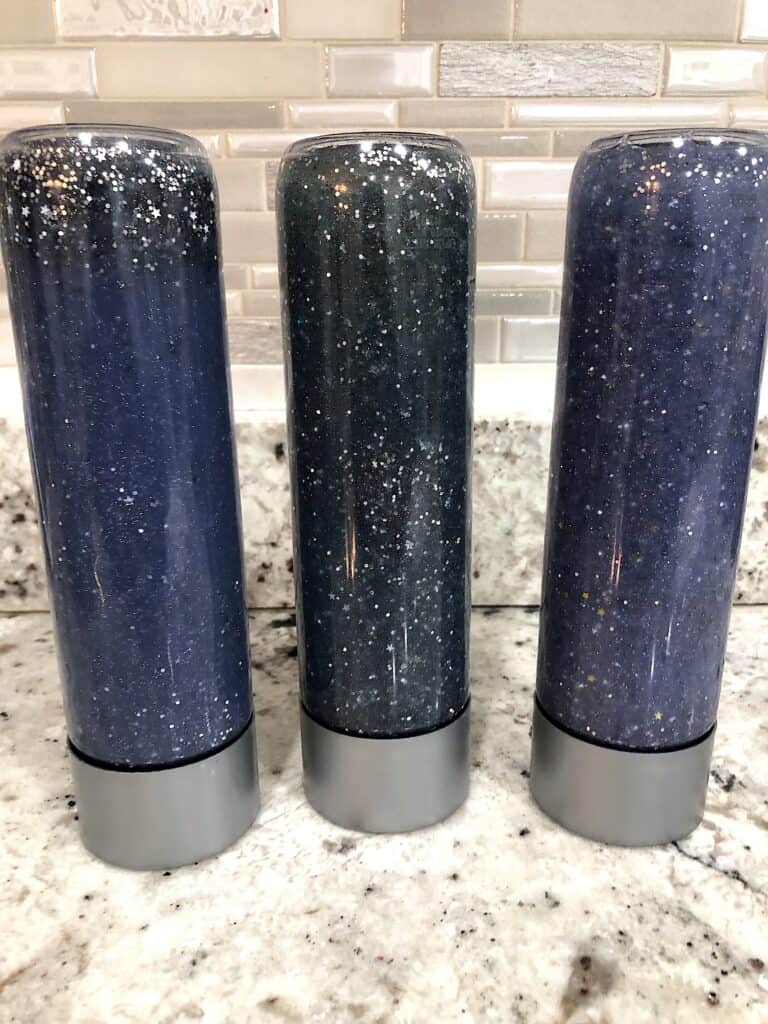
- And there you have it, the perfect little galaxy bottle.
The kids absolutely enjoyed it. Take a look below!

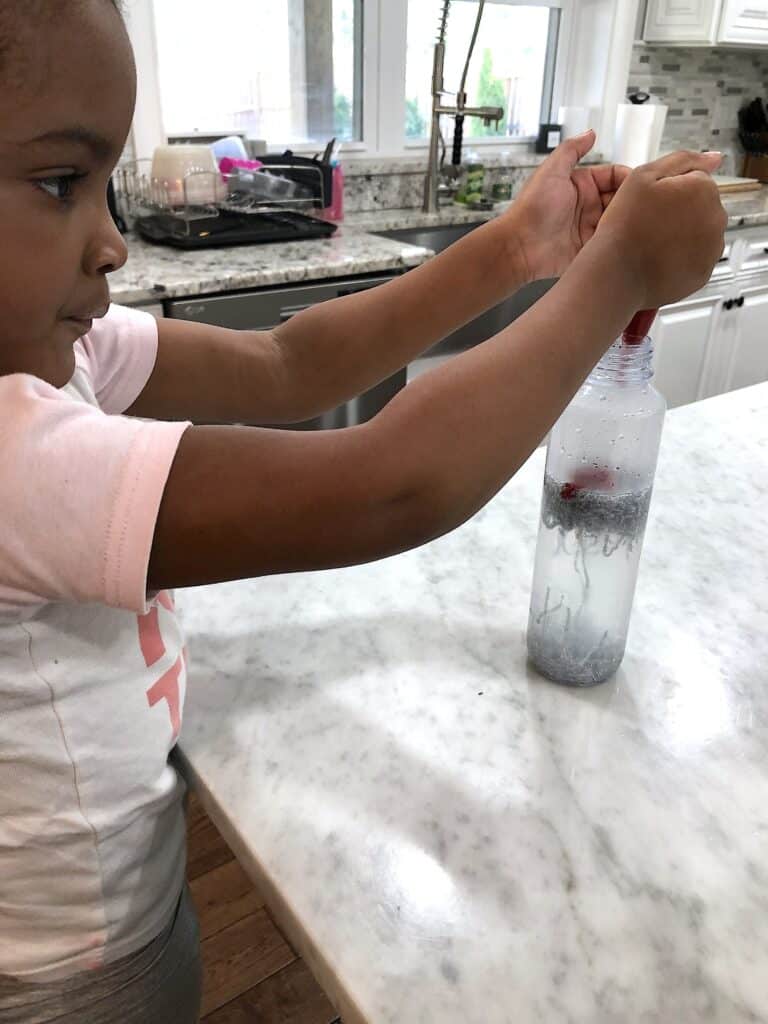

It was so awesome to use this activity to teach my daughter and son about the process of dissolving, mixing colors, and density of liquids. With this activity, we mixed sensory leaning with STEM!
Take a look at a few more pictures I have below! And for more awesome learning activities visit my toddler sensory activity post as well!

I hope you enjoyed this galaxy sensory bottle post and you’re able to incorporator ! It’s pretty easy to set up and your child can practice over and over.
Please comment below and let me know how your sensory bottles turned out! I would love to see some additional ideas to keep the sensory bottle train going!
Remember to sign up for your FREE weekly activities planner on the top or the right side of the page and check out my printables page!
Welcome to my blog! I am an activity mom of three and I have over 15 years of experience crafting, writing, designing and creating. My mission is to bring fun, balance and learning to your busy homes with activities, tips, inspiration, and organization!


You May Also Like
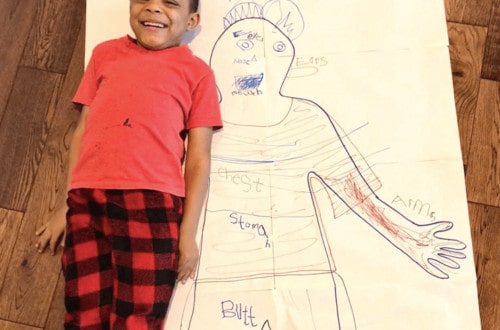
Cool Crafts Kids Will Love: Life-Sized Body Part Labeling
Awesome Solar System Salt Painting for Kids