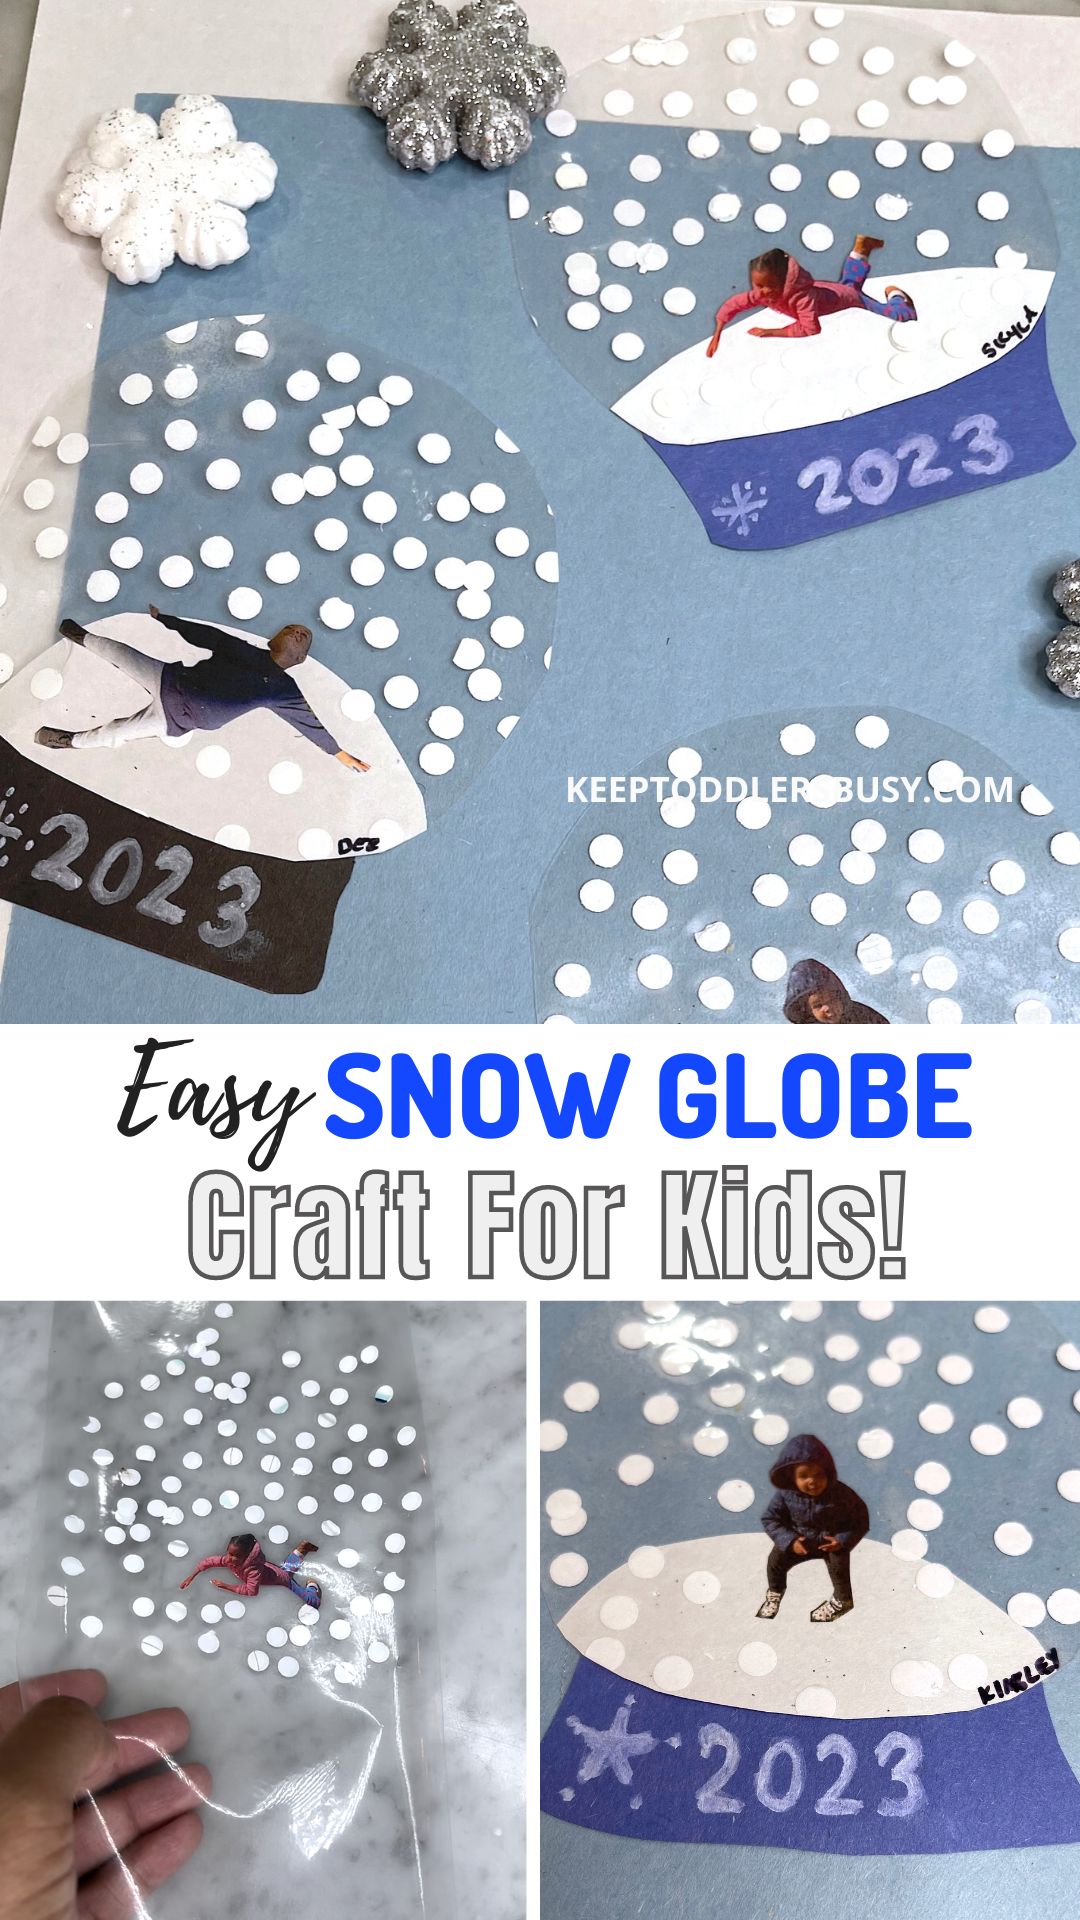
You’ll Love This Easy Winter Snow Globe Craft For Kids
Winter is here again, and what better way to welcome the chilly season than with a dash of creative flair and a sprinkle of snowflake fun? It’s time to gather the kiddos for a crafting session that’s sure to sparkle with our Paper Snow Globe Keepsake Craft for Kids.
All you need are a few simple items from around the house and an eagerness to create. This activity is not only a fun way to develop your child’s fine motor skills and hand-eye coordination, but it also gets them into the spirit of winter.
Let’s roll up our sleeves and start creating a special piece that will add a personal touch to your seasonal decor. And if you’ve been enjoying our crafting series, this snow globe project is sure to be a hit! Don’t forget to follow us on TikTok and Instagram for more engaging crafts and playful activities.
Snow Globe Craft For Kids
We hope you like the products we recommend. Just so you are aware, Keep Toddlers Busy may collect a share of sales from the links on this page. As an Amazon Associate, I earn from qualifying purchases. Read more about our links in my disclosure policy.
Craft Materials
Materials needed for the Paper Snow Globe Craft:
- Contact paper
- White computer paper or construction paper
- A photo of your child enjoying themselves! ( You can cut the background out so it doesn’t have to be winter)
- A hole puncher tool
- Scissors or craft knife
- Glue stick or double-sided tape
- Permanent marker
- Optional: sequins or faux snowflakes for added sparkle
Snow Globe Activity Preparation
Now, let’s break it down step by step:
Capture The Moment
Start by printing out a favorite winter photo of your child. Action shots like playing in the snow, skiing, or sledding are perfect for this project.
Cut It Out
Carefully cut around the image of your child using scissors or a craft knife. For safety, moms should handle this step.
Create a Snowy Backdrop
Cut a piece of white paper into an oval that fits within the size of your contact paper. This will act as the background of your snow globe.
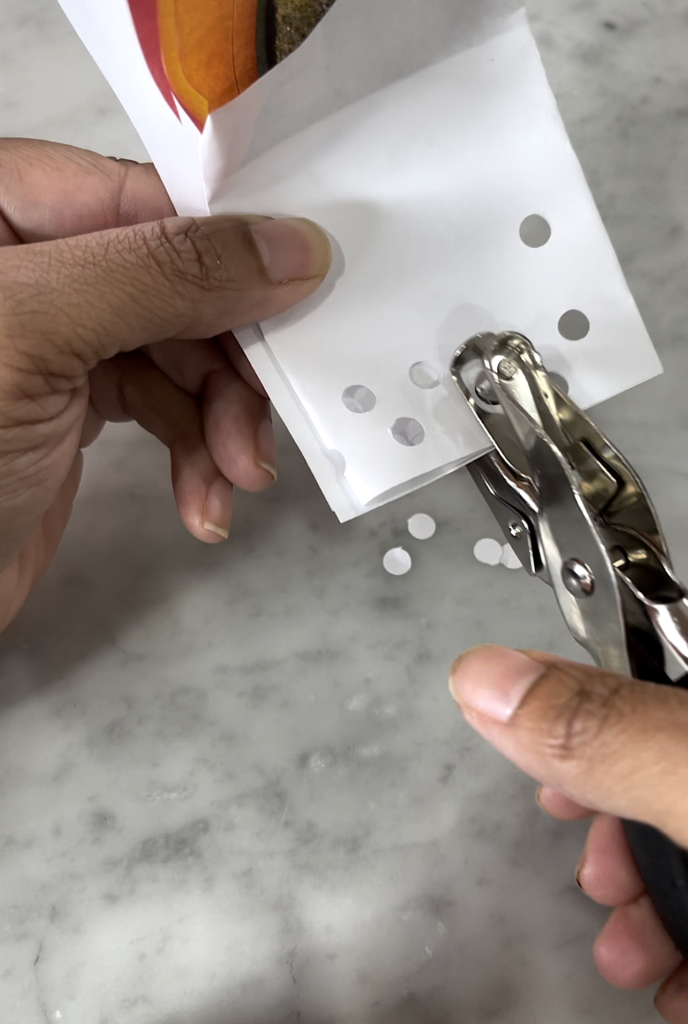
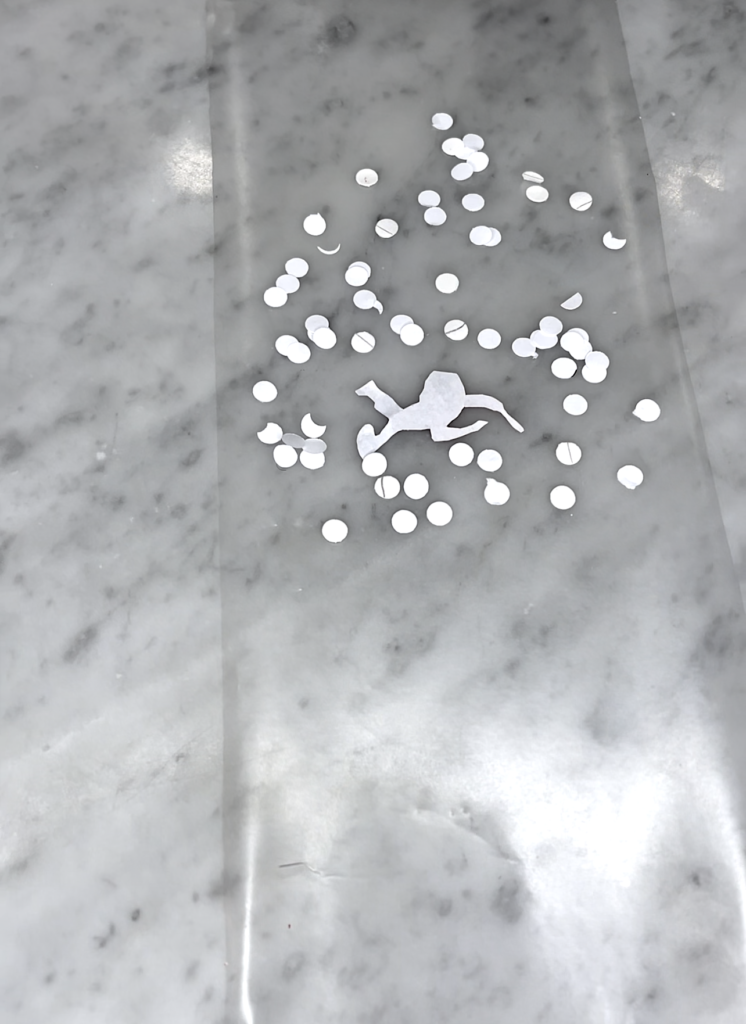
Punching Snow
Punch out white circles from paper to create faux snow. If you don’t have a hole punch, you can use pre-purchased paper circles.
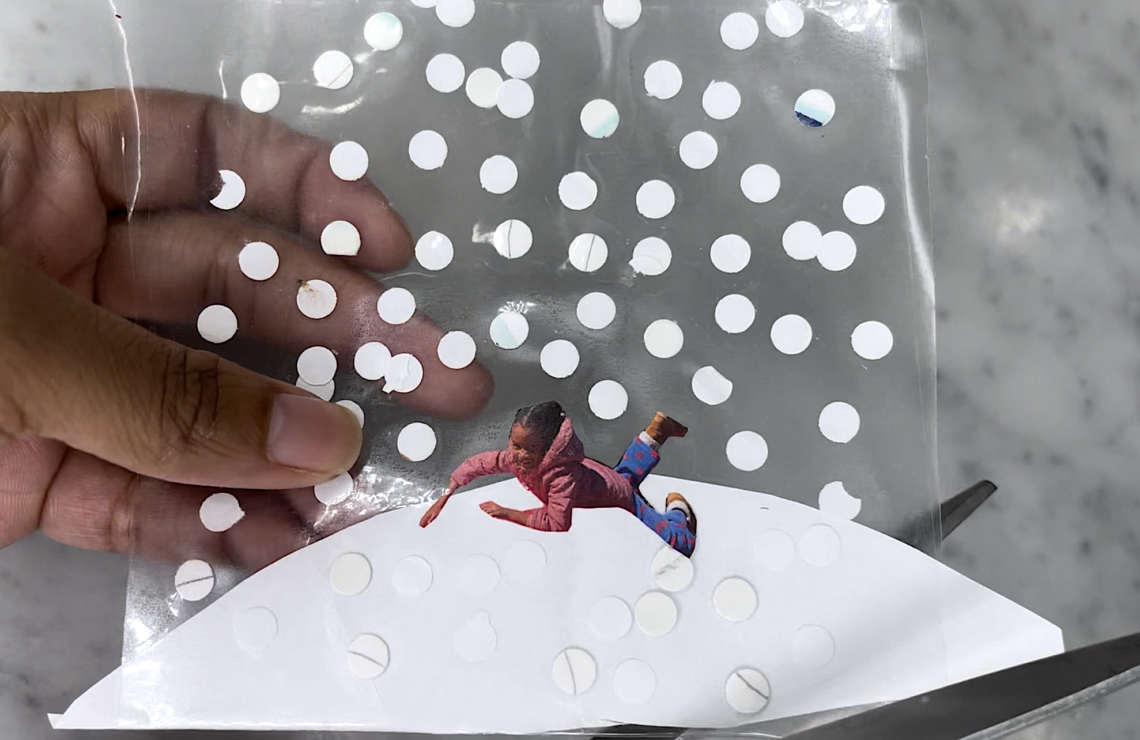
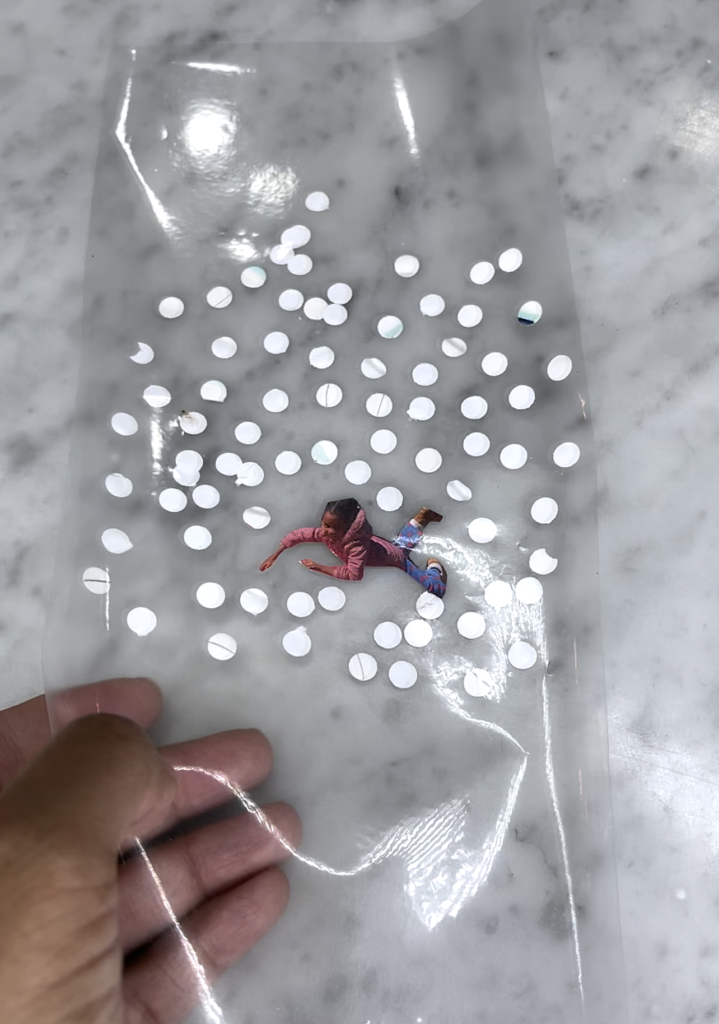
Assemble Your Globe
Lay out one side of the contact paper, sticky side up, and arrange your child’s cutout and the paper snowflakes on it, creating a snowy scene. Make sure to put the photo face-down so that when the globe is turned over, you see the picture!
Seal with Care
Gently fold over the unused portion of contact paper on top, sticky side down, to seal in your winter wonderland. Smooth out any air bubbles and ensure it’s well sealed.
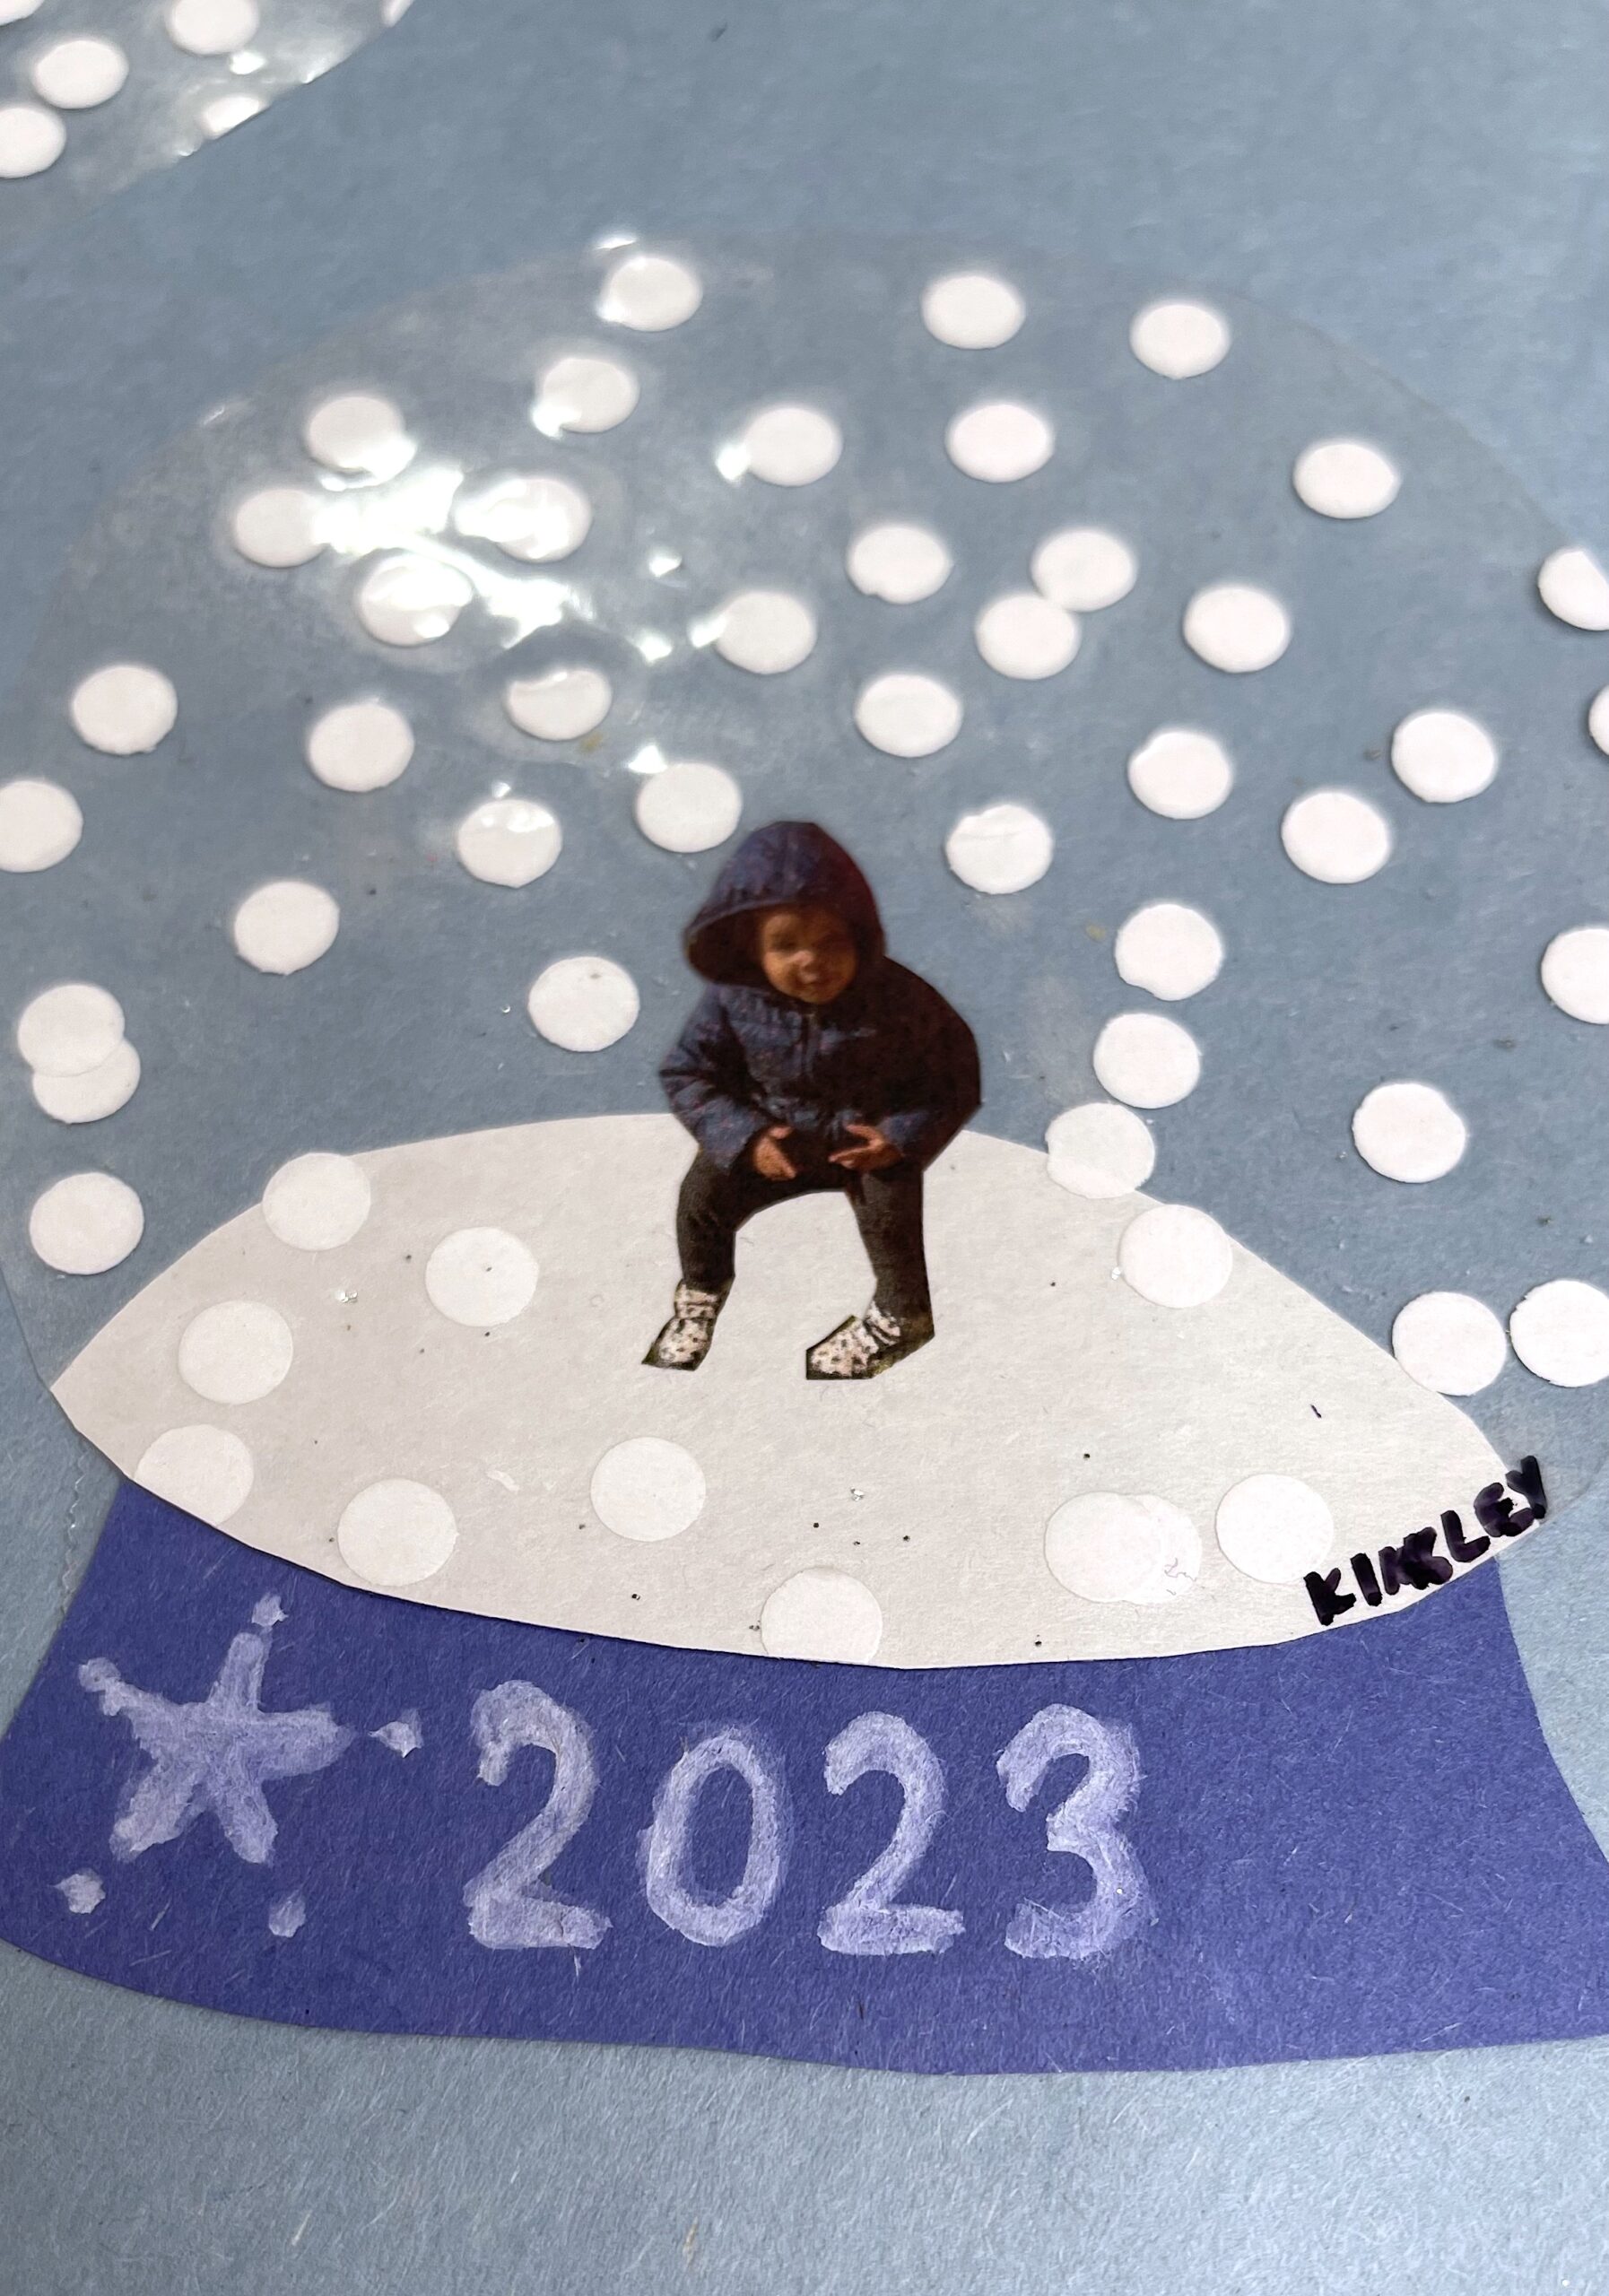
Date or Name
Use a permanent marker to write the year or your child’s name at the base of the cardstock or paper, turning it into a keepsake.
Display Your Craft
Your Paper Snow Globe can now be proudly displayed on a window, refrigerator, or wall, adding a personalized touch to your holiday decor.
As you place the finishing touches on your Paper Snow Globe Keepsakes, take a moment to appreciate the joy of crafting together. This craft goes beyond scissors and paper—it’s a hands-on opportunity for your kids to learn about the wonders of winter while honing their fine motor skills.

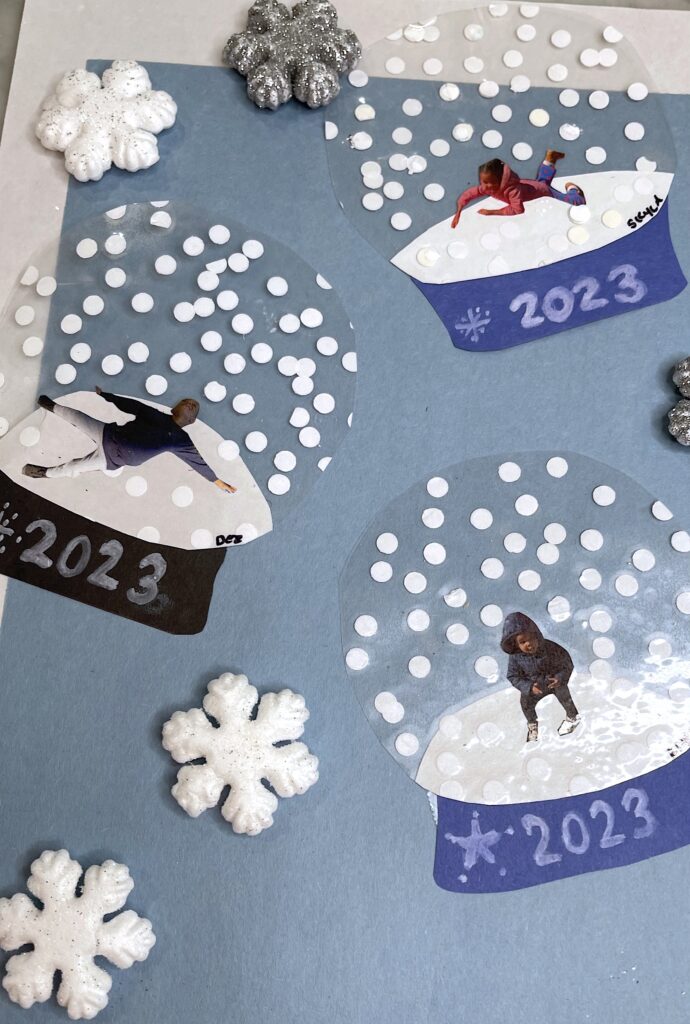
This snow globe craft is not just a fleeting holiday activity, but a treasure that can adorn your home year after year, bringing back sweet memories each time it’s displayed. And the best part? It’s a gift of time, creativity, and love that your children have crafted with their own two hands.
Stay tuned for more craft ideas. Enjoy this merry little project, and may your holidays be filled with laughter, learning, and the warmth of family time well spent. Happy crafting, moms!
Welcome to my blog! I am an activity mom of three and I have over 15 years of experience crafting, writing, designing and creating. My mission is to bring fun, balance and learning to your busy homes with activities, tips, inspiration, and organization!


You May Also Like

5 Sports That Are Amazing For Developing Motor Skills In Children
10 Awesome Fine Motor Activities Preschoolers Will Love