


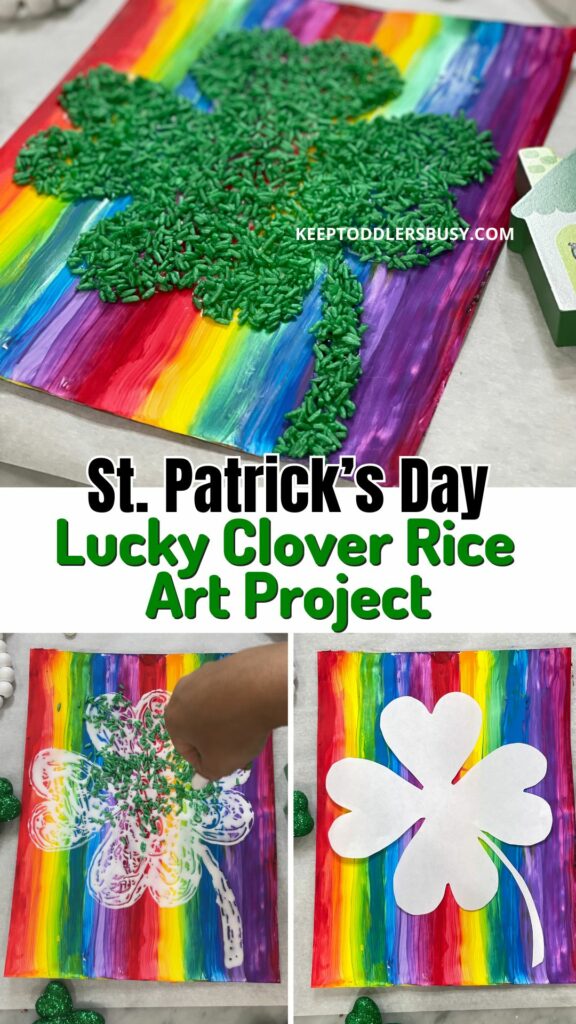
The Best St. Patrick’s Day Craft Your Kids Will Love
Growing up on the east coast, March has always been the celebration of the beginning of Spring. Slightly warmer weather, flowers, and new life make it a great time of year (minus the allergies).
In recent years, I have really started to lean into. the start of this season, and St. Patrick’s Day is part of the fun!
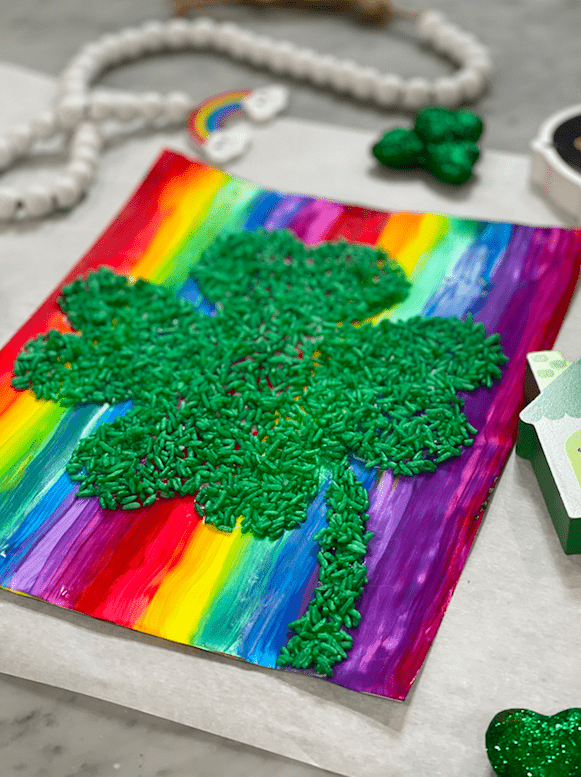
Today I want to share one of my favorite projects for kids – creating rice art featuring shapes representative of this holiday. Let’s explore how you can blend creativity with with St. Patricks day!
For more ways to celebrate, check out my rainbow activities for kids!
Gathering Your Craft Supplies
Before diving into the creative process, it’s essential to gather the right materials. As they say,
Every masterpiece begins with the right tools. Check out my list below!
We hope you like the products we recommend. Just so you are aware, Keep Toddlers Busy may collect a share of sales from the links on this page. As an Amazon Associate, I earn from qualifying purchases. Read more about our links in my disclosure policy.
Here’s what you’ll need:
- Watercolor set (including green)
- Drawing paper or card stock
- Paper Towels
- Craft knife or butter knife
- Printed image
- Scissors and glue
- Rice
- Plastic zip bag
- Parchment paper
Creating Captivating Art
With supplies in hand, I prepared my workspace, ensuring everything was within reach. We painted the rice with black watercolor to create a striking silhouette that pops.
Prepare The Rice
- Start by pouring your desired amount of rice into a ziplock baggie.
- Next, pour your green water paint into the bag of rice.
- Then close the bag, leaving no air inside.
- Next, mix the paint and rice until all the rice is cover with the paint, adding more paint if necessary.
- Finally, pour the colored rice out on Parchment paper, spread thin, and let it dry.
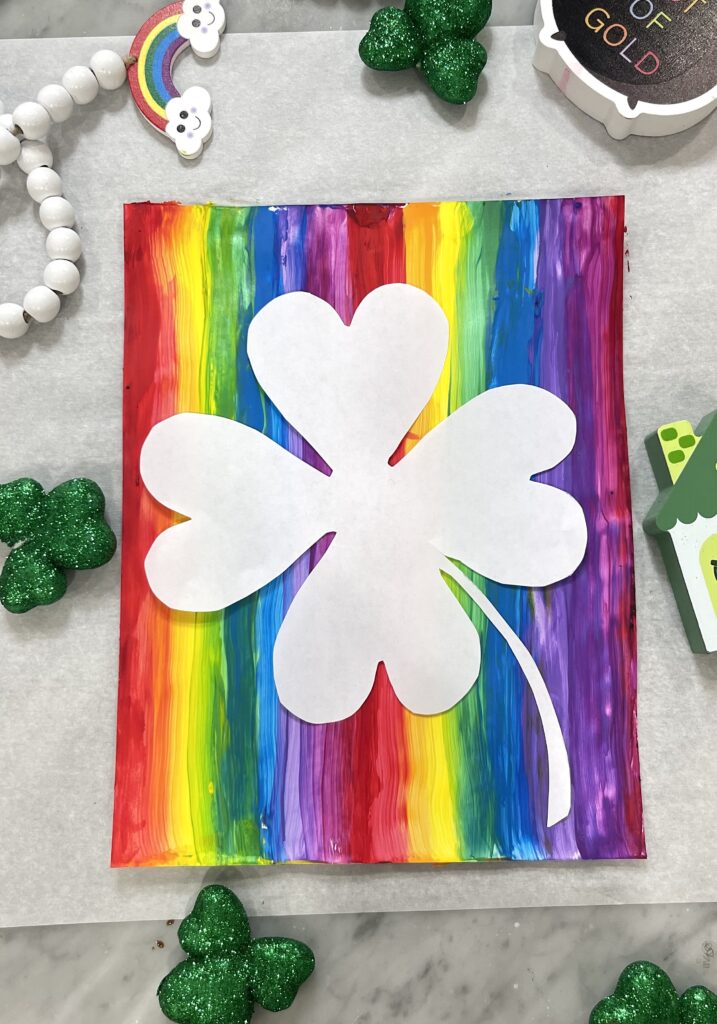
Print the Clover
- While the rice is drying, carefully cut the chosen clover from the paper.
2. Keep this on hand until needed
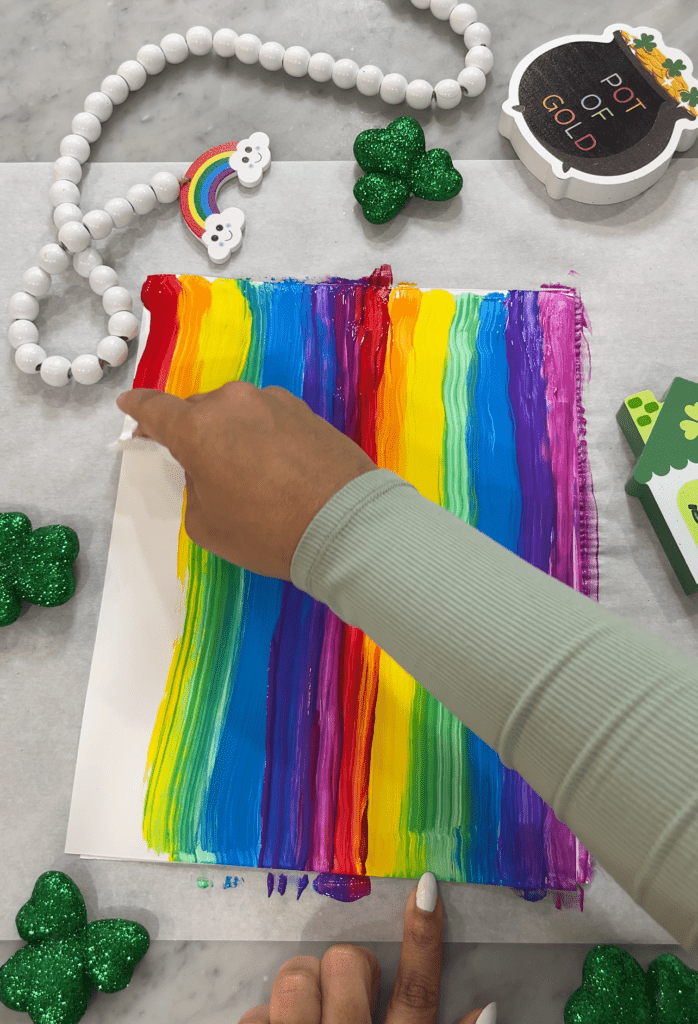
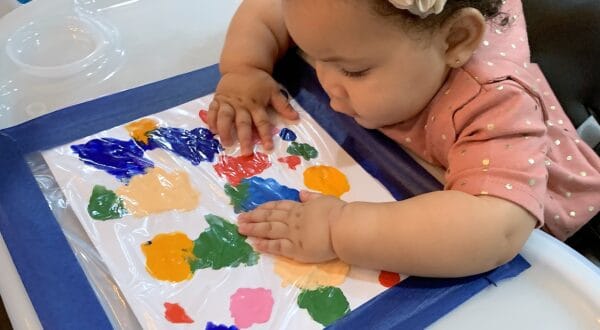
Creating the Background
- Using your card stock, add healthy drops of paint to the top of the paper
- Use a napkin to drag and smudge the colors down the page
- Let it dry!
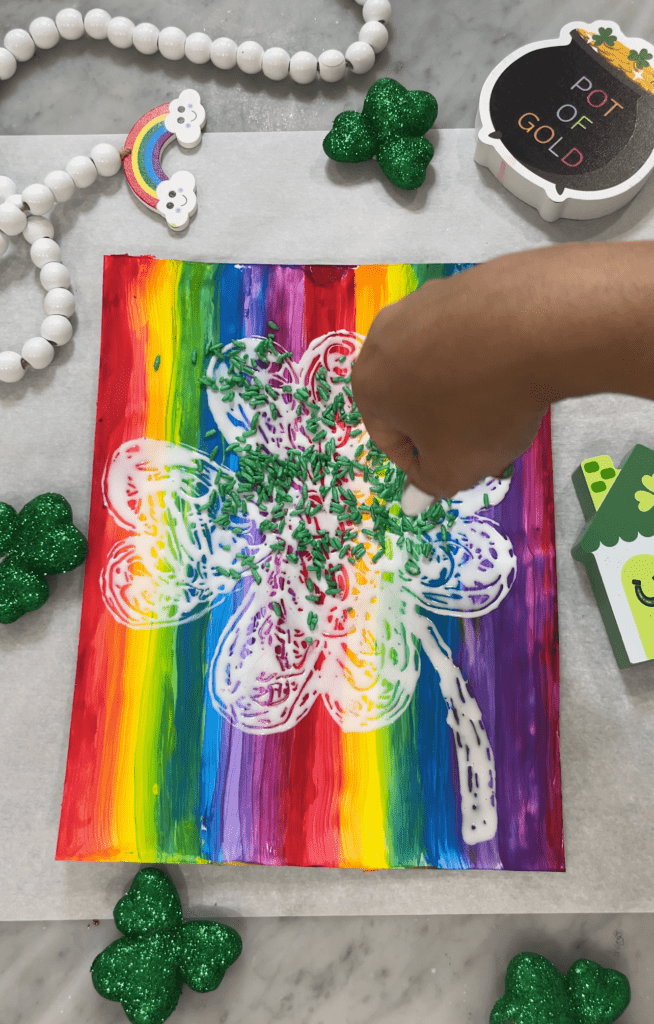
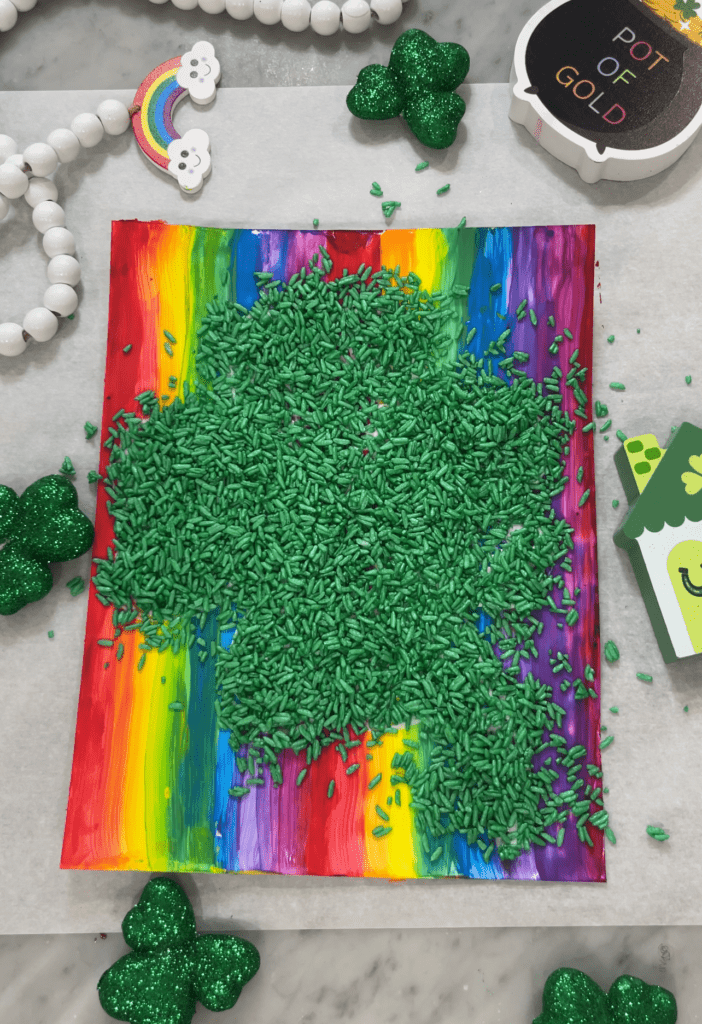
Assembling The Rice Artwork
Precision is key to capturing the essence of your clover.
- Place the picture on the dried background
- Trace the clover with glue
- Fill in the traced clover with more glue, remember to spread thin.
- Sprinkle the rice on the glue
- Use the cut out clover as a guide to adjust the rice where needed
- Let dry!
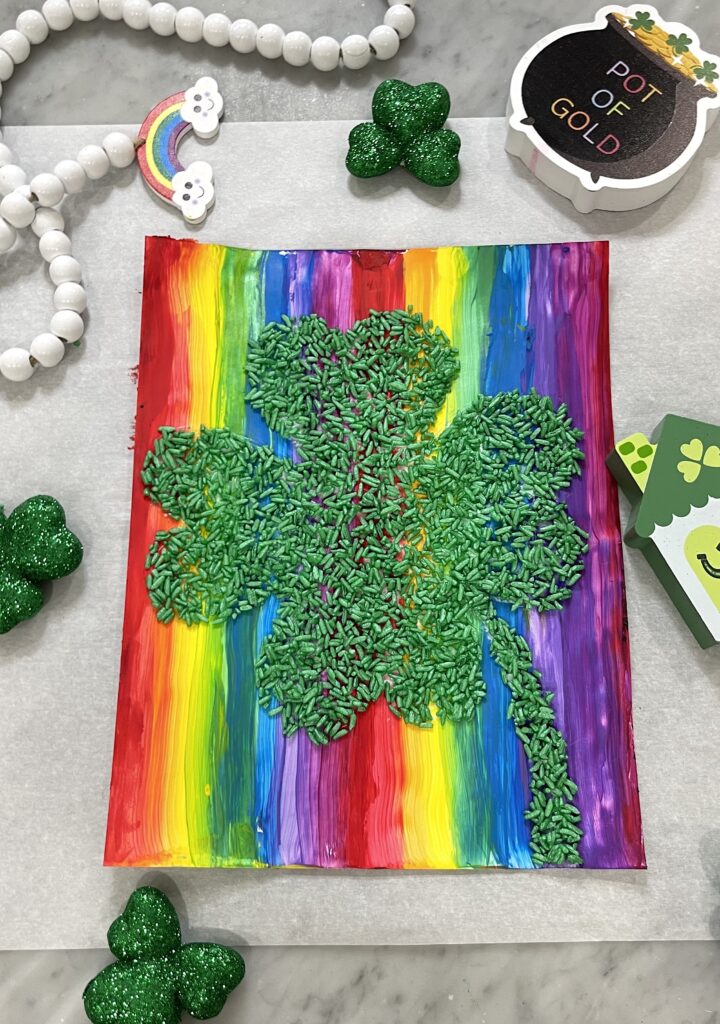
Let your art speak for itself!


The Significance of DIY Art Projects
Projects like these do more than beautify a space; they foster appreciation for history and culture. They also promote engaging educational activities and build community through shared experiences.
Art projects like these encourage us to see history through a new lens and appreciate holidays that may not be a part of our own culture.
Tips for a Successful Project
Here are some tips I found helpful:
- Stay patient and enjoy the creative process. Allow the time for drying in each step!
- Experiment with different techniques. Next time I will be using canvas!
- Share your art and inspire others.
Conclusion: A Creative Project
Reflecting on this project, I realized how much I learned about other holidays I didn’t grow up with. This experience has inspired me to explore other holidays in future projects as well!
Art is not what you see, but what you help others see.
Combine art and history with this guide to crafting silhouette art projects in honor of St. Patrick’s Day crafting using simple materials and creative techniques.
Welcome to my blog! I am an activity mom of three and I have over 15 years of experience crafting, writing, designing and creating. My mission is to bring fun, balance and learning to your busy homes with activities, tips, inspiration, and organization!


One Comment
Christina Conner
Love love love it