

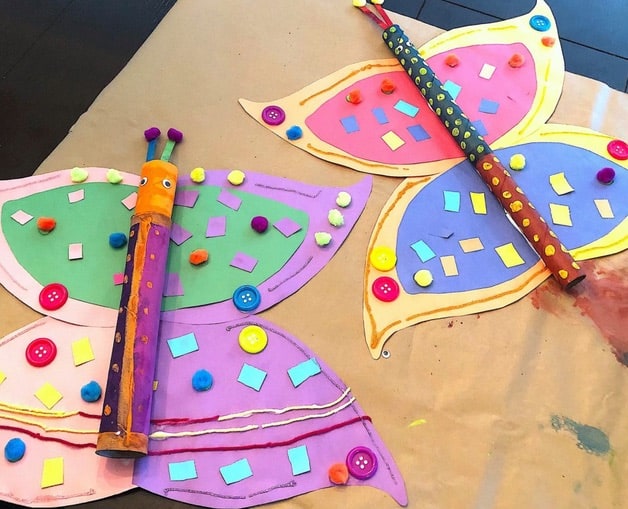
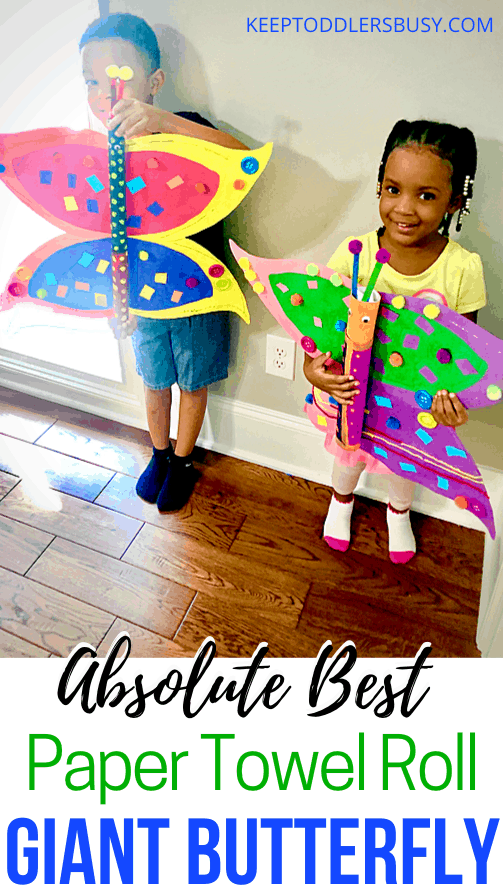
Paper Towel Roll Crafts: Giant Butterfly
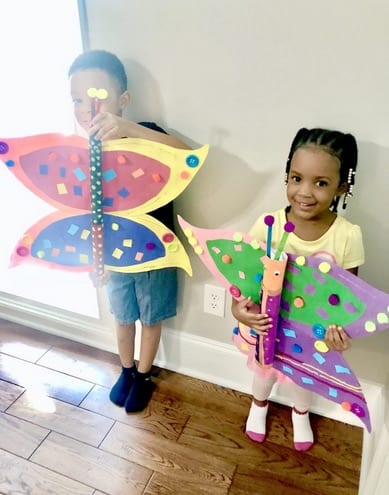
I’m am pretty excited to share this awesome project the kids and I did this week! Paper towel roll crafts have always been a super fun way to keep to kids entertained so I was not surprised that we had a load of fun with this and it turned out great!
This is a longer project for one of those raining days and it was right on time. The kids even had to take a break at one point and we came back to it later. sometimes those are the best projects when you have a full day in the house and you don’t want to hear “I’m bored” or as my daughter says, “I want something to do!”. LOL..
The set up for this is super easy but takes a few to get all of the supplies prepared. So take a look at how we did this toddler project quick and easy!
If you love activity ideas, check out my recent post on 85 toilet paper roll activities and also my homeschool supplies list post to prepare for home schooling if you are new to it! Also, head on over to Pinterest and follow me for daily update craft ideas!
Giant Butterfly Paper Towel Roll Craft
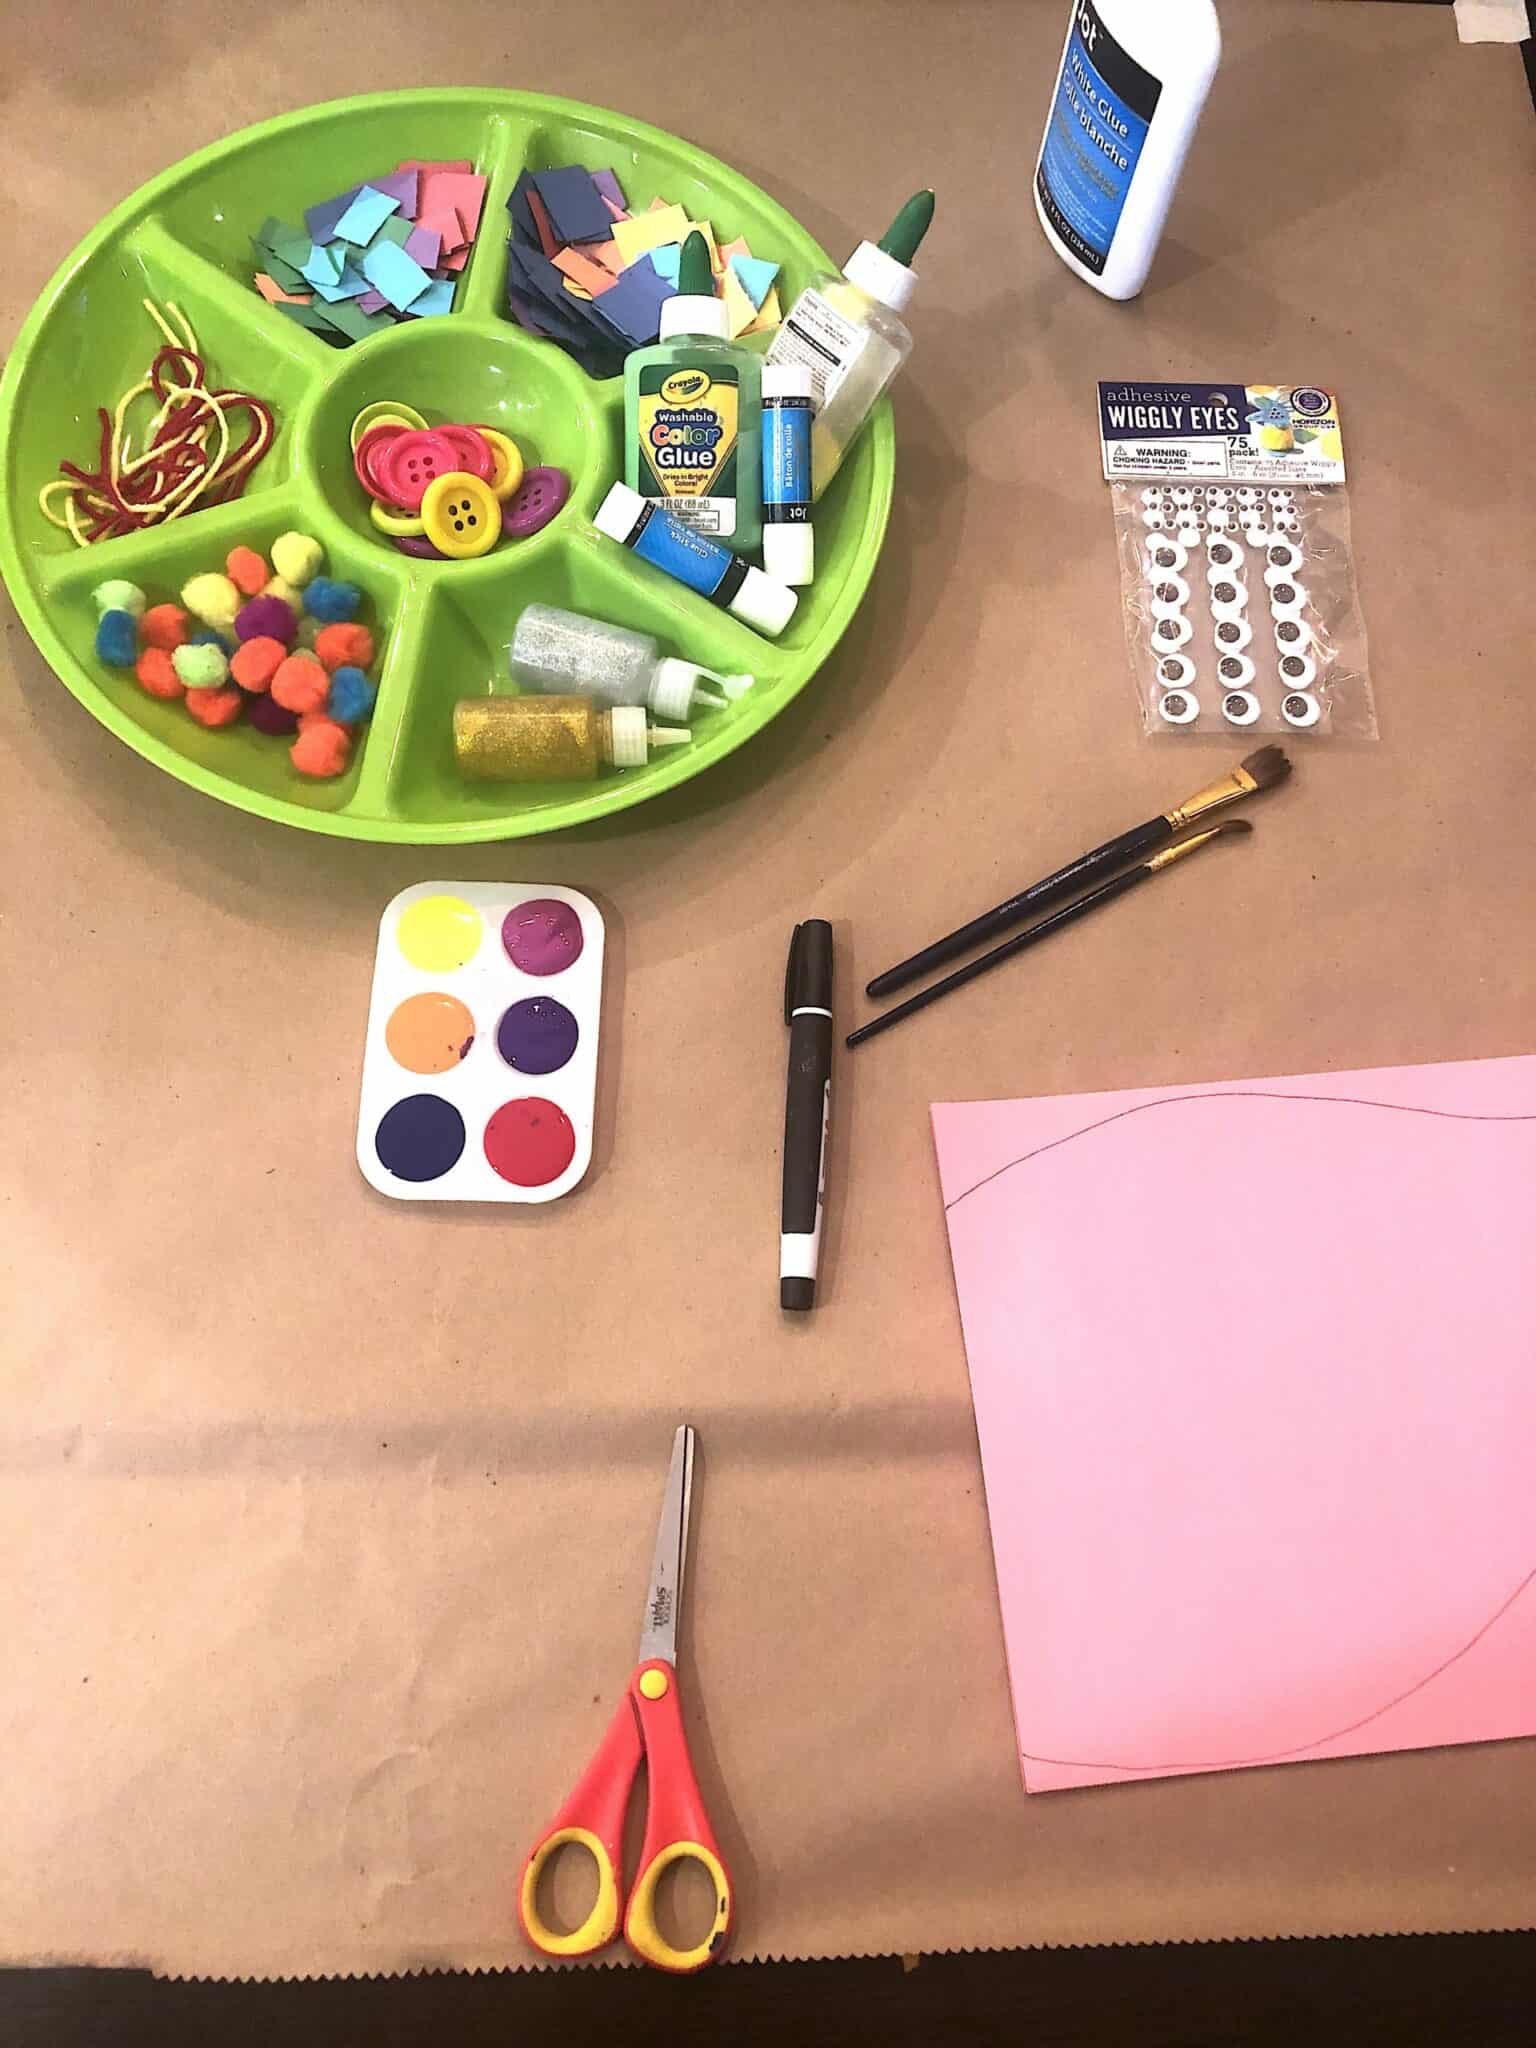
Craft Materials
- Construction paper and Multiple paper towel rolls for the butterflies, (actually the skinnier tube used was the roll left over from my aluminum foil)
- Sticky Eyes
- Decorating Supplies of your choice- I used pom poms, paper squares, buttons, glitter glue, and yarn.
- Elmer’s glue and glue sticks
- Colored popsicle sticks for the antennae
- Large roll of Brown Paper. If you look at some of my latest posts, you will see that I use this a lot. I usually buy three or four at a time because they can be used for sooo many things but you can get thicker rolls online here.
- Washable Paint for Kids- My favorite brand is Crayola washable paint and brushes.
8. I use paint tape to hold the paper down because it comes up easy and doesn’t leave residue behind.
9. Art smocks of art bibs for the kids. I currently use this smock but I’m looking to get one with sleeves like this one. Or just throw on an old shirt!
Keep Toddlers Busy is a participant in the Amazon Services LLC Associates Program, an affiliate advertising program. As an Amazon Associate, I earn from qualifying purchases. Read more about these links in my disclosure policy.
Butterfly Craft Instructions
PREPARATION (10 min)
- I Prepared this craft ahead of time while the kids were eating. I gathered all the supplies and put them in my tray so everything can be seen and reachable. This makes things so much easier for all of our crafts.
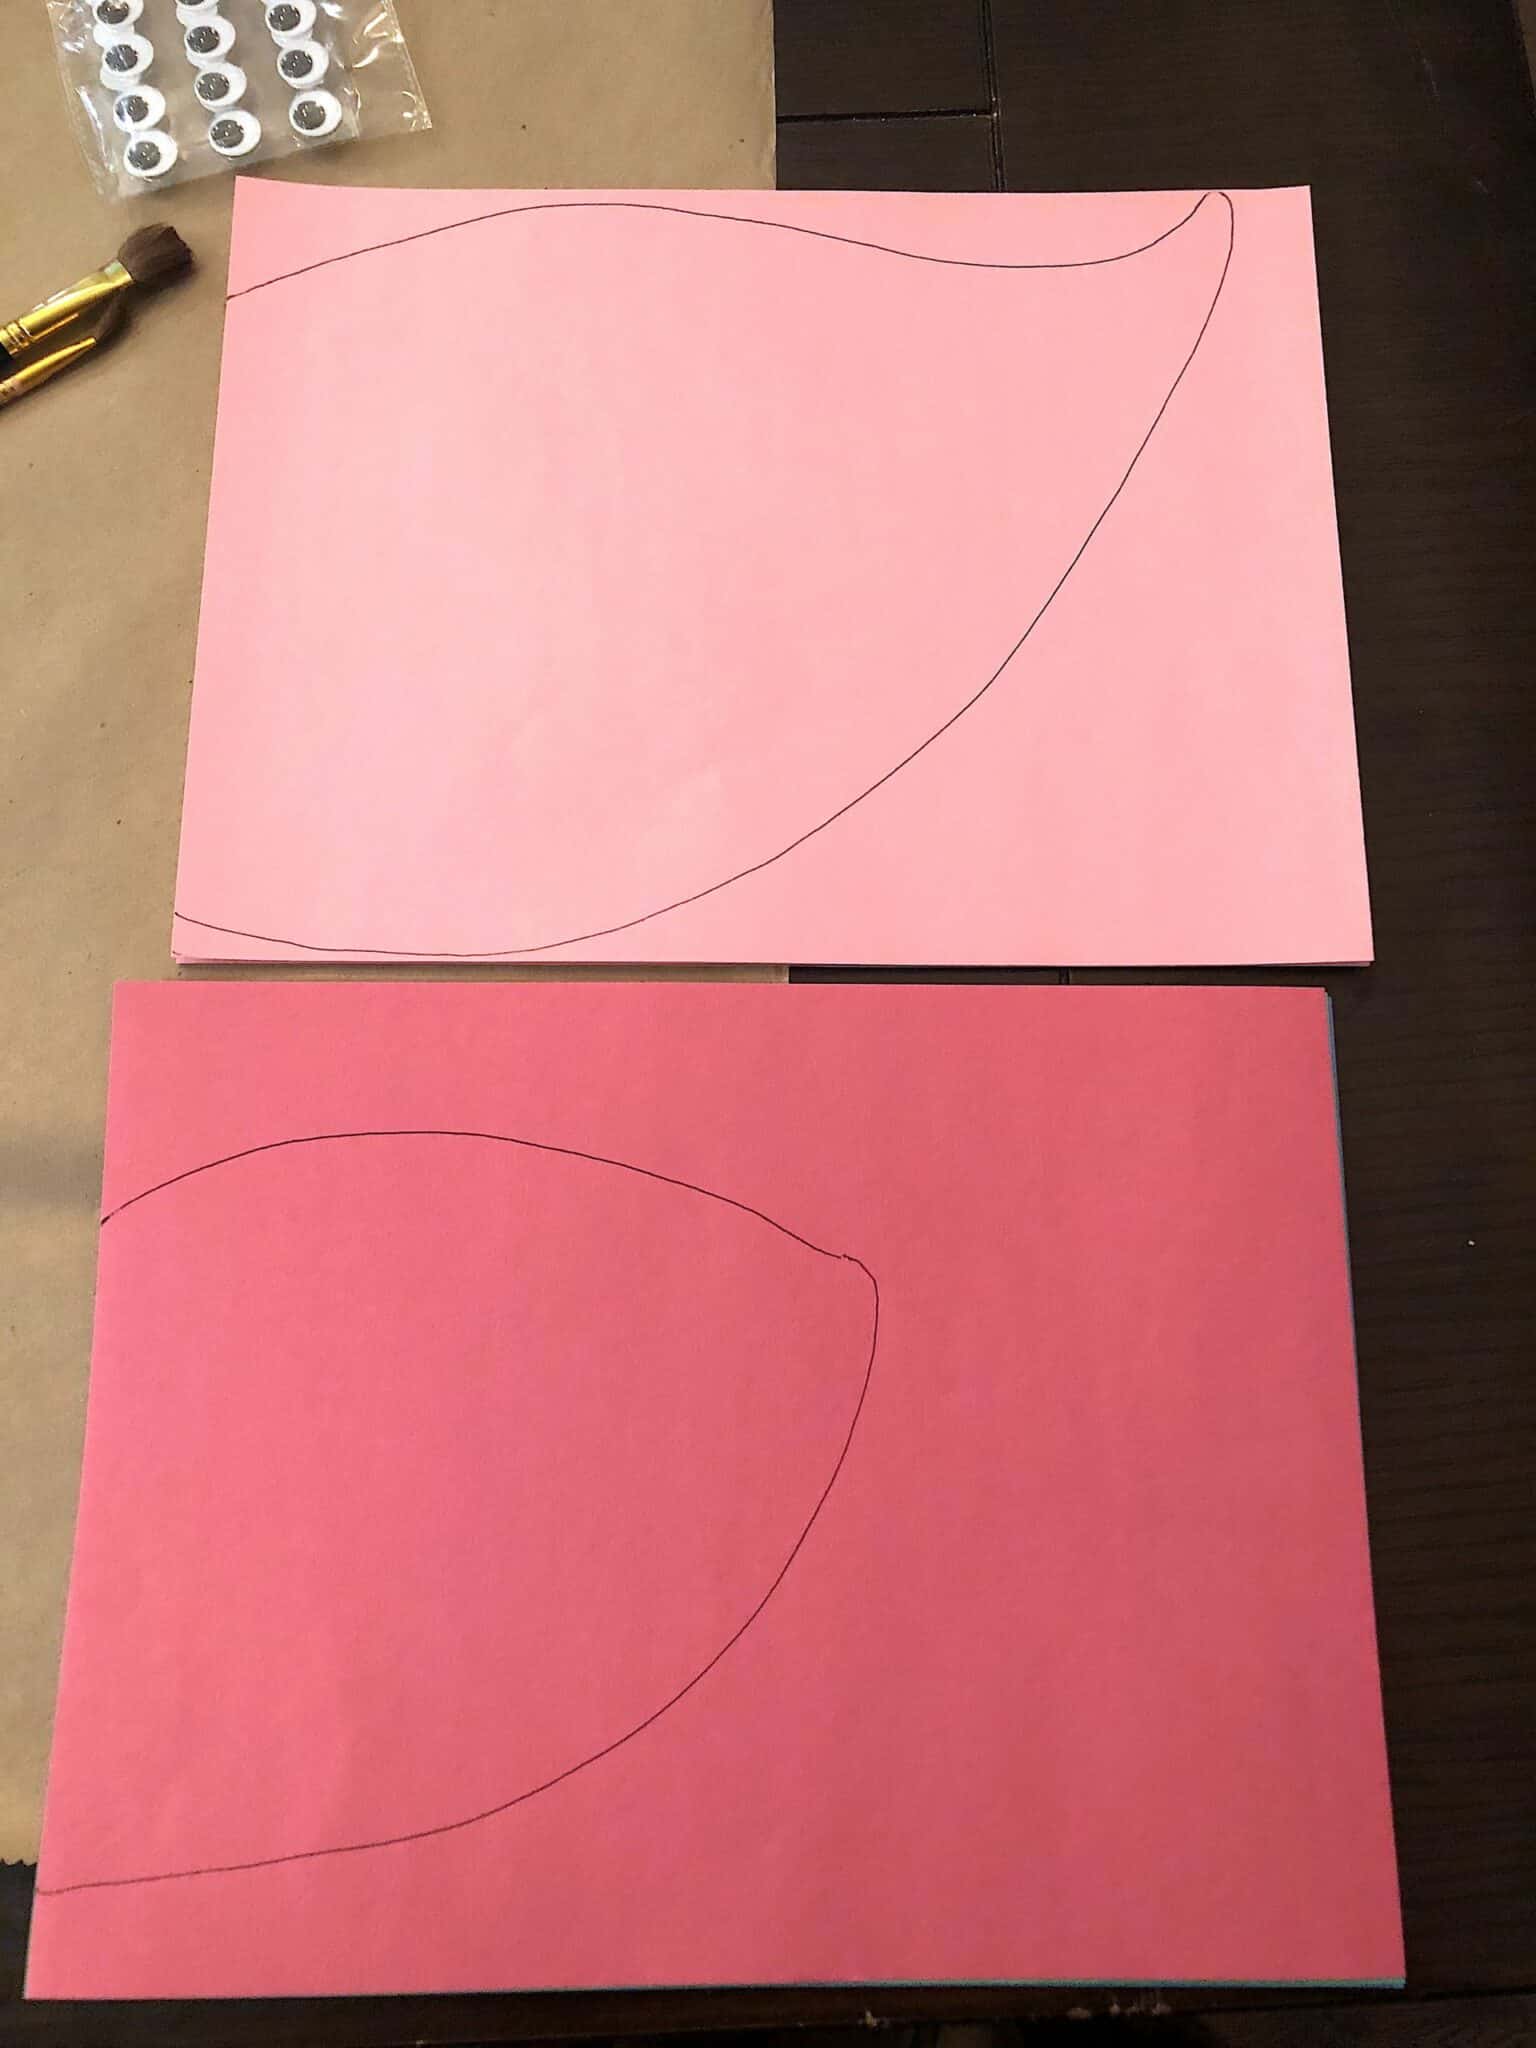
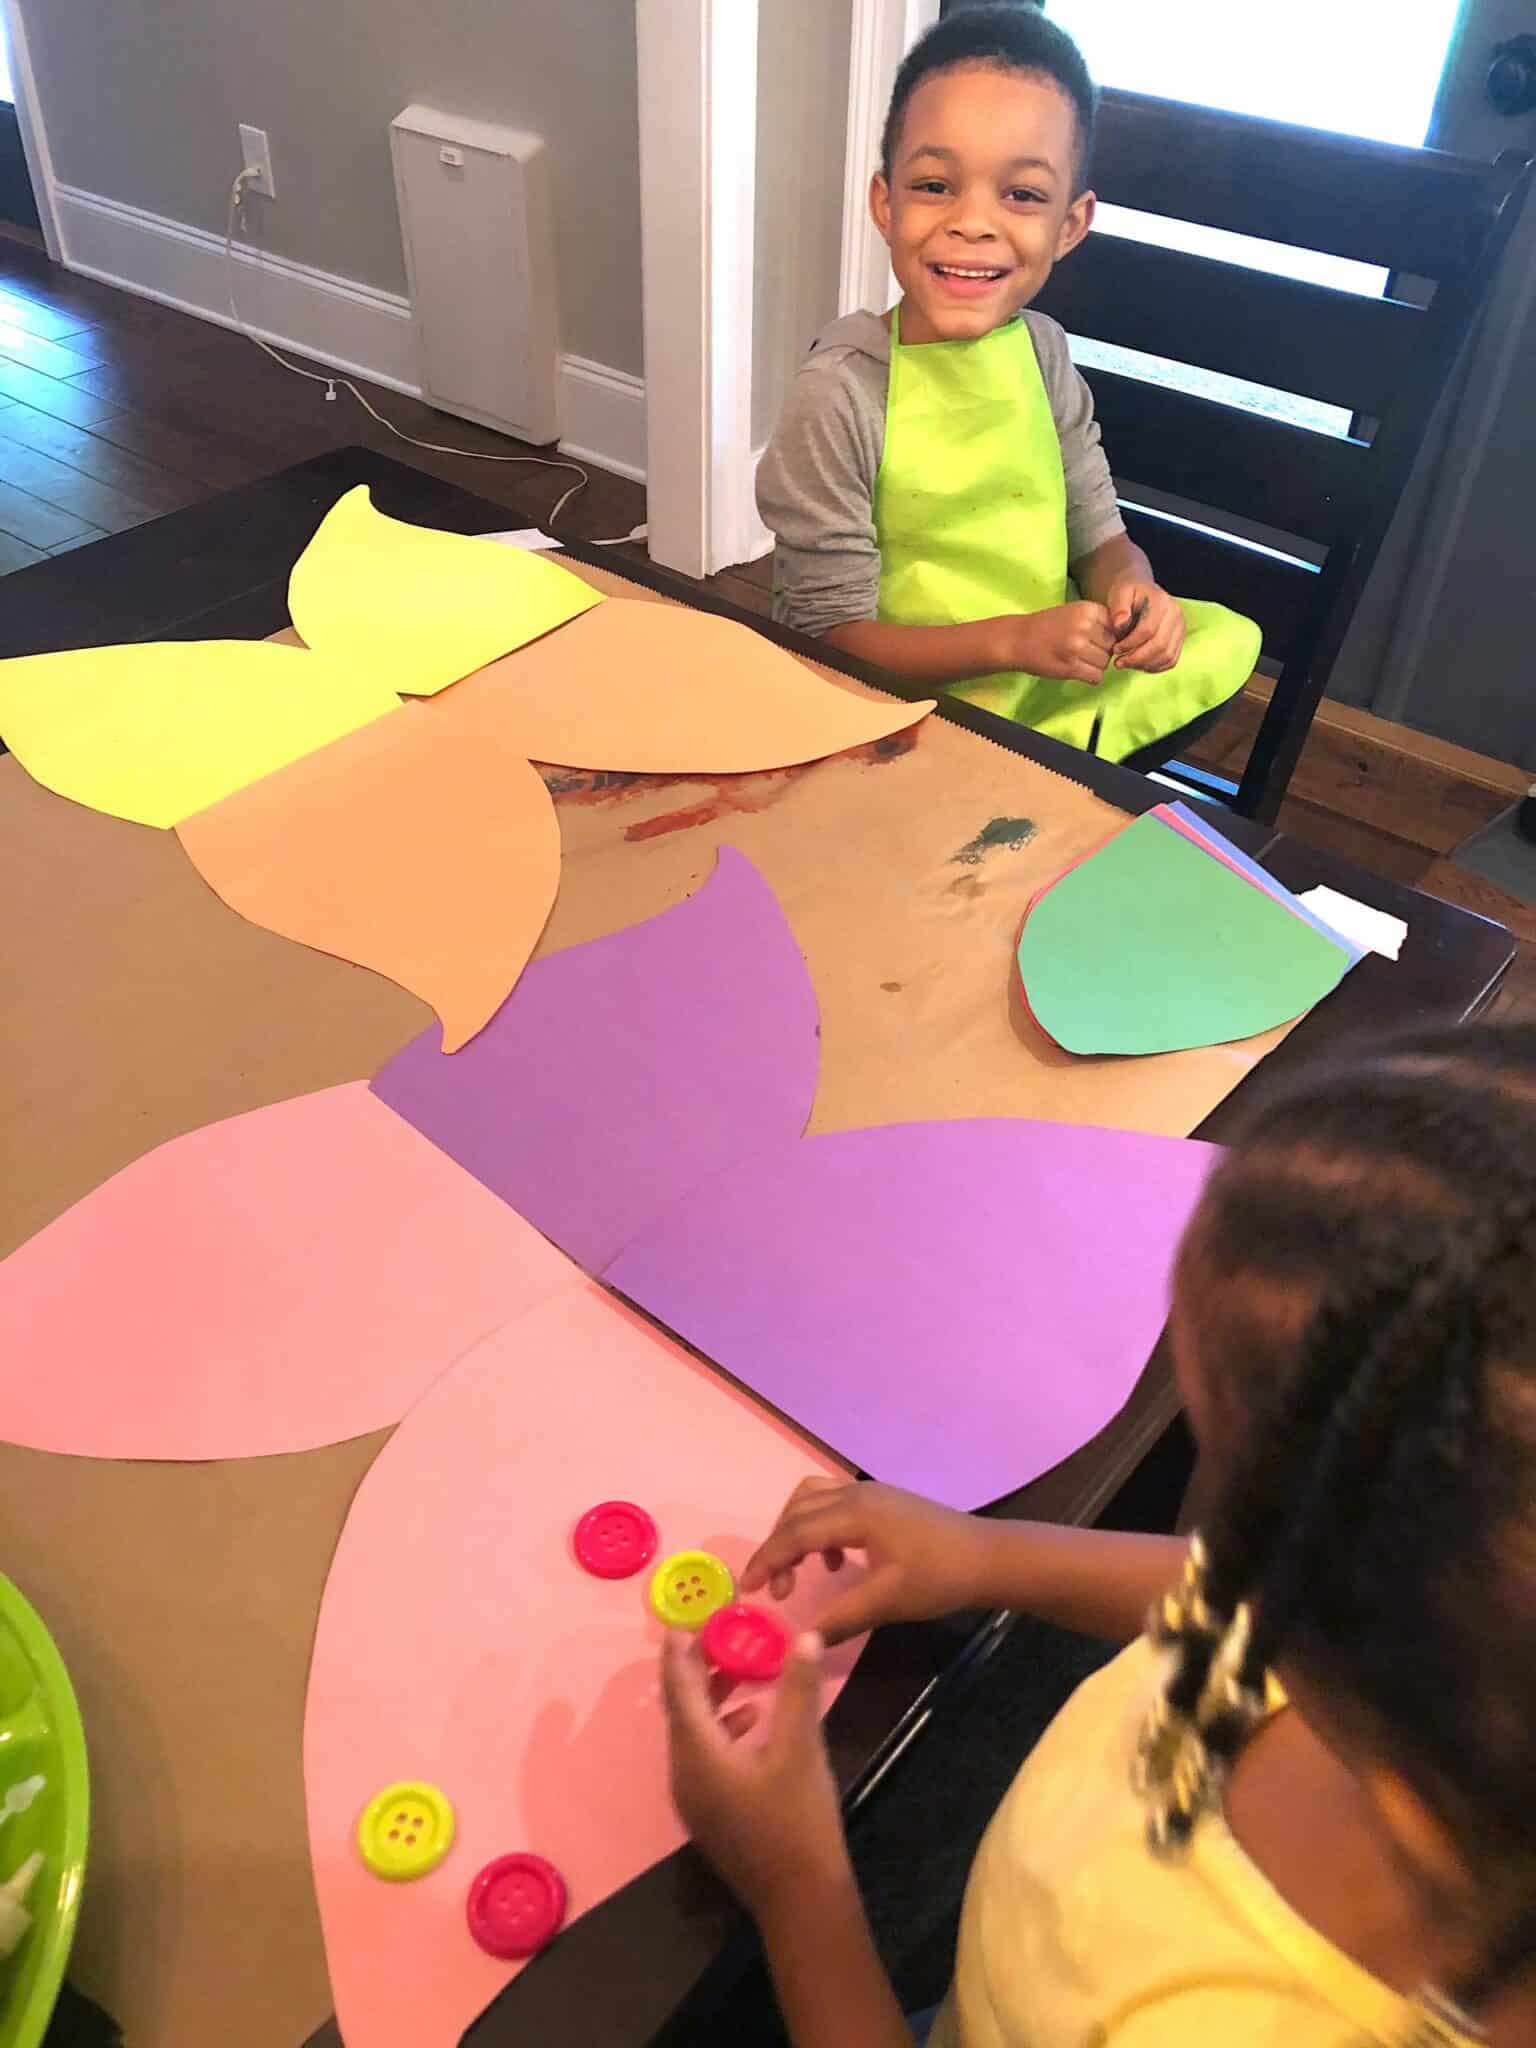
- Next I drew out the shapes of the wings and inner wings for the butterflies. One sheet of paper is a great size for the wing. I used as much of one sheet of construction paper as I could to make that one section of the wing. That way the butterfly wings would be huge.
- Four wing sections were used for each butterfly and I cut them all at once to save time.
- Next a drew out and cut a smaller inner wing section as well. This was purely for decorative purposes and is totally optional!
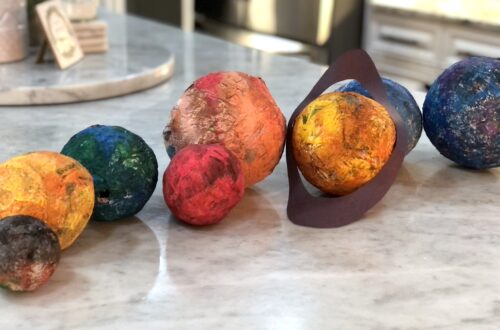
PAINTING THE BUTTERFLY BODY
- I started by spreading the brown paper on the table and taping the edges to the table so the paper wouldn’t move.
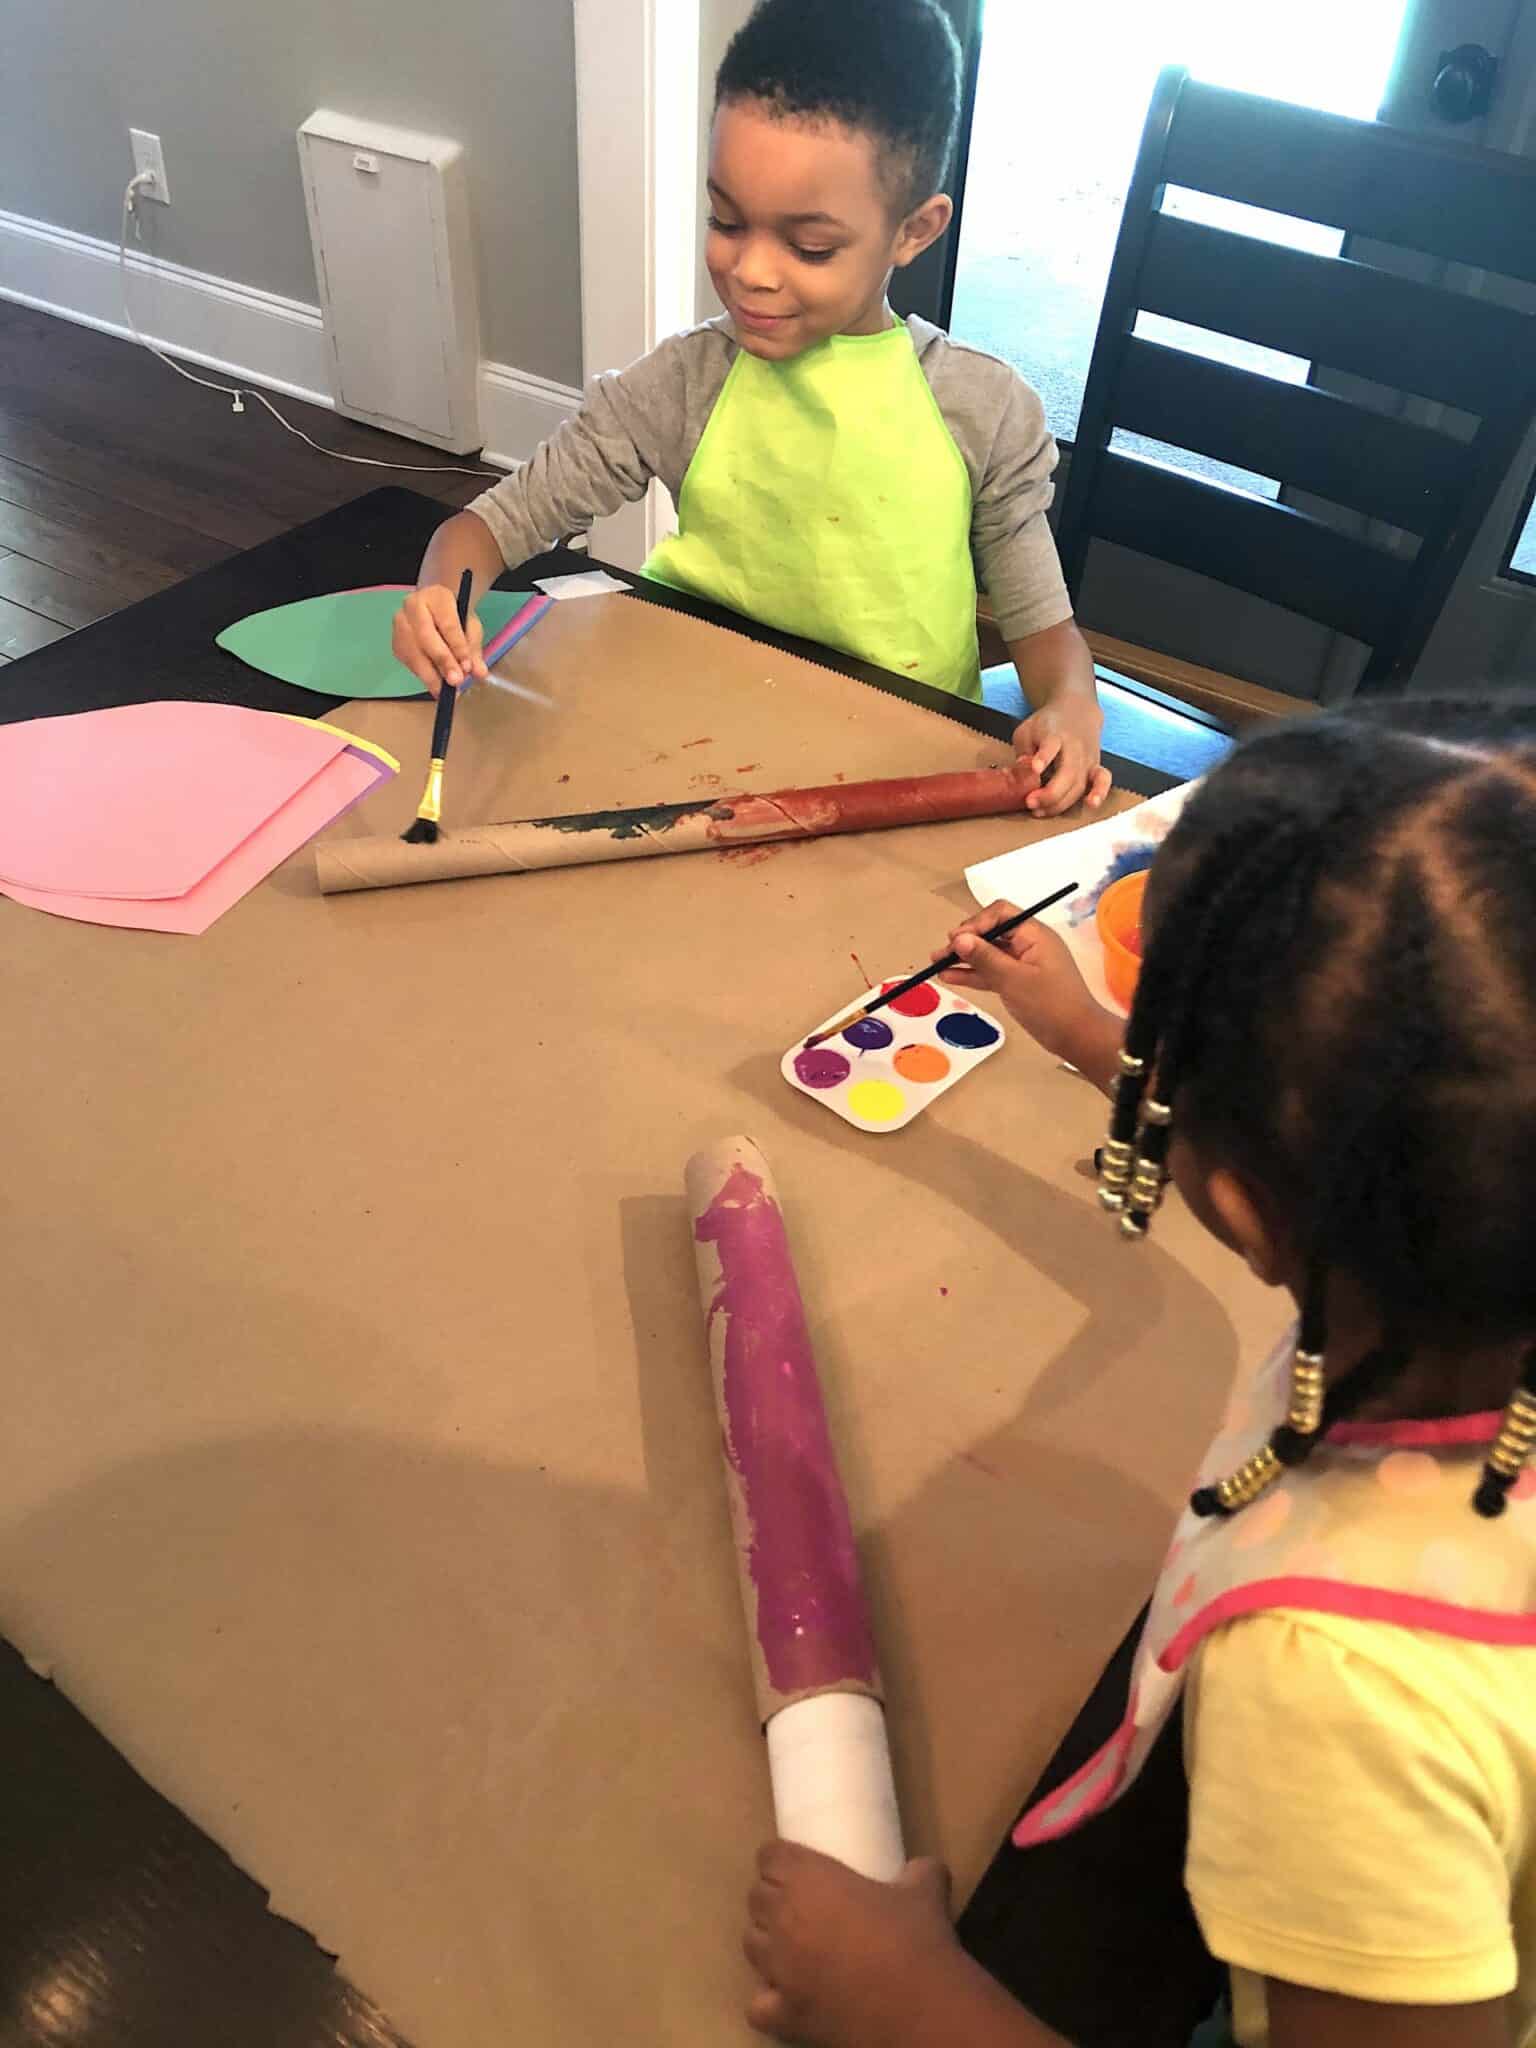
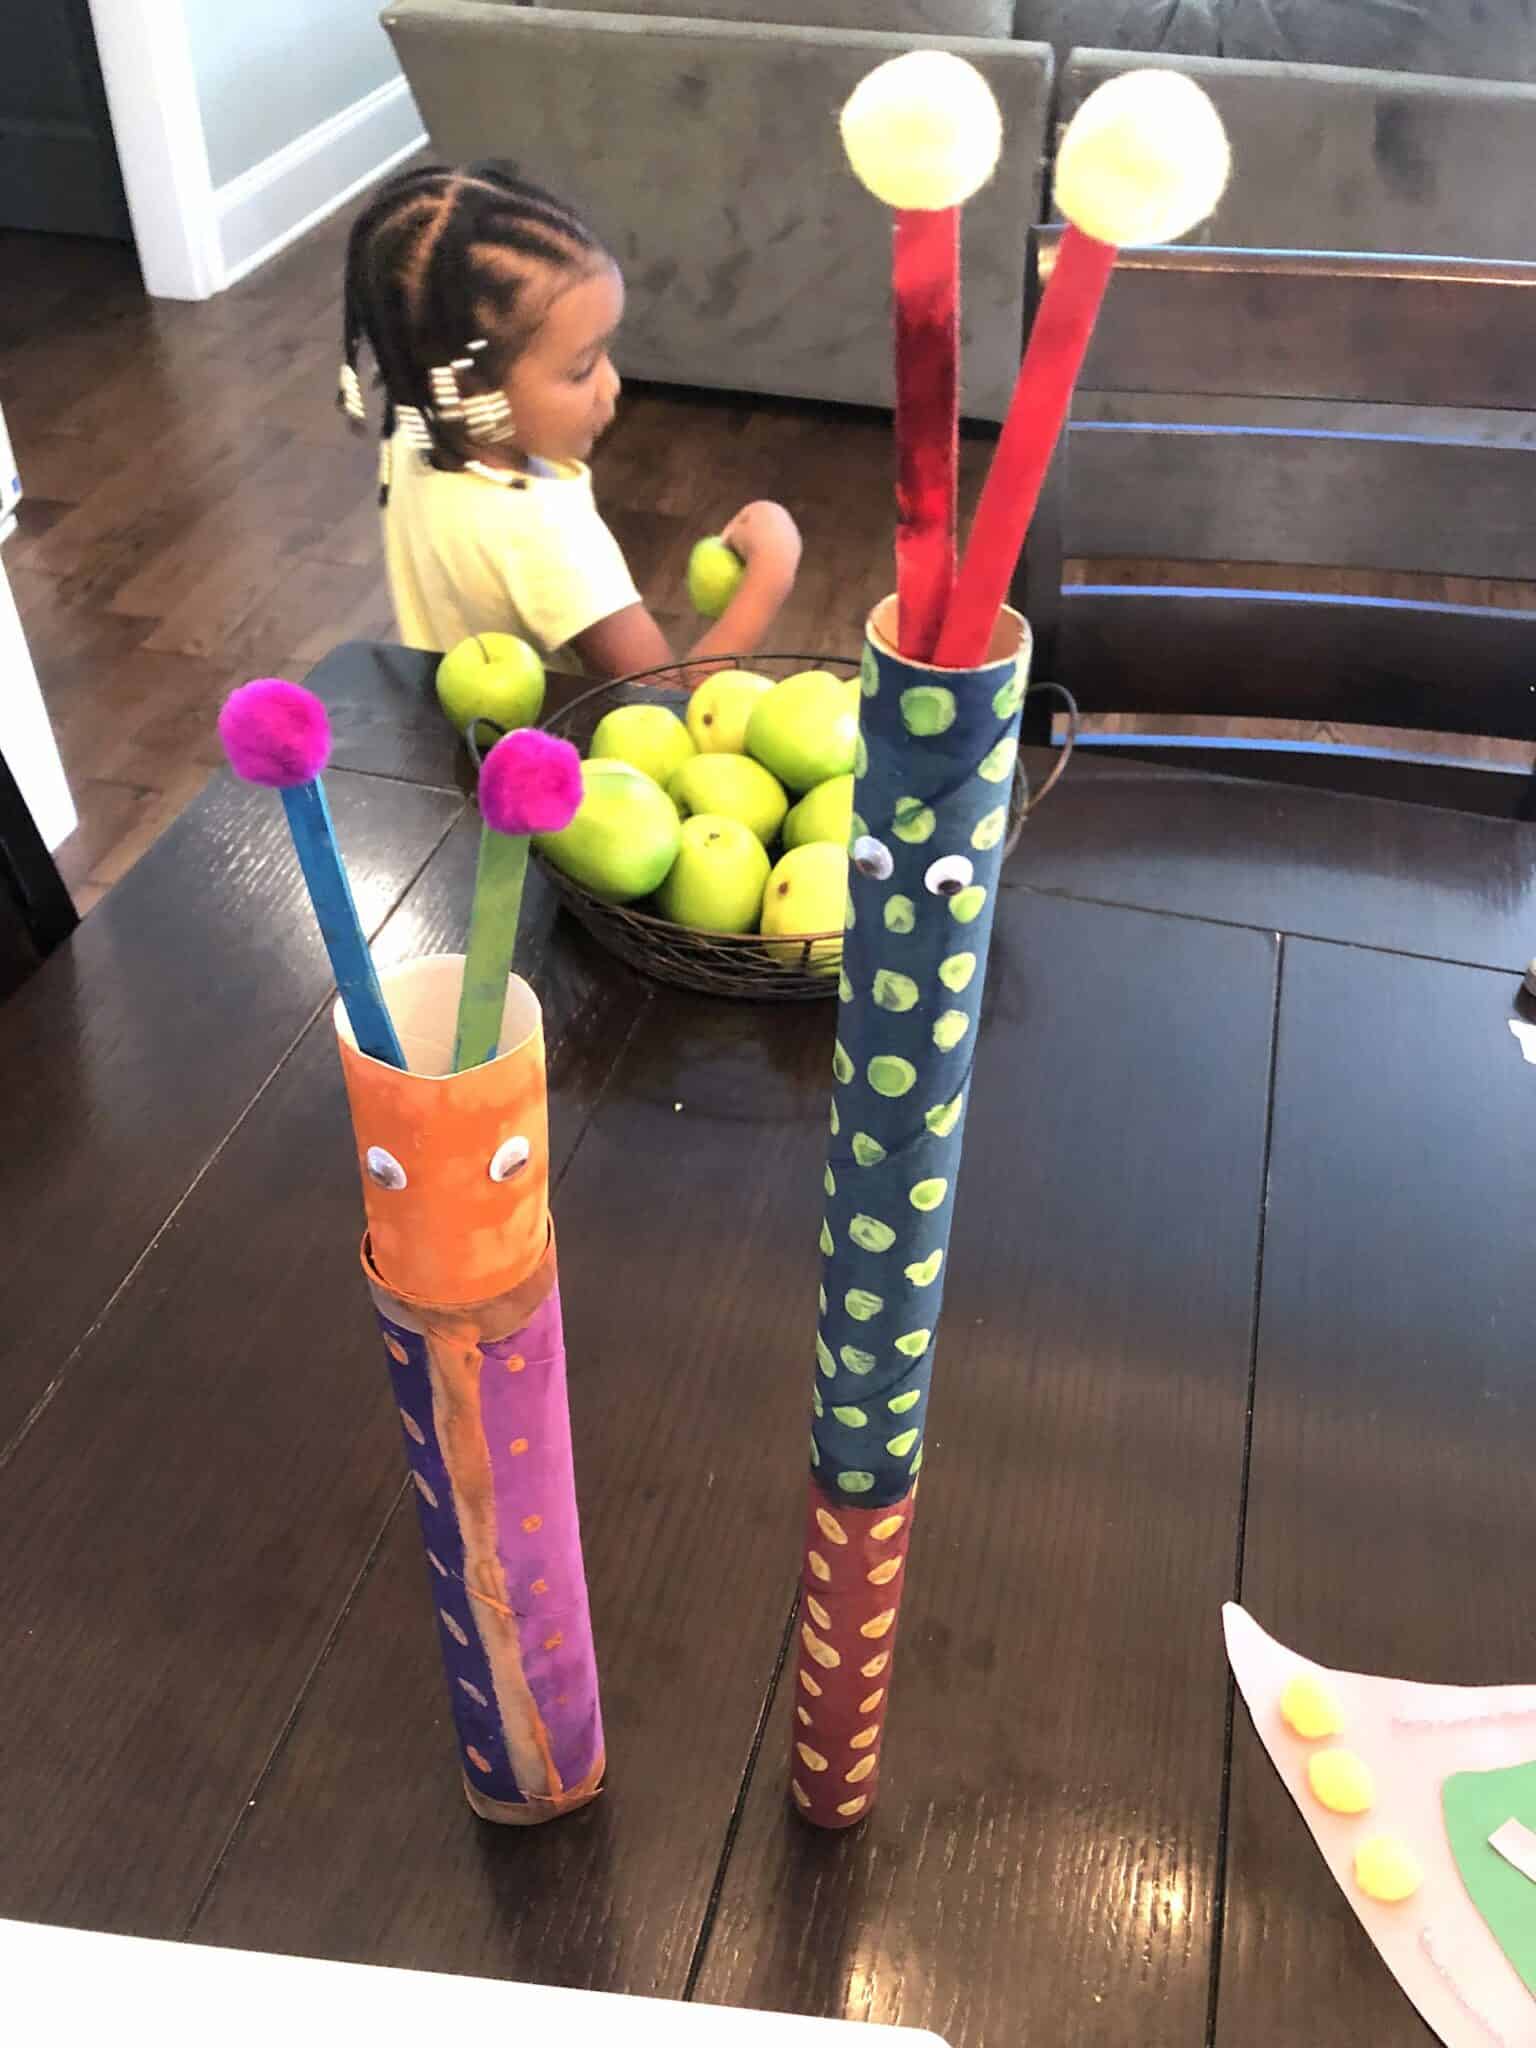
2. I had one long tube from my aluminum foil so for the other tube, I taped two paper towel rolls together. This makes it long enough to hold the butterfly by the “body” 🙂
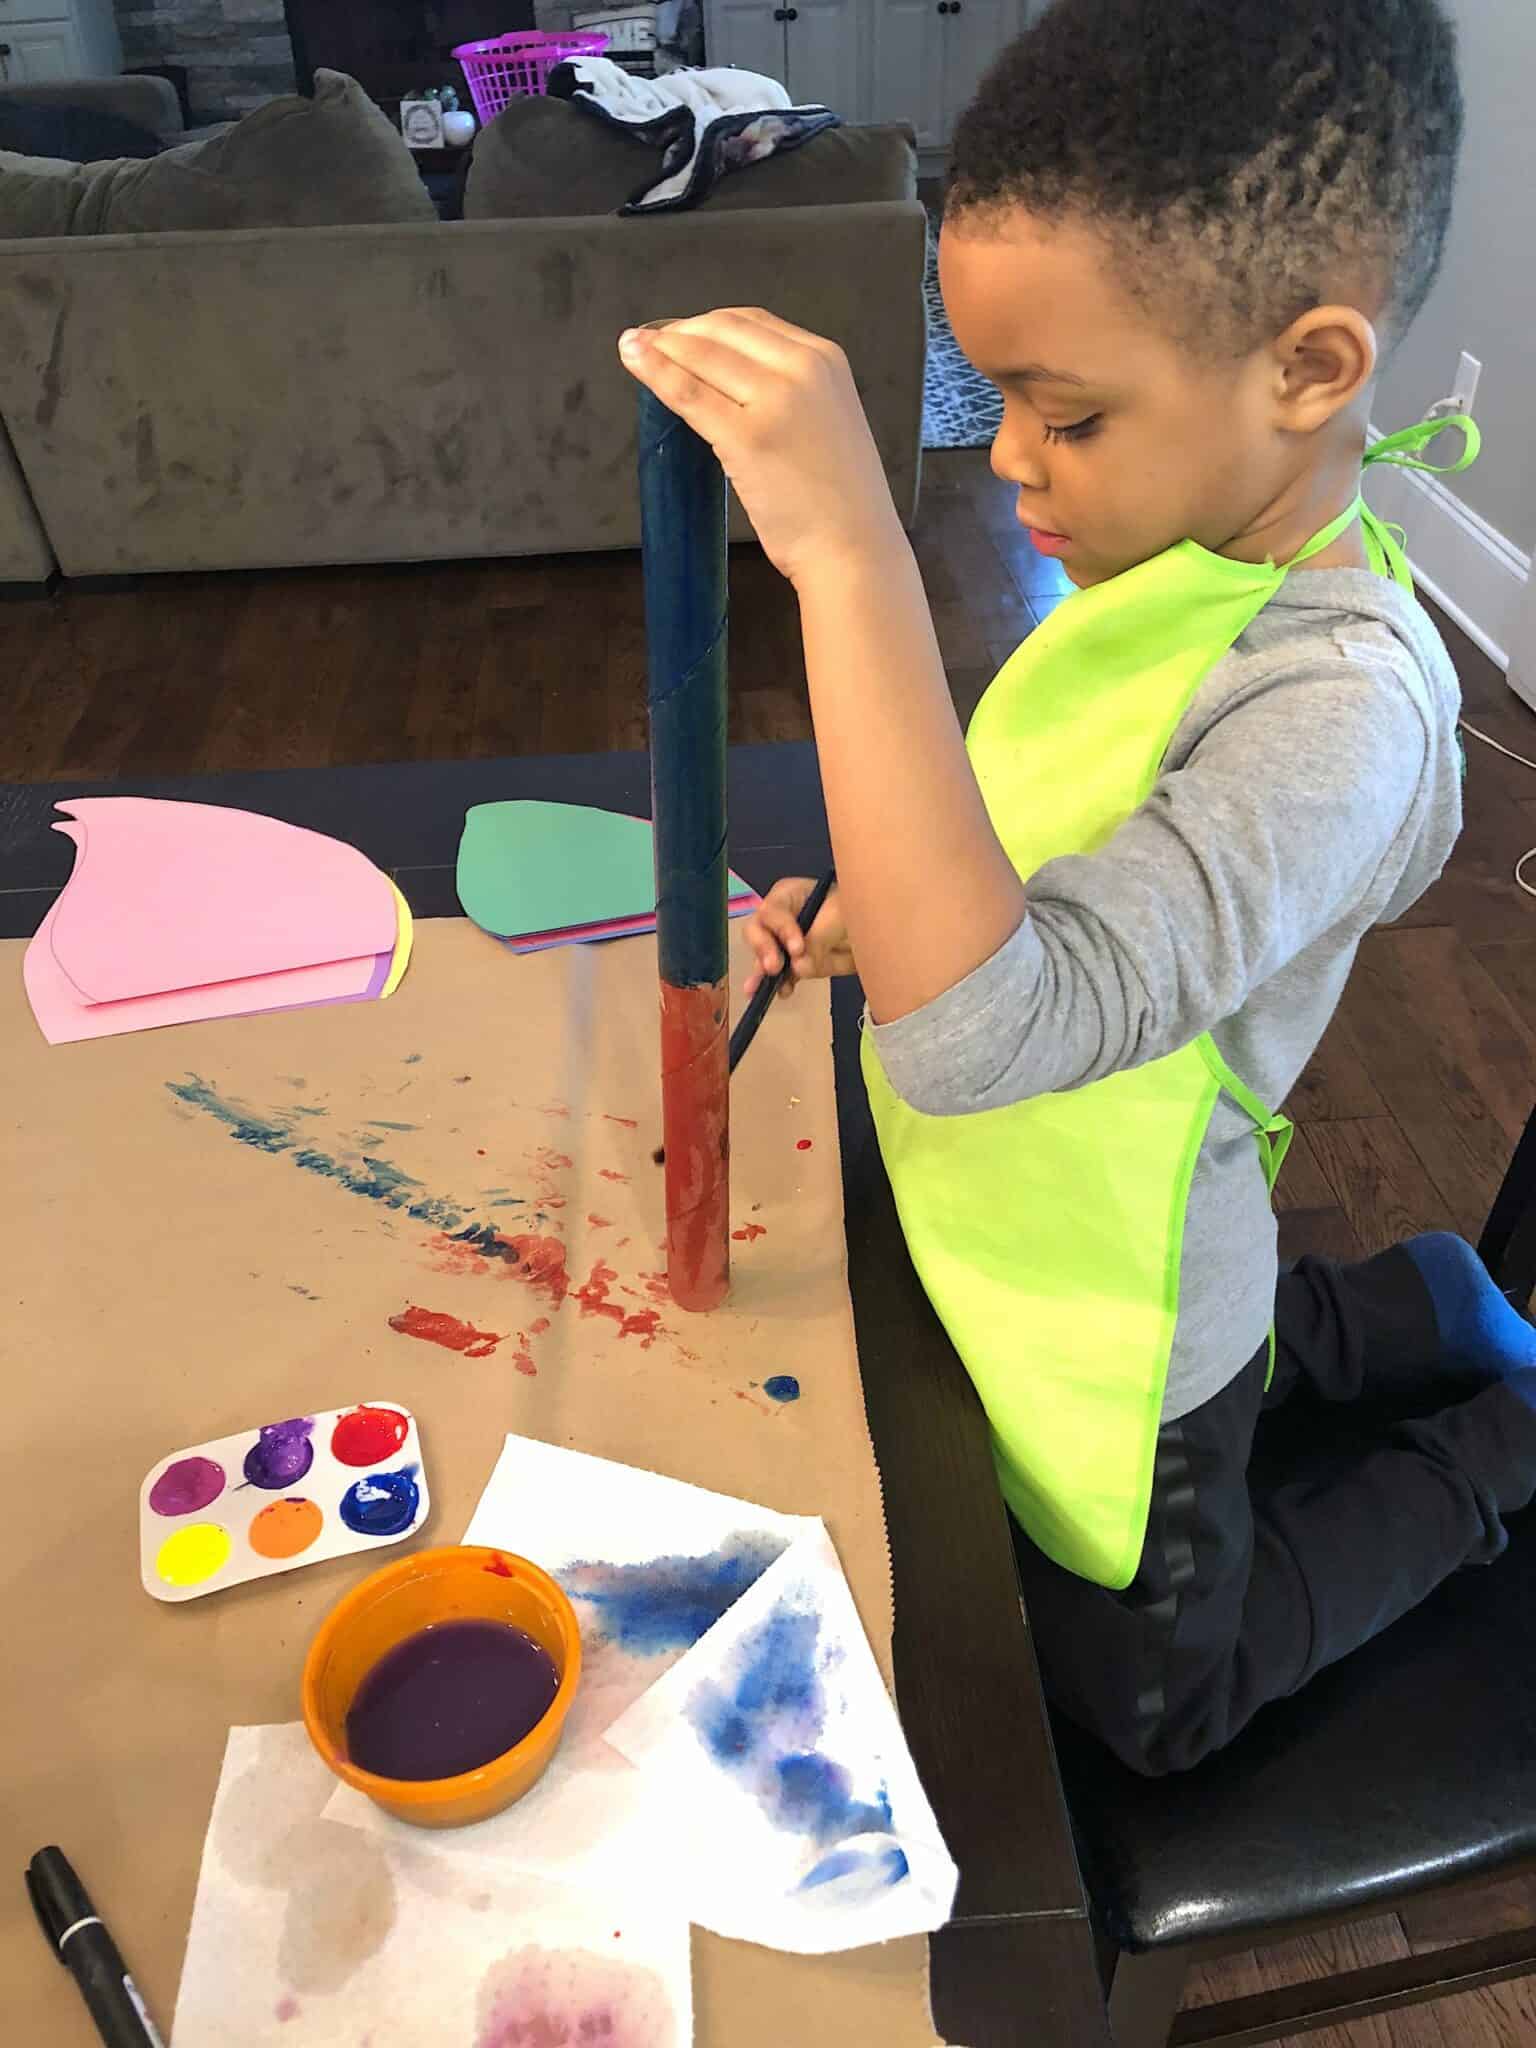
3. I allowed the kids to paint the paper towel roll however they liked. I did help them to paint in some of the areas they missed and gave them some guidance on adding more paint design. (dots and lines) I like to allow them to use their own creativity, but I also like to help them expand their vision and ideas as well.
4. Then we put those rolls aside for drying.
5. Next as we let the paper towel rolls dry, we moved on to decorating the wings!
6. The funny thing is that the kids had to take a snack break at this point.

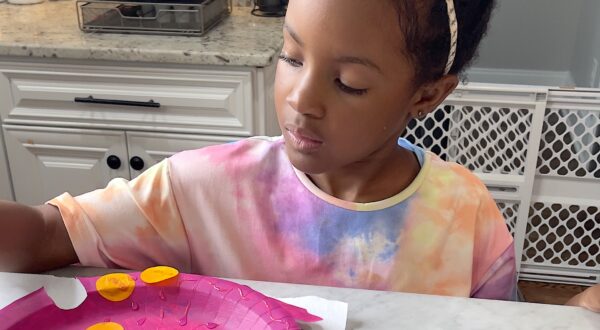
DECORATING THE WINGS
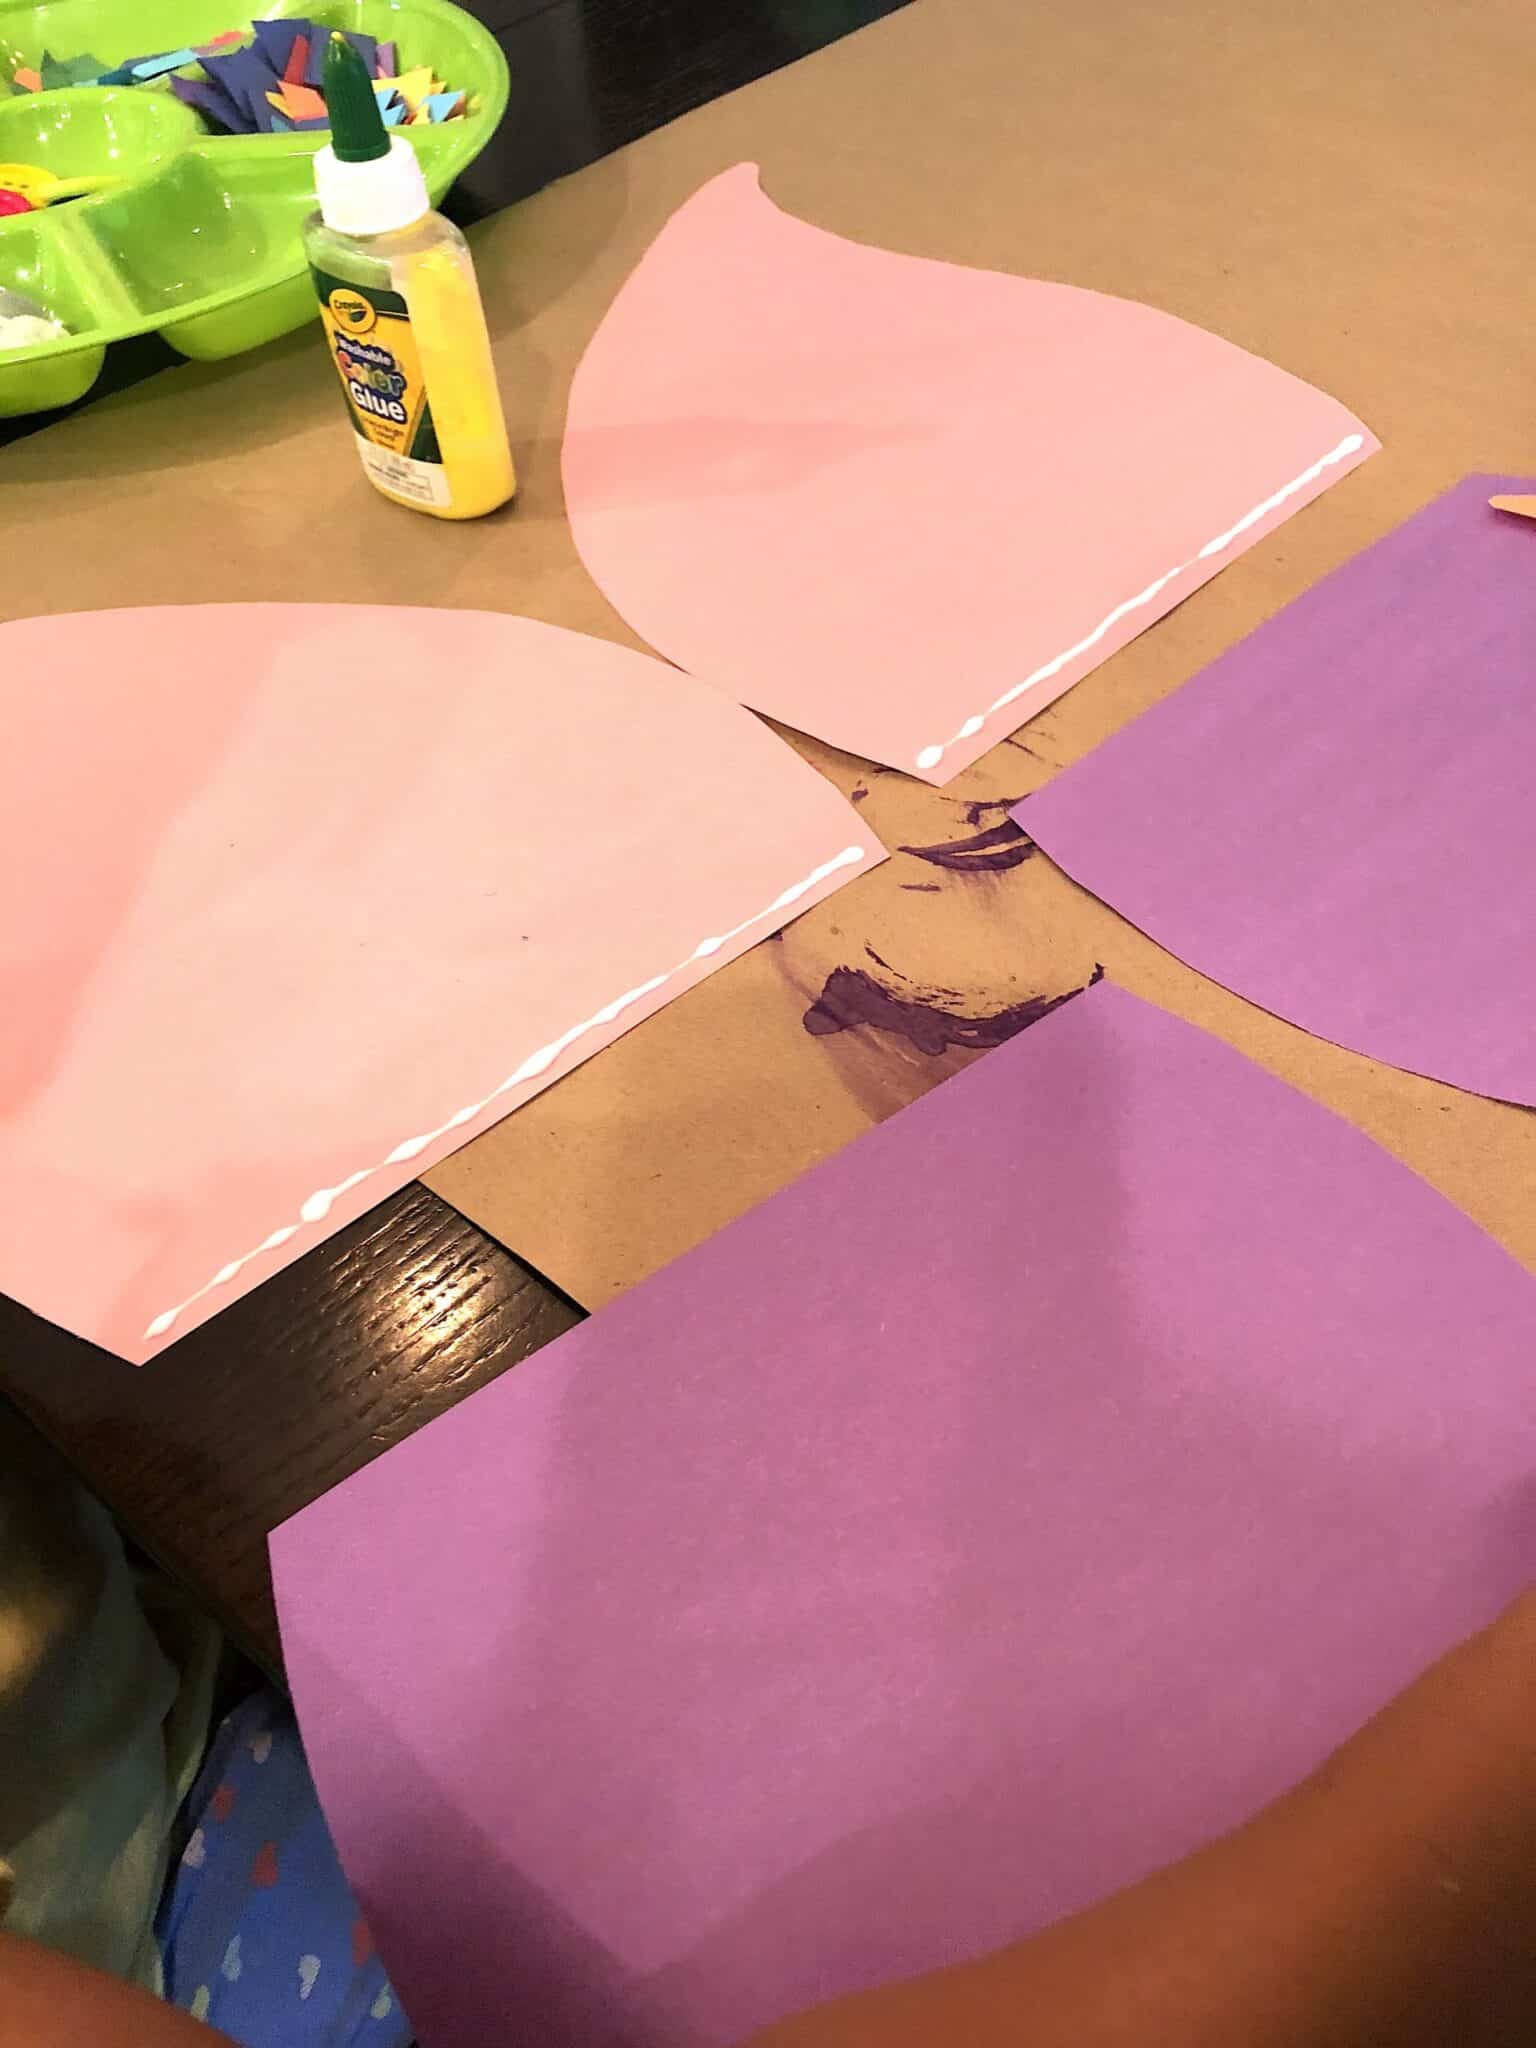
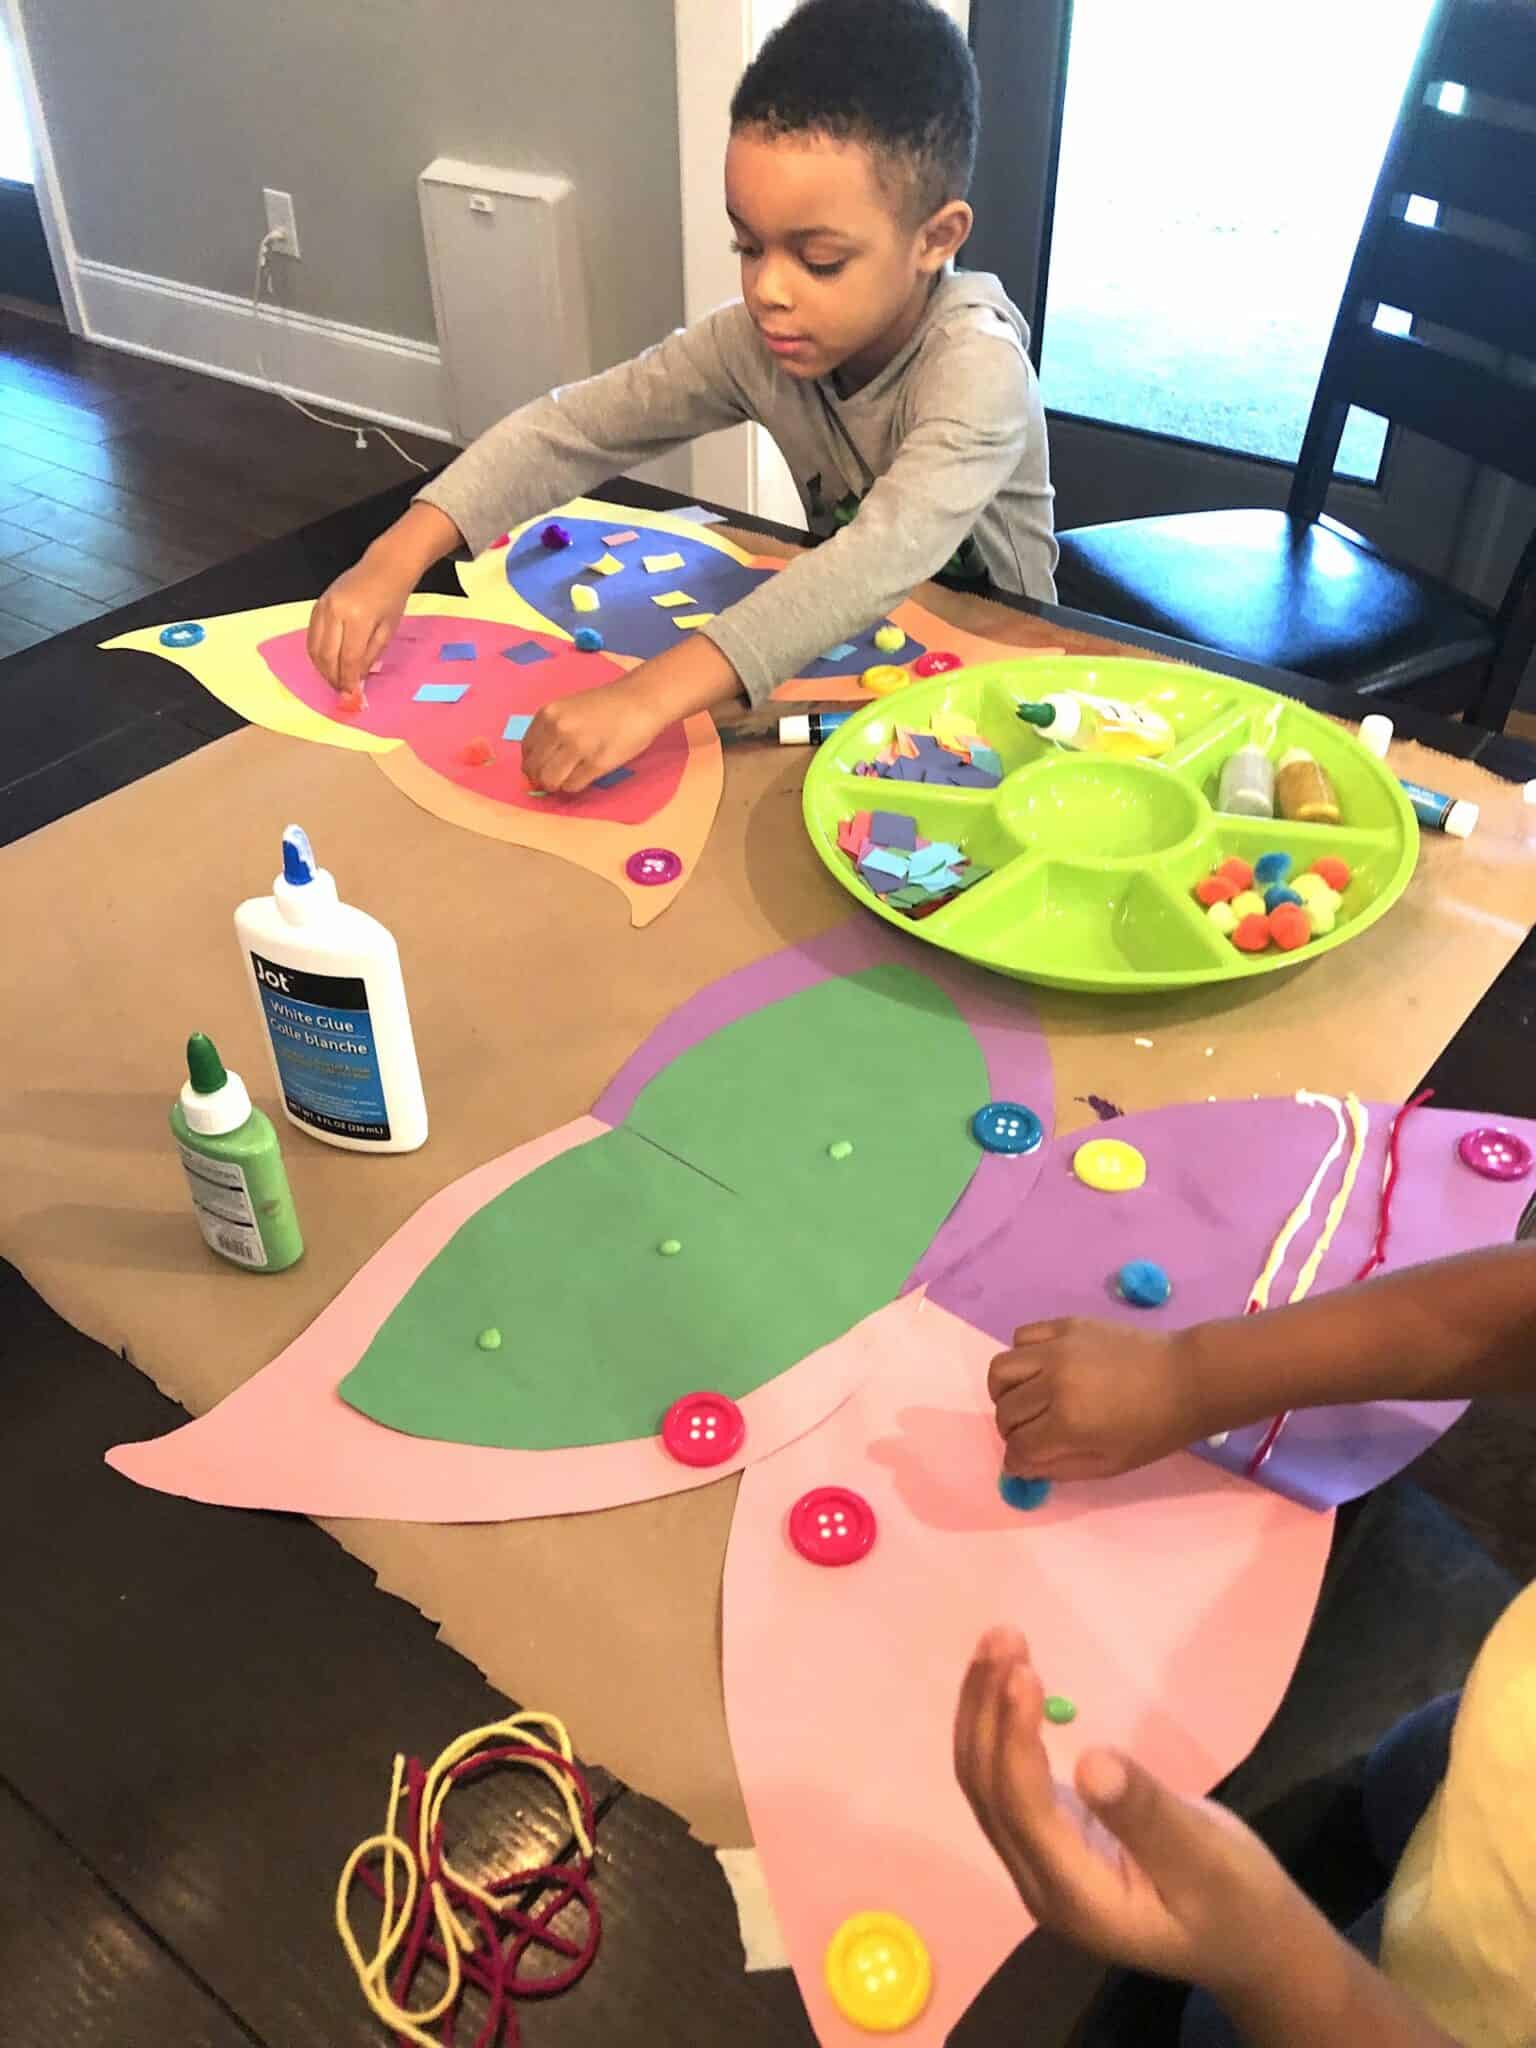
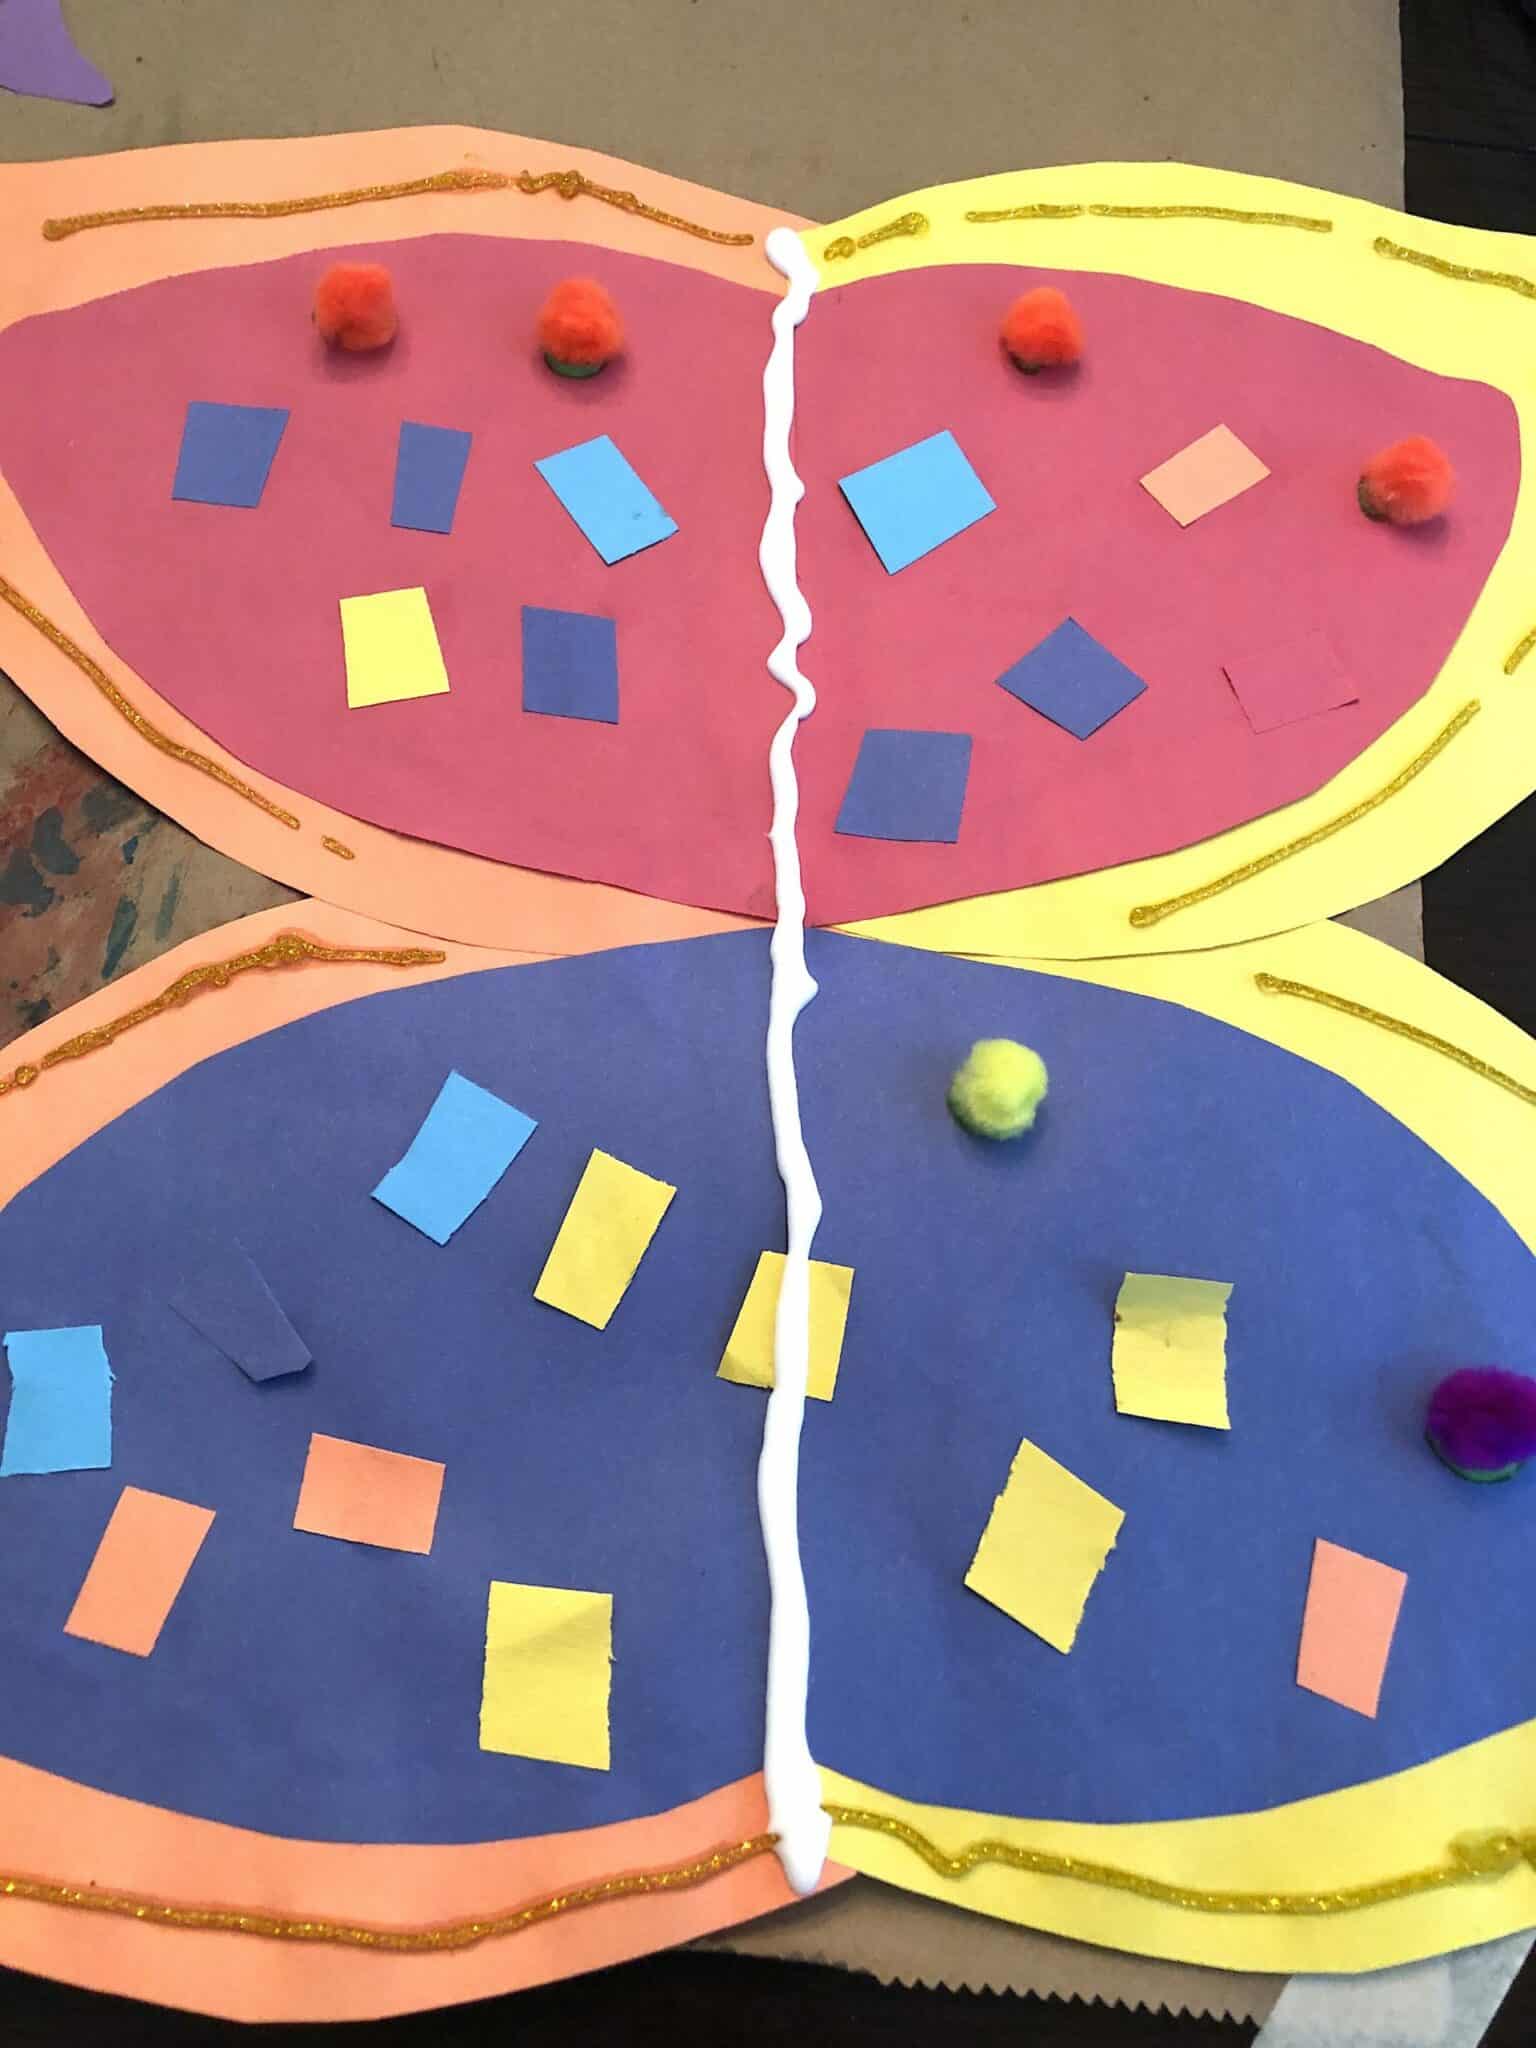
- The first thing we did after out little break was glue the butterfly wings together to make one cohesive piece. I suggest using a glue stick for this part. We used Elmer’s glue and it was a little messy.
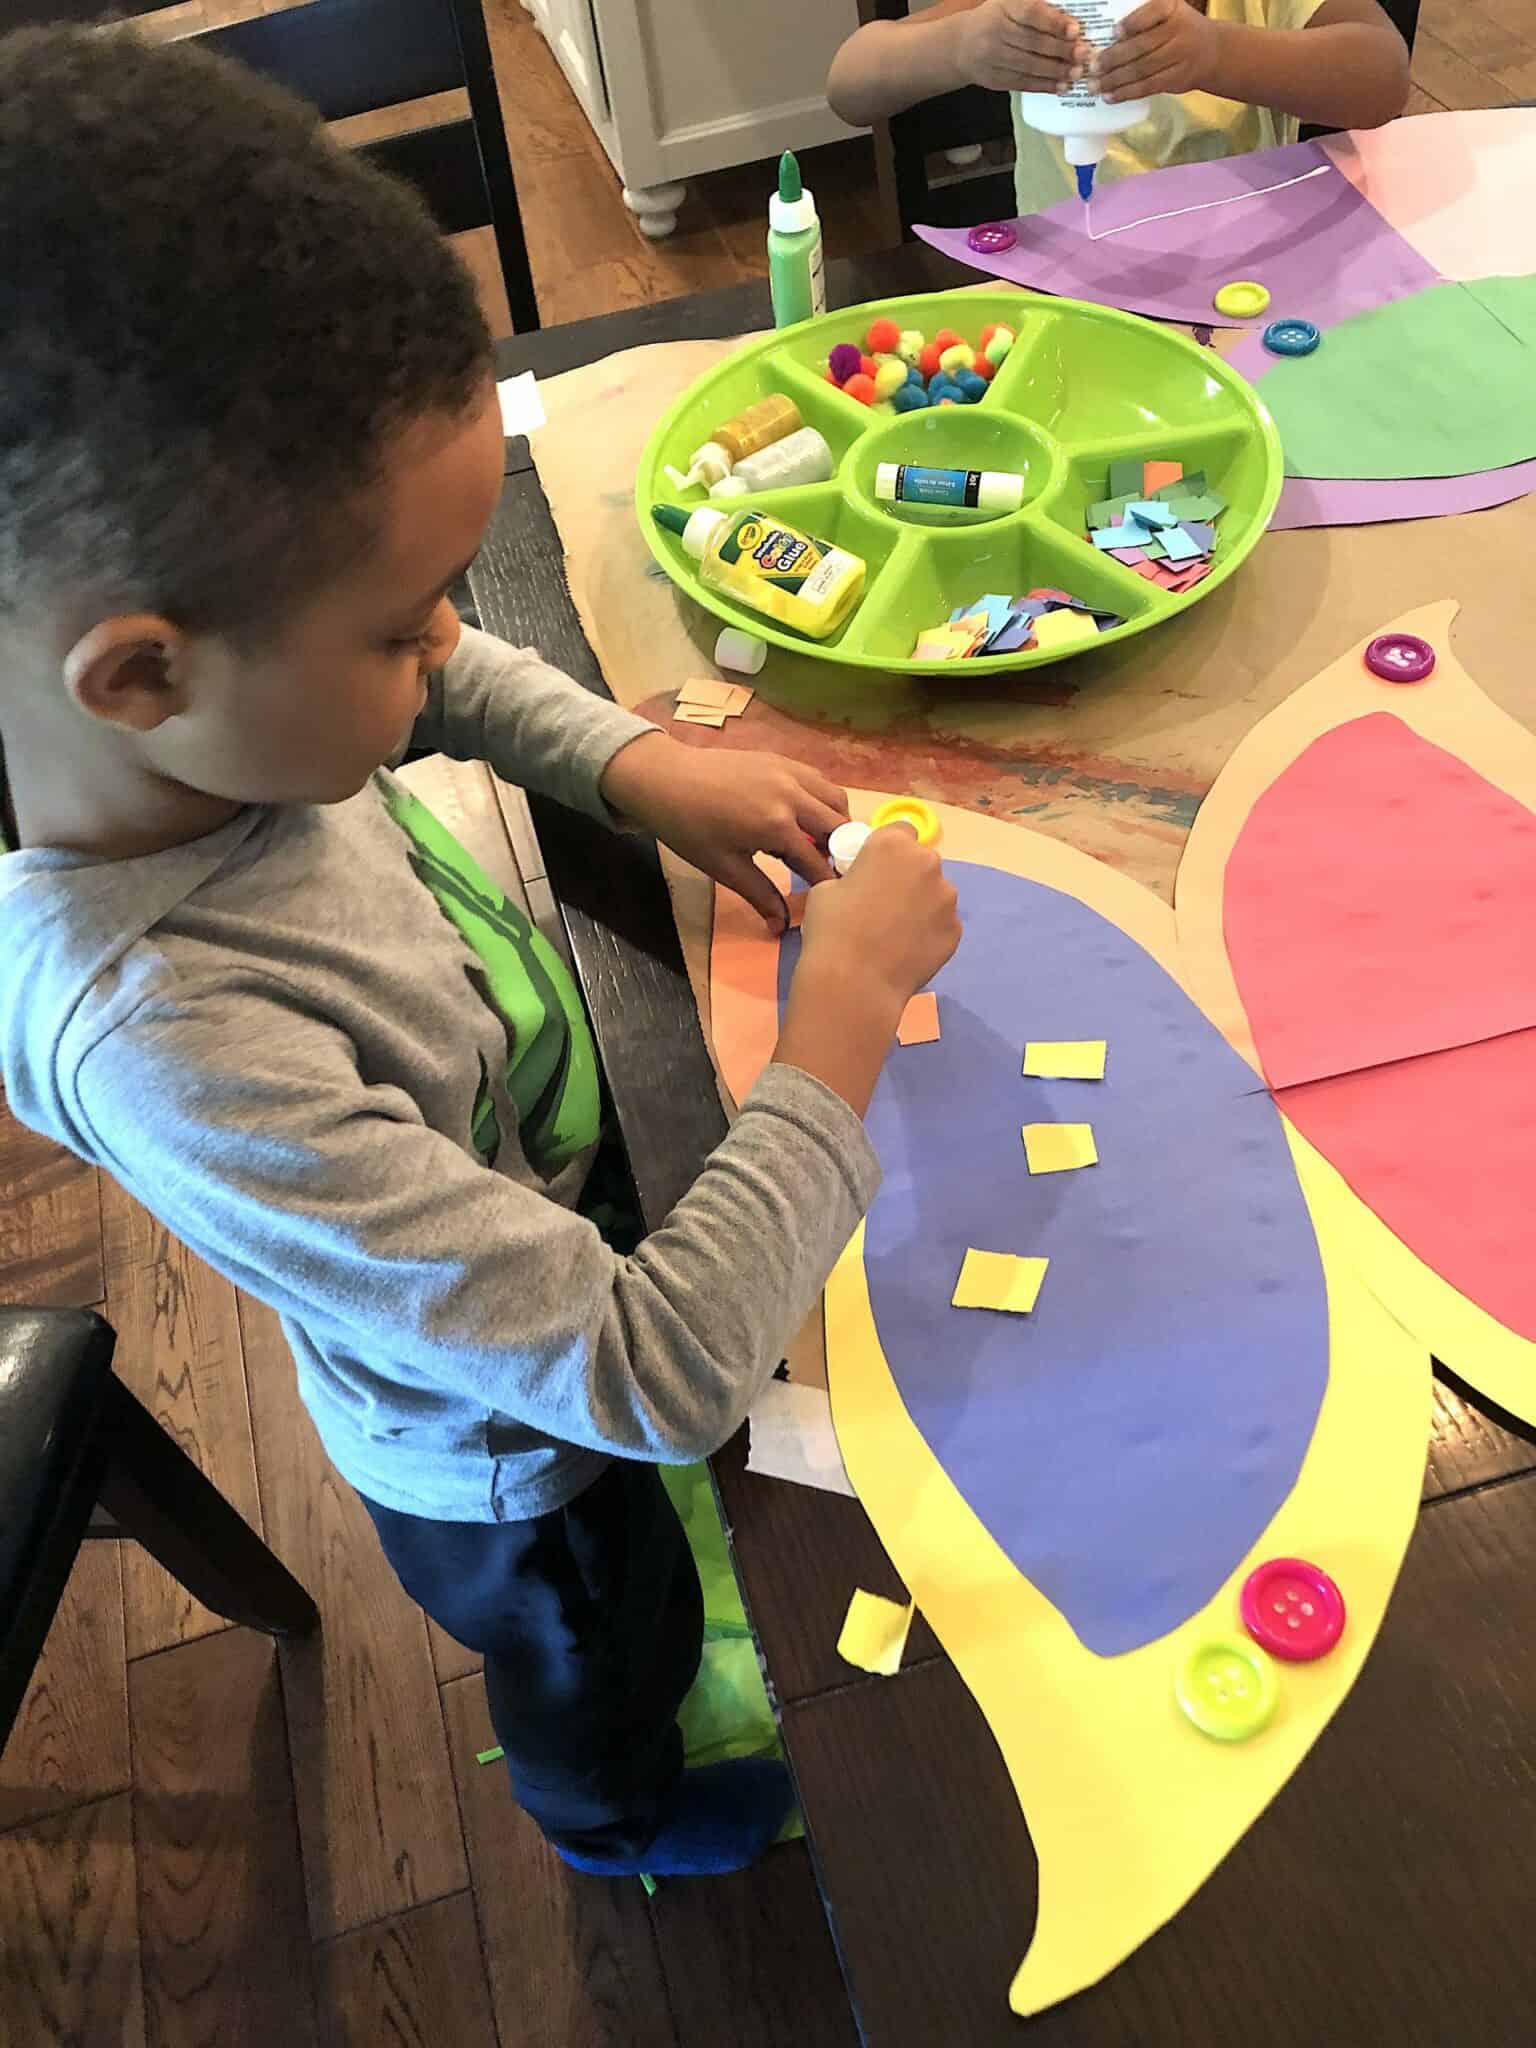
- The next step is really just letting the kids have at it with the supplies and glue!
- We did the buttons first because they will need the most time to dry with the regular glue.
- Next, the kids added the pom poms, cut out paper shapes, yarn, glitter, etc.


FINISHING TOUCHES
- Remember to glue the popsicle sticks together when you set the paper towel rolls aside to give them time to dry! Then at the end of the craft you will glue or tape the antenna in the roll, once it has dried.
- A trick is to glue the sticks to the inside of the paper roll and then put a folded paper towel inside the roll to hold the antennae in place while it dries.
- We also glued pom poms to the end of the antennae 🙂
- We then used Elmer’s glue to attached the tube to the paper. If you allow ample time to dry, regular glue will do just fine 🙂

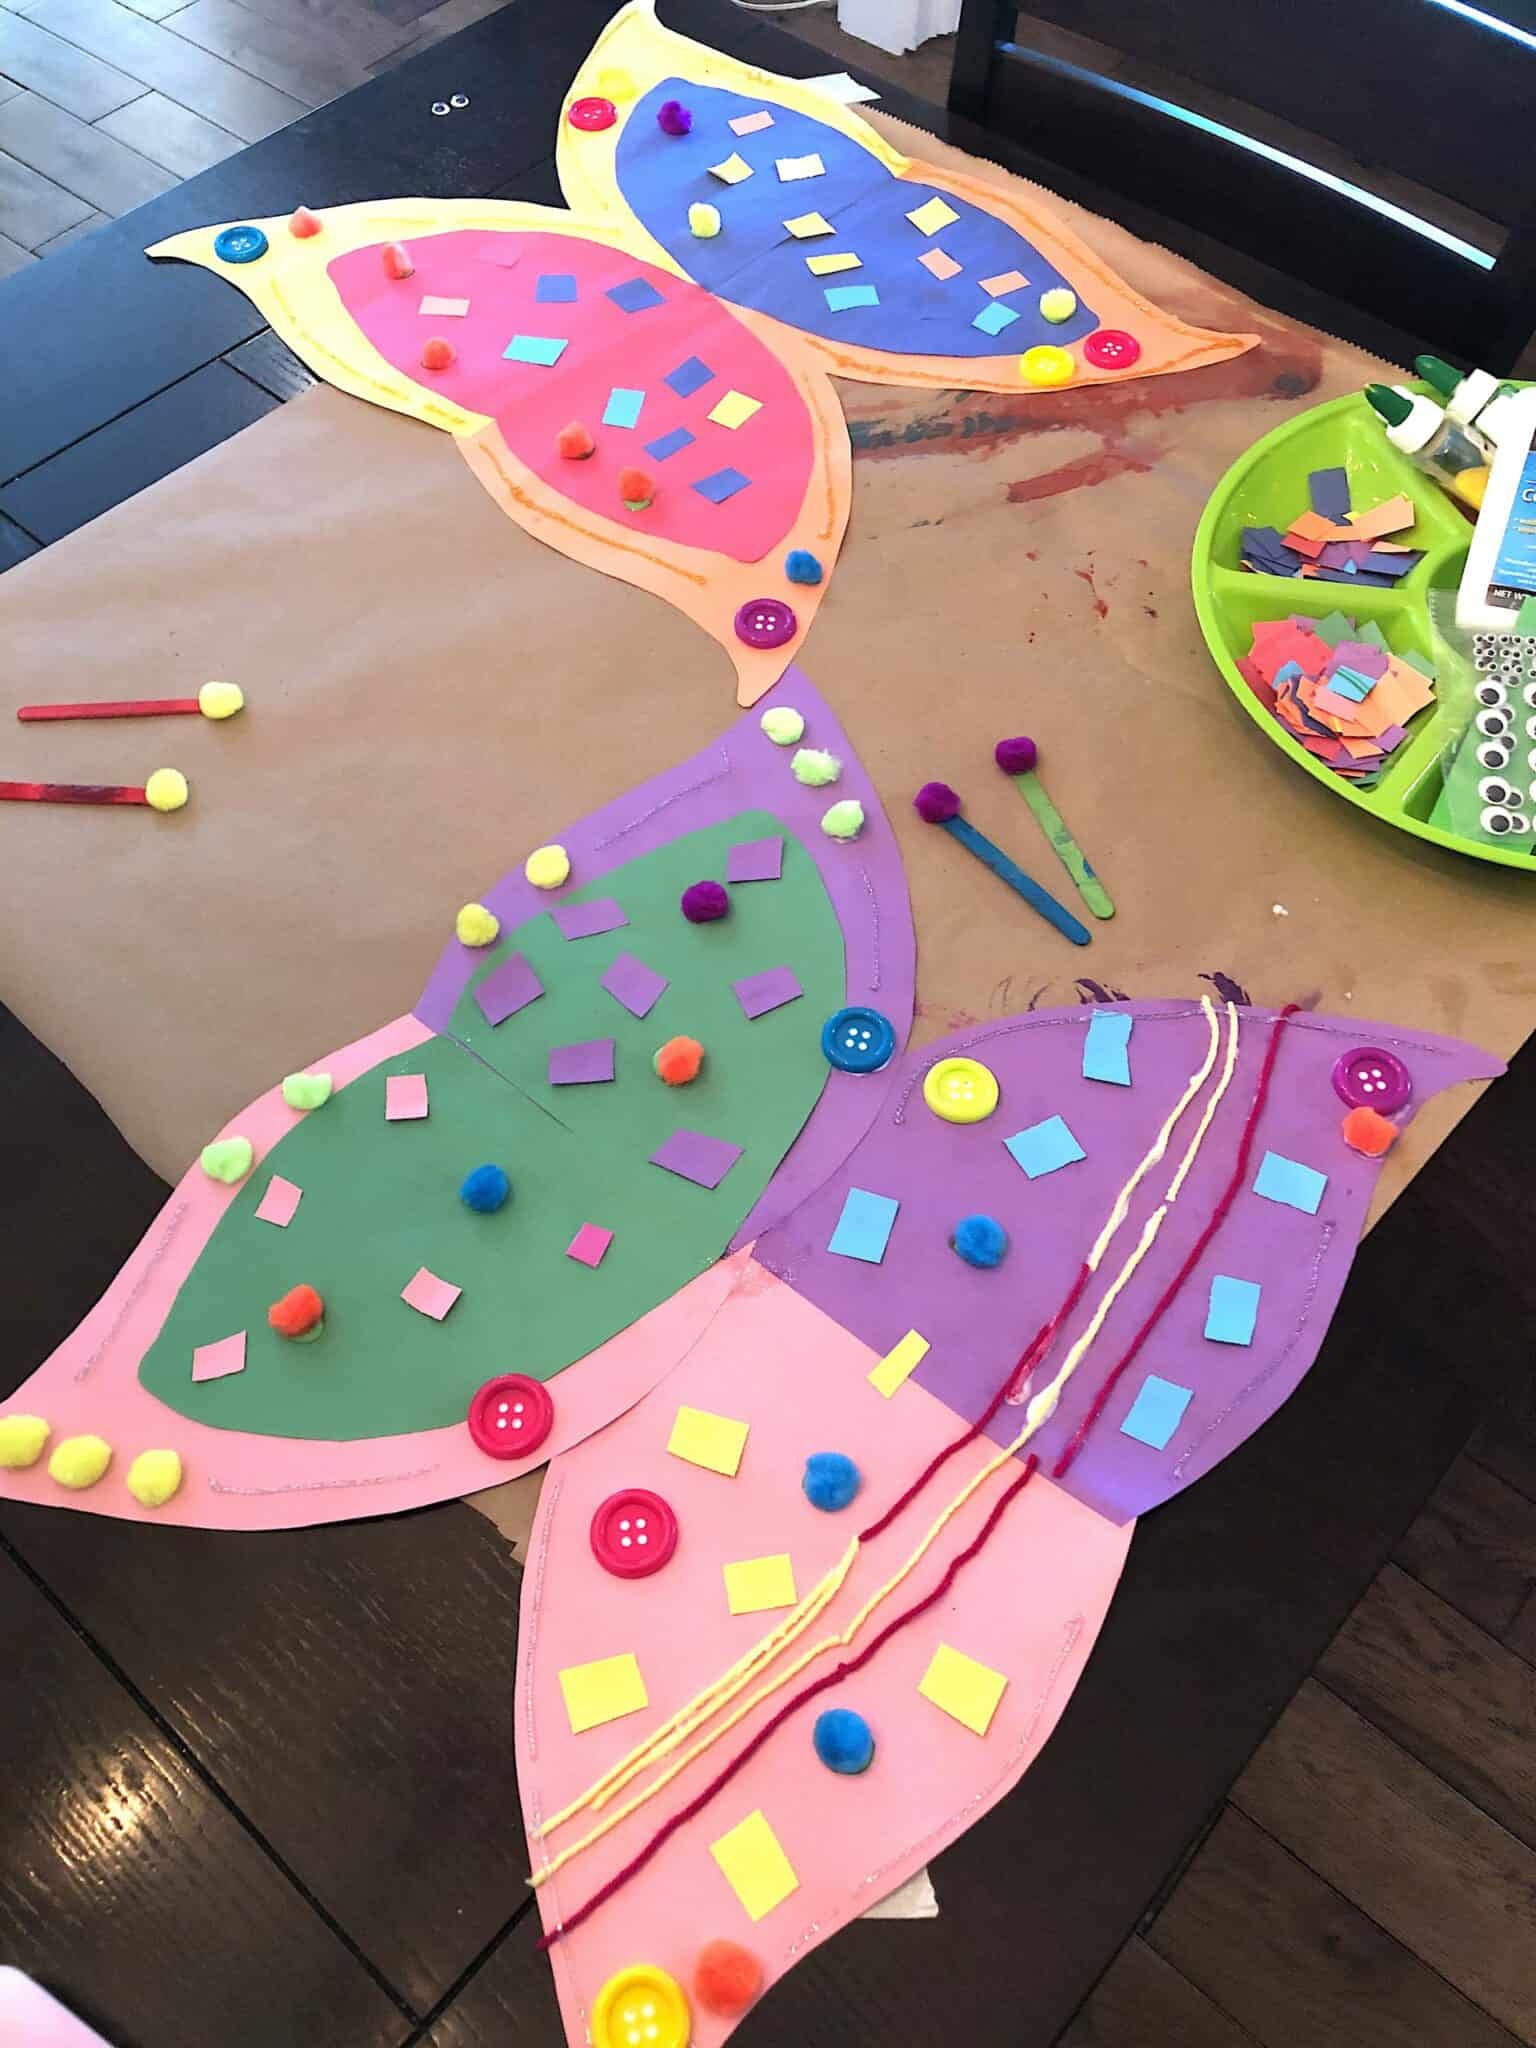
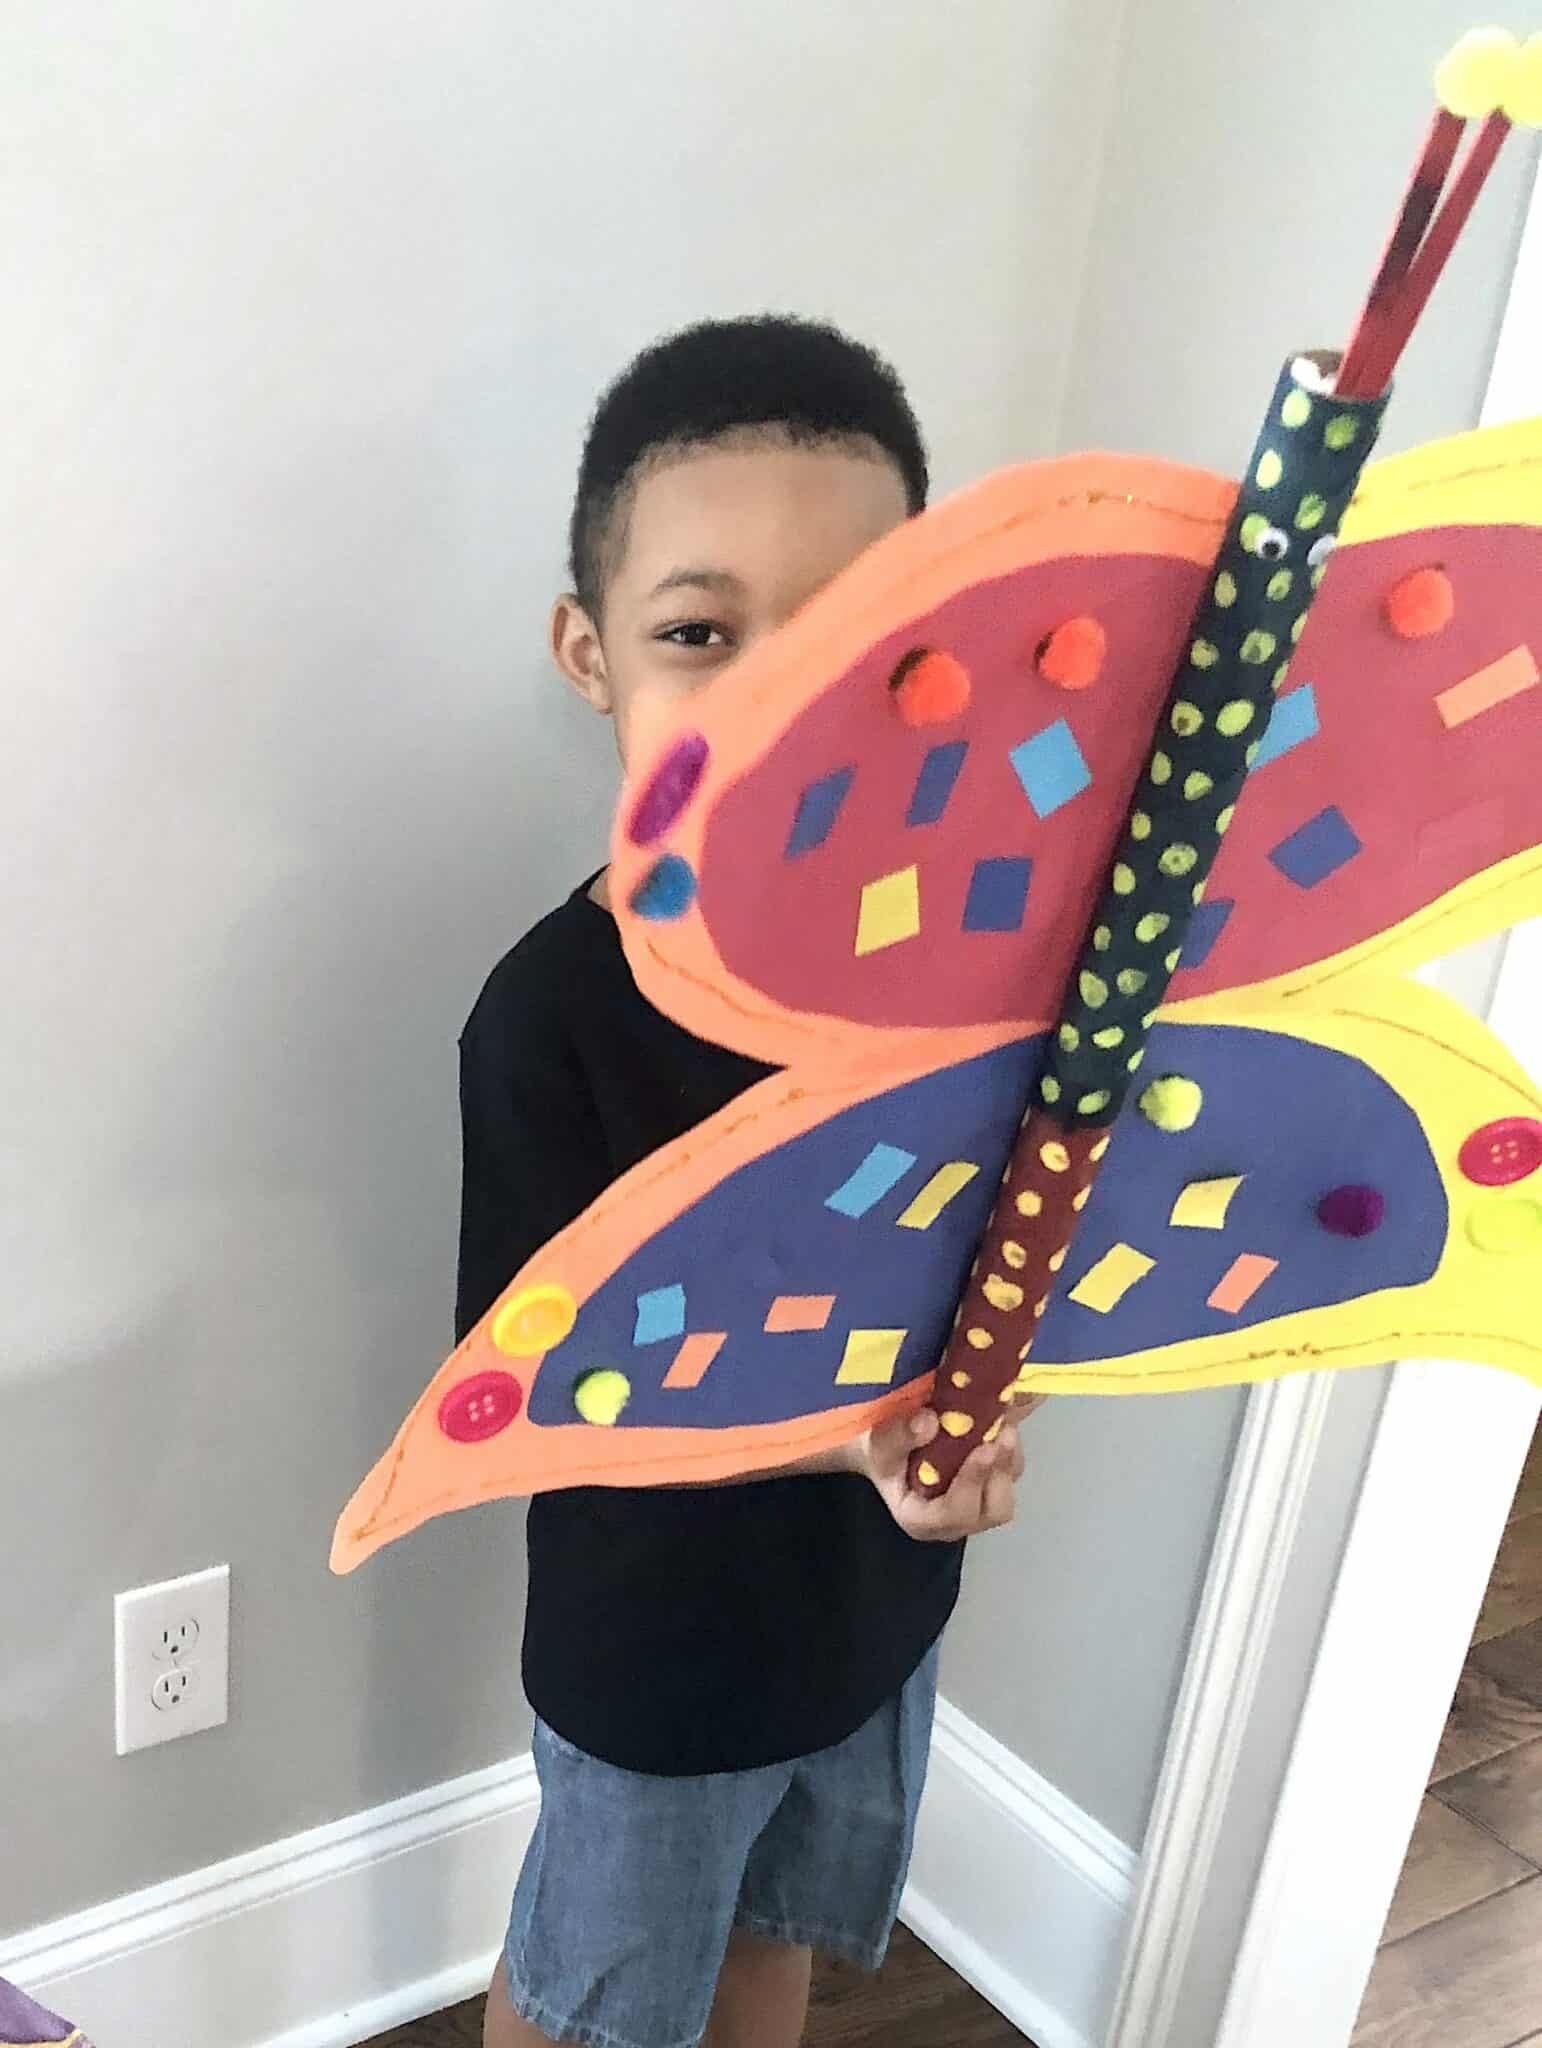
And that’s it! A little while later you will have a giant butterfly that flaps their wings! Take a look at the video below!
For a great butterfly activities, check out The Spruce Crafts post!
Check out another painting activity from my Instagram page and be sure to follow!
I hope you enjoyed this fun giant butterfly paper towel roll crafts post! Please comment below and let me know some activities that keep your kids entertained! I would love to see some additional ideas!
Also check out my posts on a great pom pom frame craft and popsicle stick crafts for more fun ideas!
Also, remember to sign up for your FREE weekly activities planner on the top or the right side of the page and check out my printables page
Welcome to my blog! I am an activity mom of three and I have over 15 years of experience crafting, writing, designing and creating. My mission is to bring fun, balance and learning to your busy homes with activities, tips, inspiration, and organization!


2 Comments
Jay
This is going to make for a fun activity with me and my kids and I must thank you for giving us such a wonderful idea here. I have been with my kids since the start of the lockdown and I am looking for ways to be able to keep up the spice that I have started. I ran out of ideas but this is something I’m sure we’ll definitely enjoy doing together. Thanks
Kayla
Awesome! I’m glad you have some great ideas to enjoy with the kids.