Make The Ultimate Push Pull Sensory Wall For Your Toddler
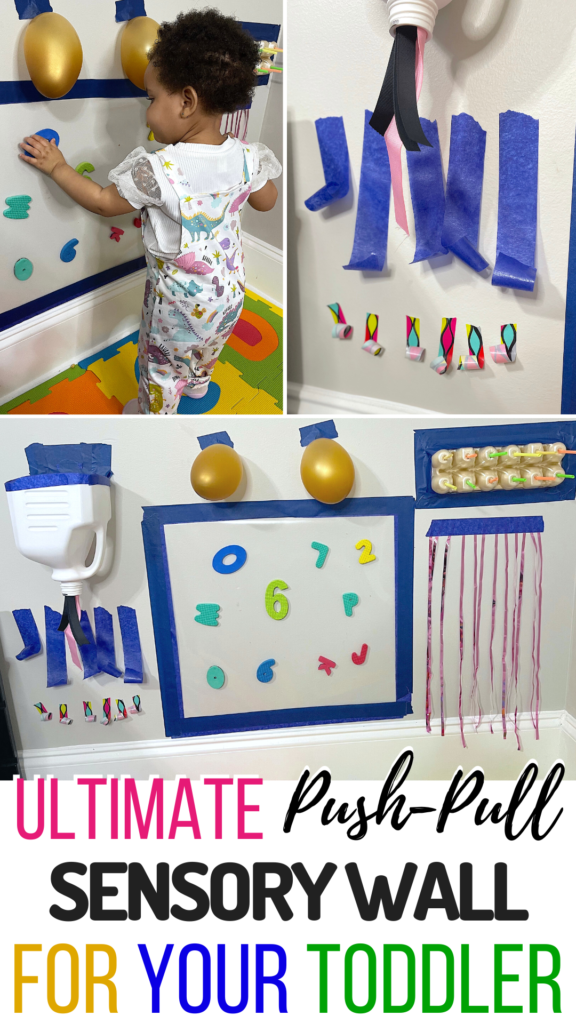
Get ready to dive into a fantastic project that will keep your toddler entertained and engaged. We’re about to create the ultimate Push Pull Sensory Wall for your little one, and guess what? It’s easier than you think! So, let’s get started!
First things first, let’s talk about what a Sensory Wall is. It’s a hands-on activity area that stimulates a child’s senses and develops fine motor skills through different textures, shapes, and colors.
Our Sensory Wall is going to be a hit with your toddler, and you’ll love it because it’s super simple to put together.
If you love painting activity ideas, also check out my cardboard activity post and also my summer crafts post! Also, head on over to TikTok and or Instagram and follow me for daily update craft and activity ideas!
Sensory Wall For Your Toddler
We hope you like the products we recommend. Just so you are aware, Keep Toddlers Busy may collect a share of sales from the links on this page. As an Amazon Associate I earn from qualifying purchases. Read more about our links in my disclosure policy.
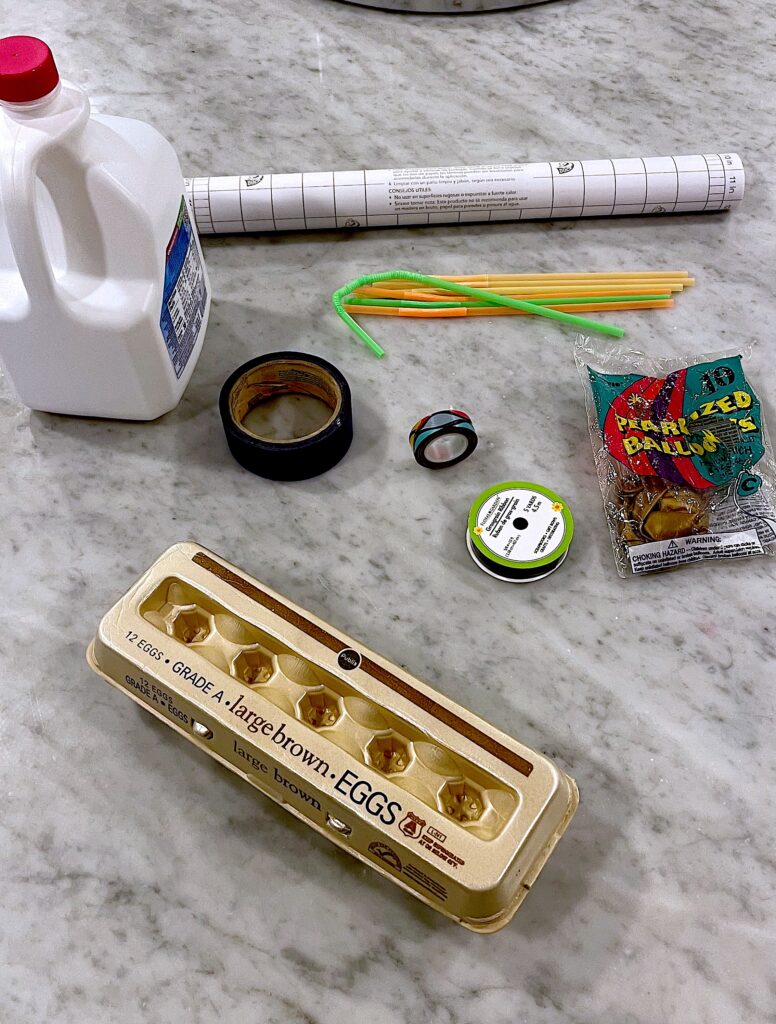
Craft Materials
For the Sensory Wall:
- Painter’s tape
- Egg carton
- Milk carton
- Straws
- Foam letters
- Ribbon
- Washi tape
- Balloons
For the sticky wall:
- Contact paper
- Painter’s tape
Activity Preparation
Now, let’s break it down step by step:
Prepare the wall
Choose a wall or a section of the wall in your home where you’d like to set up the Sensory Wall. Make sure it’s at your toddler’s eye level and easily accessible.
Set up the sticky wall
Cut a square of contact paper to the desired size and carefully peel off the backing. Stick it to the wall with the sticky side facing out, using painter’s tape to hold it in place. This sticky wall will serve as the base for attaching the other materials.
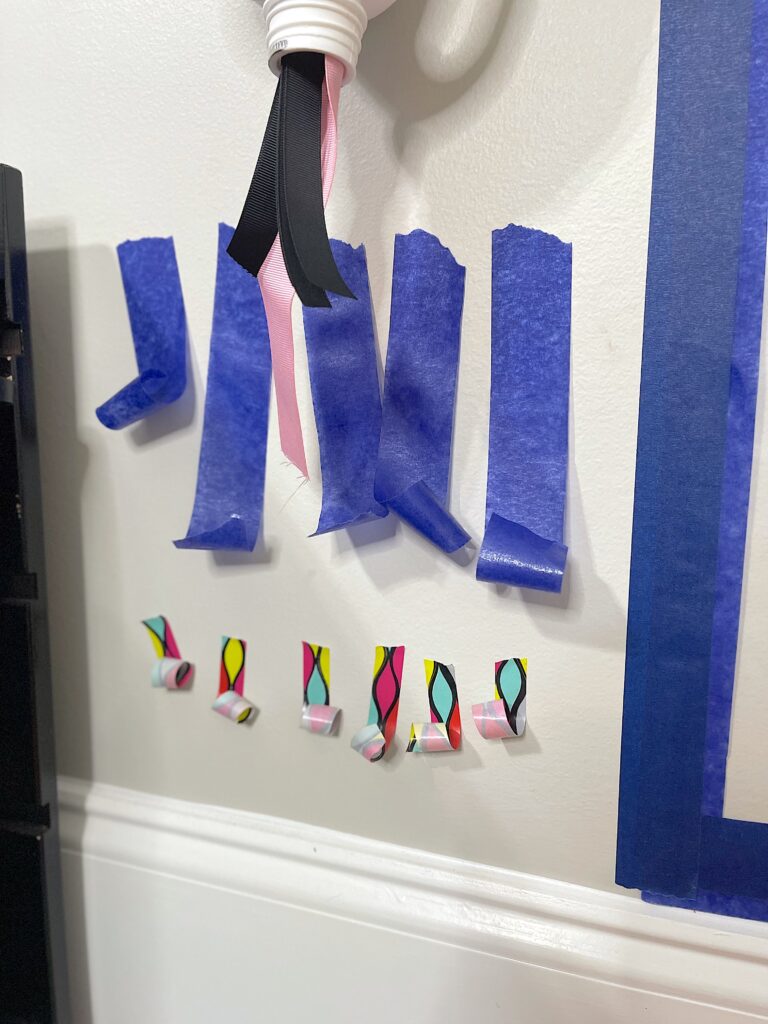
Decorate with washi tape
Create fun designs or patterns on the sticky wall using colorful washi tape. This will add a pop of color and create an area where your toddler can peel off the tape, encouraging fine motor skills development.
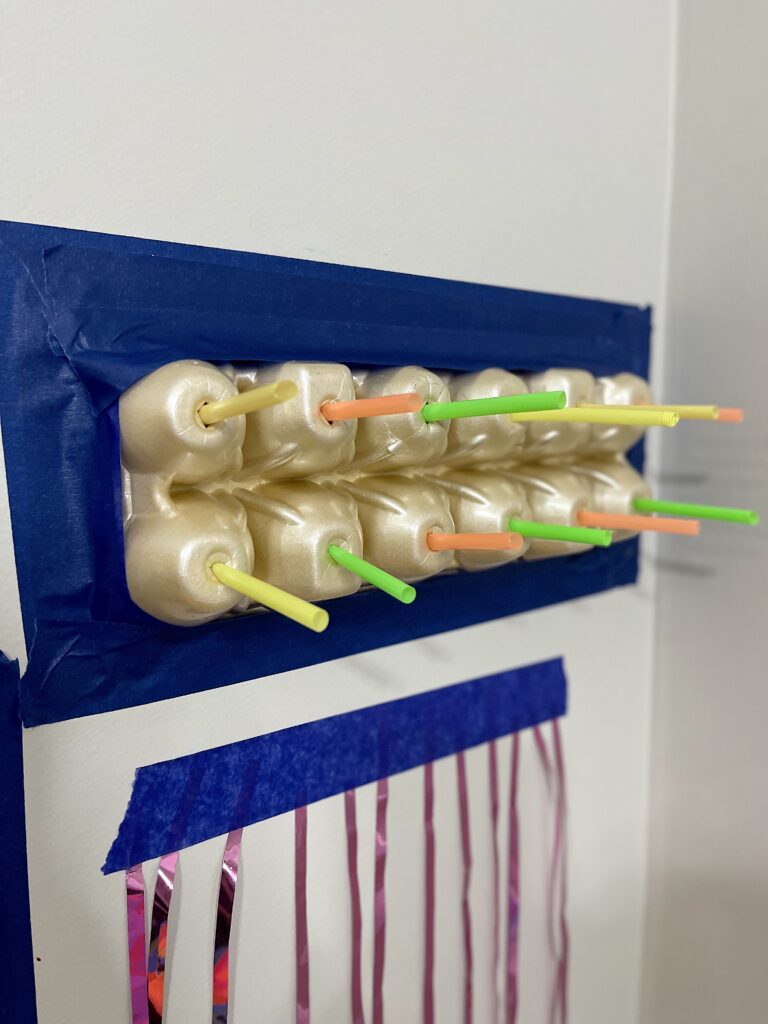
Create an egg carton masterpiece for your Push Pull Sensory Wall
Take an empty egg carton and poke holes in the bottom of each section. Insert a straw into each hole, creating a fun and interactive element for your Sensory Wall. Attach the egg carton to the sticky wall with painter’s tape or directly onto the contact paper.
Milk carton magic
Clean out an empty milk carton, making sure the opening is accessible. Thread ribbons through the carton and out of the opening, creating a pullable feature for your toddler to explore. Attach the milk carton to the sticky wall using painter’s tape or directly onto the contact paper, ensuring the ribbons can be easily pulled out by your little one.
Add foam letters
Arrange foam letters on the sticky wall to help your toddler learn the alphabet while they play. You can spell out their name or create simple words for them to discover.
Bring in the balloons
Inflate a few balloons and secure them to the sticky wall using painter’s tape. Your toddler will love the texture and the challenge of trying to pull them off the wall.
Finishing touches
Step back and admire your handiwork! Make any necessary adjustments to ensure everything is secure and ready for your toddler to enjoy.
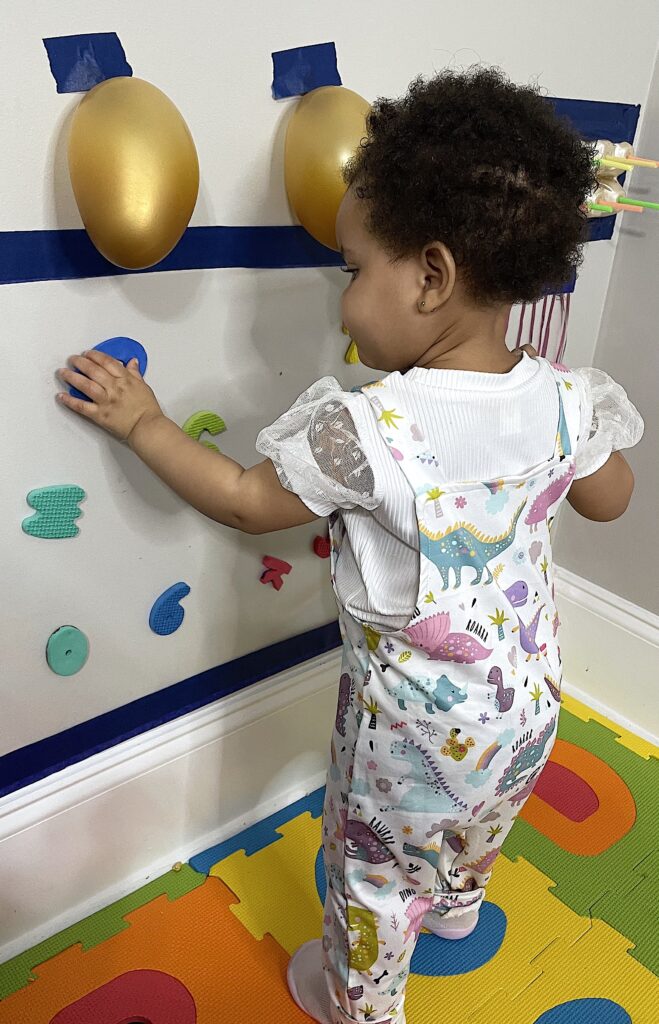
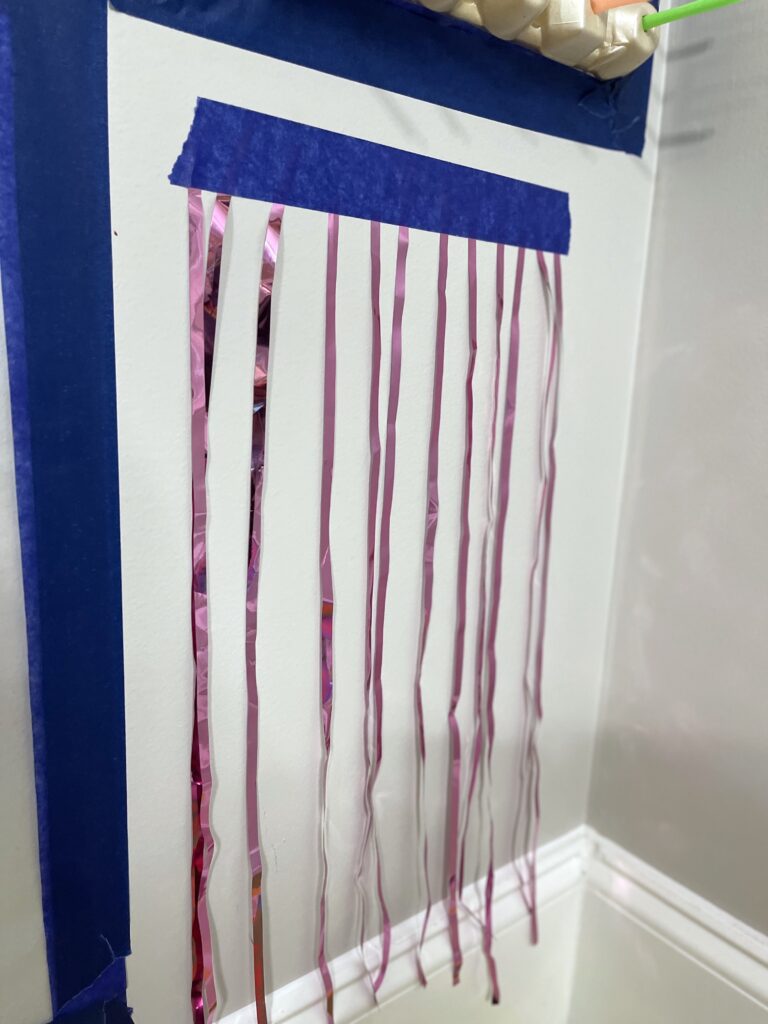
And there you have it – the Ultimate Push Pull Sensory Wall for your toddler! This engaging, hands-on activity space will provide hours of fun and learning for your little one.
So, go ahead and give it a try – you’ll be amazed at how easy it is to create a fantastic sensory experience right in your own home.
And don’t forget to snap some pictures and share them with us on social media. Happy crafting!
For more ideas, check out the artful parent!
Welcome to my blog! I am an activity mom of three and I have over 15 years of experience crafting, writing, designing and creating. My mission is to bring fun, balance and learning to your busy homes with activities, tips, inspiration, and organization!


One Comment
Sherry Flora
Can you please tell me what I can make baby room so fun for the baby please. I want at a day care for 9 years first time doing baby room I want make it so fun n look like a baby room